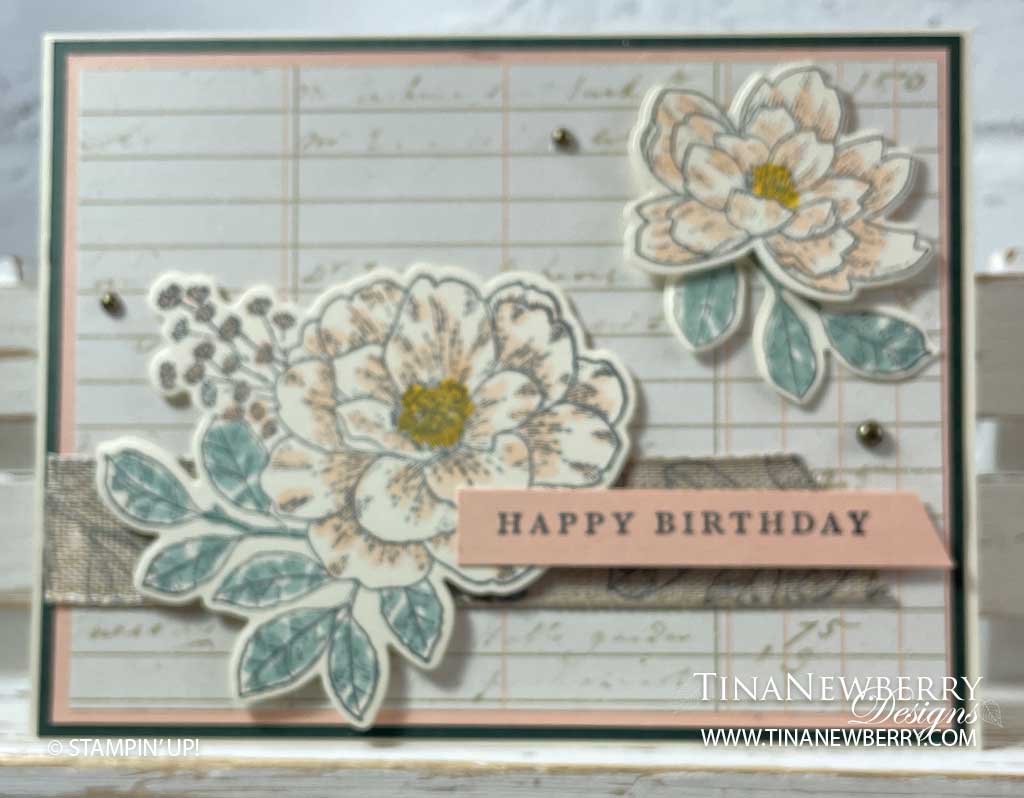
Coloring is so relaxing and you can choose your favorite color palette. Use this layout to make a whole bouquet of cards in any colors you like.
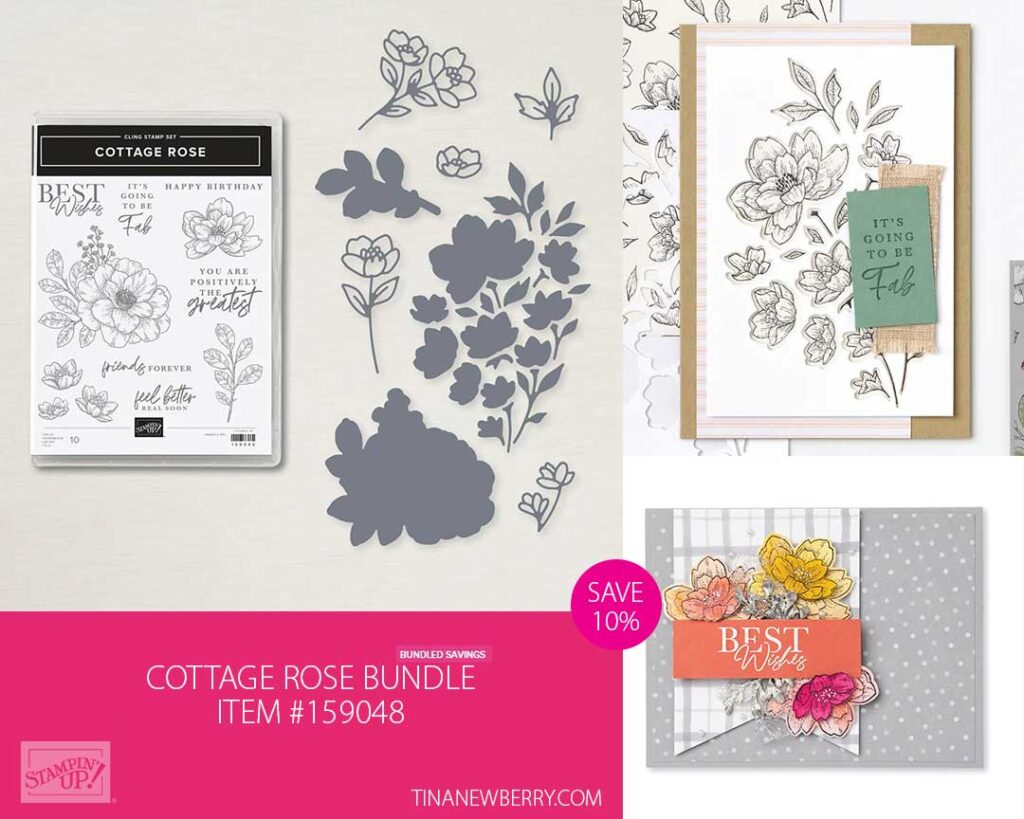
in the Cottage Rose Bundle
Measurements
Full list of supplies needed, listed below. A die cutting machine is needed for this card.
Very Vanilla Thick Cardstock:
- 8 ½” x 5 ½” (scored at 4 ¼”) for card base
- ~5 ½” x 4 ¼” scrap for Stamping and die cutting flowers
Evening Evergreen Cardstock: 5 ⅜” x 4 ⅛”
Petal Pink Cardstock:
- 5 ¼” w x 4” h
- 3”w x ½” h (for stamping the sentiment)
Abigail Rose Designer Series Paper (DSP) – lined print: 5 ⅛” x 3 ⅞”
Very Vanilla Cardstock:
- 5 ¼” w x 4” h
Let’s Create
- Affix all stamps to Acrylic Blocks.
- Fold the Card Base in half using a Bone Folder to sharpen the crease.
- Using Black Memento Ink, stamp the large floral image and the smaller flower and 1 set of the leaves on the scrap Very Vanilla Thick Cardstock . Color these images using Stampin’ Blends. I used Petal Pink, Soft Succulent and Daffodil Delight. Using the Cottage Flowers Dies, die cut these images.
- Using Black Memento Ink Pad, stamp the leaves repeatedly on a 5” length of the Natural Finish ⅞” Ribbon.
- Stamp the sentiment on the ½” strip of Petal Pink with Memento Black Ink Pad and cut the left edge at an angle.
- Use Stampin’ Seal to adhere
- the Evening Evergreen to your Very Vanilla folded card base.
- the Petal Pink layer to your card
- then the Abigail Rose DSP panel to the Petal Pink layer.
- Cut the left edge of the Ribbon at an angle and use Tear & Tape to attach to the lower edge of the card leaving about ⅝” at the bottom of the DSP showing and even with the left edge of the Petal Pink panel.
- Use Stampin’ Dimensionals to adhere
- the large floral die cut image towards the lower left of the card.
- the smaller flower to the upper right of the card.
- Use Stampin’ Seal to tape flat the die cut leaves slipping them under the smaller flower.
- Adhere the Sentiment using Stampin’ Dimensionals.
- Embellish with 3 Rustic Metallic Adhesive backed dots.
- Stamp and decorate the inside and attach with Stampin’ Seal.
- Decorate your envelope.
- Lovely! Who will you send this birthday wish to?
Shopping List
")


 Designer Series Paper")
 Ribbon")

Recommended Stamper’s Toolkit ❤
Product List
$12.00

$7.00

$4.25

$5.75

$5.50

$11.00

$26.00

$7.00

$6.50

$11.00

$20.00

$11.00

$80.75

$128.00

$16.00

$13.00


