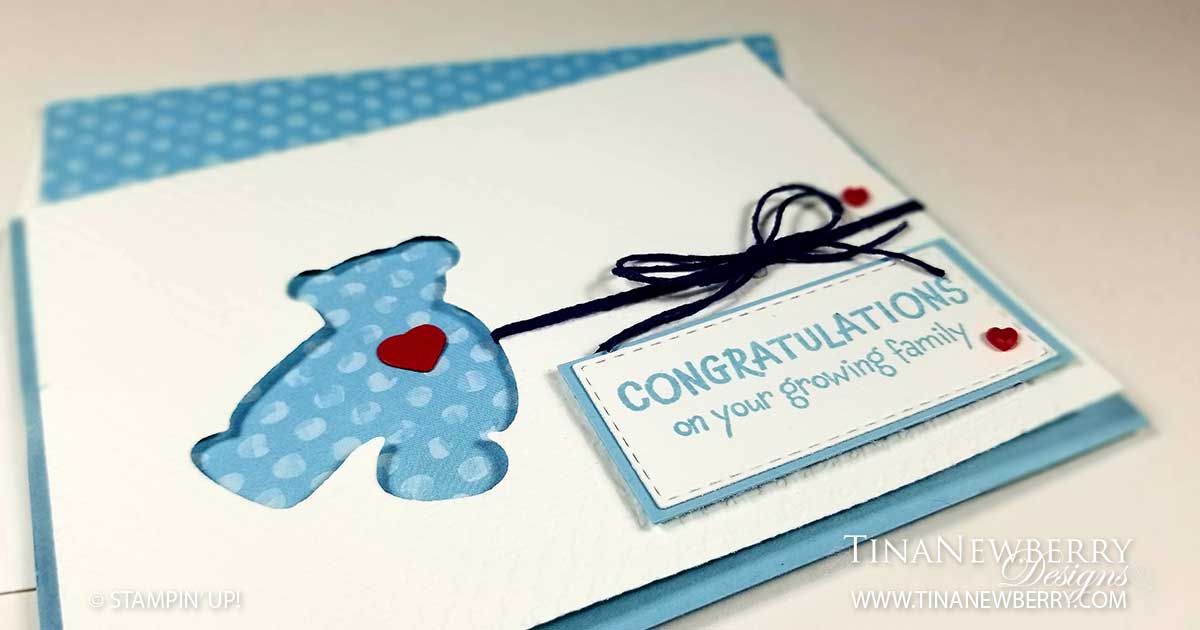
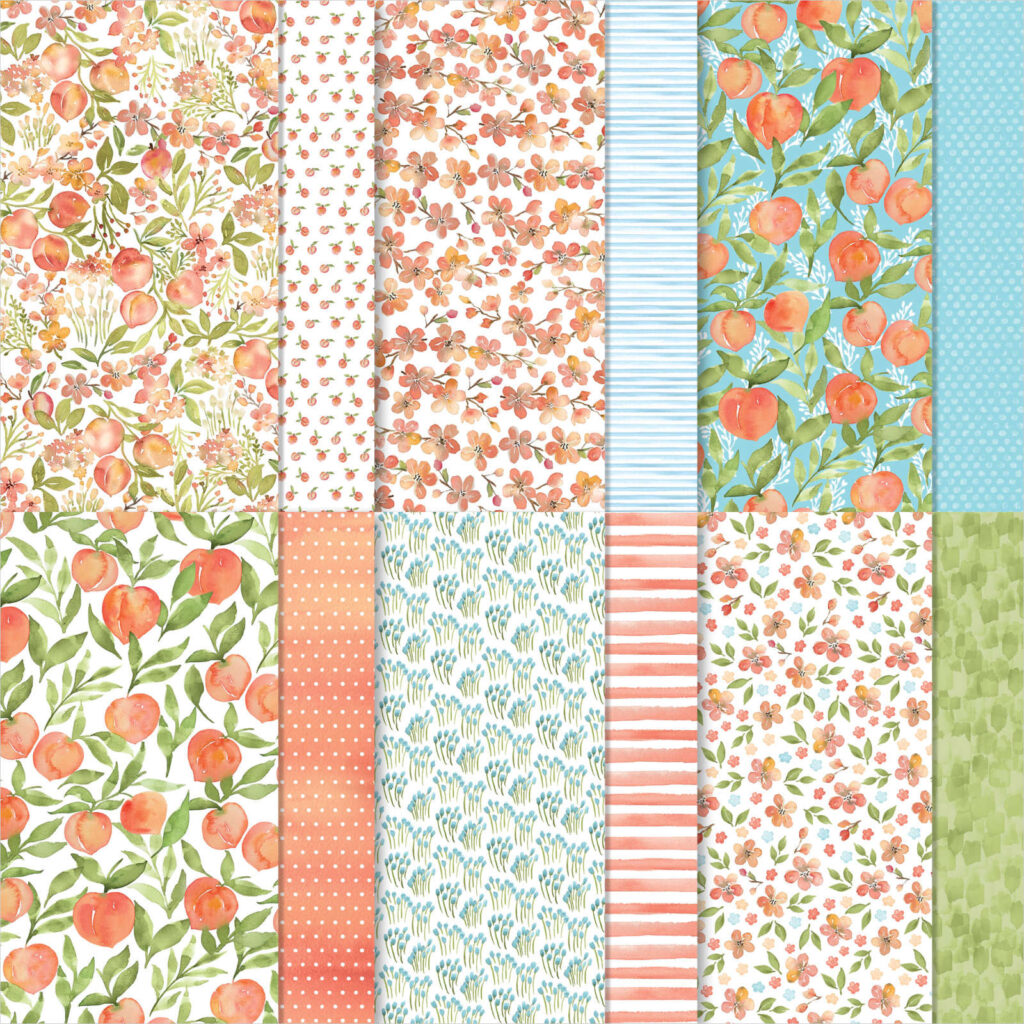
Look at this cute little bear! I’m loving the look of emphasizing the Bear with a popped up background and this blue polka dot paper from the You’re a Peach Designer Series Paper.
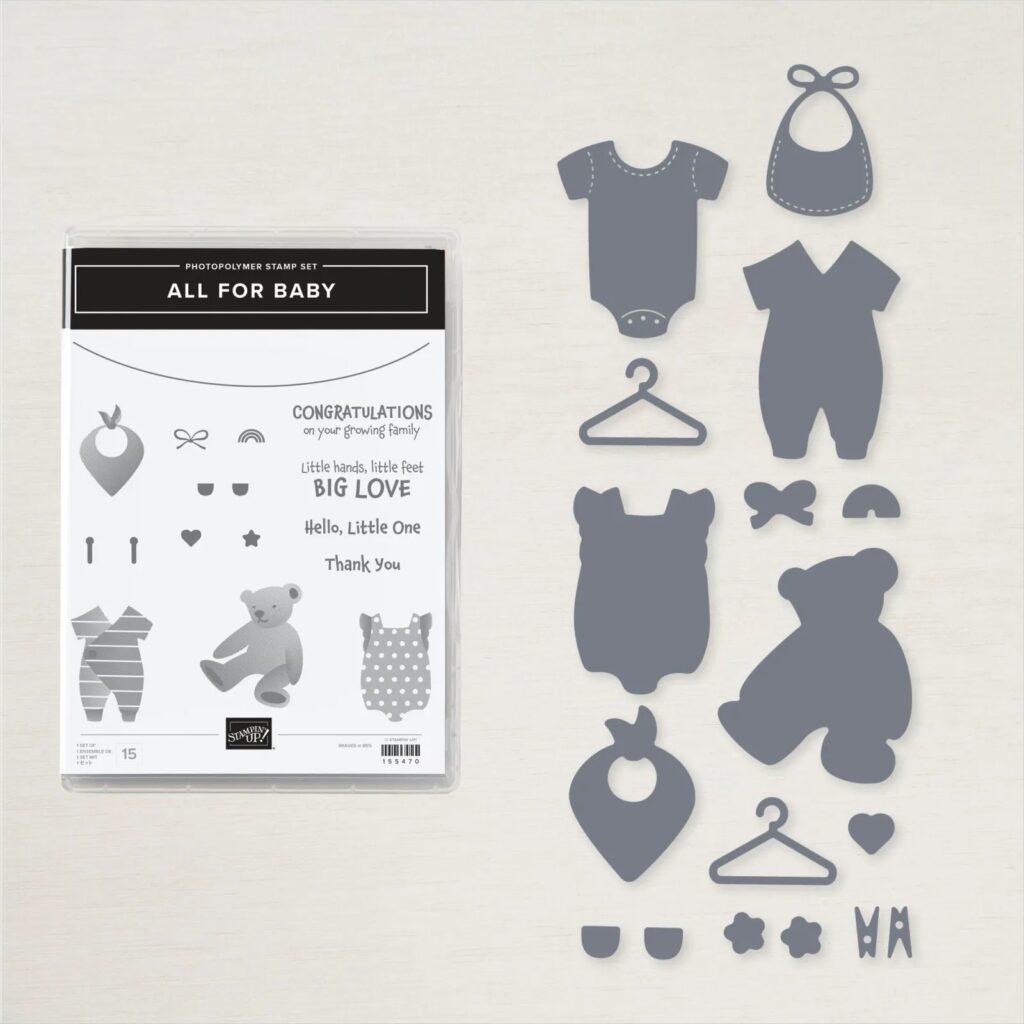
All For Baby Bundle – Save 10% when you buy the bundle – and You’re a Peach Designer Series Paper – 15% off thru 8/2/21.
Measurements
Full list of supplies needed, listed below. A die cutting machine is needed for this card.
Card Base: Balmy Blue Cardstock 4 1/4″ h x 11″ w folded to 4 1/4″ h x 5 1/2″ w
Patterned Background: You’re a Peach Designer Series Paper 3 3/4″ h x 5″ w.
Background: Basic White Cardstock 4″ h x 5 1/4″ w
Sentiment Matte: Balmy Blue Cardstock 1 1/8″ h x 2 1/2″ w
Sentiment Layer: Basic White Cardstock die cut with the Stitched Rectangles Die 1 3/8″ h x 2 1/2″ w
Let’s Create
- Affix all stamps to Acrylic Blocks.
- Fold the Card Base in half using a Bone Folder to sharpen the crease.
- Use the adhesive of your choice to attach the You’re a Peach Patterned Background to the Card Base.
- Run the Basic White Background through the Die Cutting & Embossing Machine with the Bear Die first and then run it through again with the In Good Tasteful Textiles Embossing Folder.
- Cut 24-30″ of Baker’s Twine, double it over and wrap it around the Basic White Background. Tie with a Bow. I used the retired Well Suited Night of Navy Baker’s Twine.
- Attach the Basic White Background with Stampin’ Dimensionals.
- Die cut a Real Red heart and attach with the adhesive of your choice.
- Die cut the Basic White Sentiment Layer from the Stitched Rectangles Die, if you haven’t already.
- Use Balmy Blue Ink to stamp the Sentiment on the Stitched Rectangle Die and attach to the Balmy Blue Sentiment Layer with the Adhesive of your choice, then attach to the card with Stampin’ Dimensionals.
- Add some embellishments – I added the recently retired Resin Hearts.
- So cute! Now send it to someone special.
Stamper’s Toolkit
You will also need adhesive, acrylic blocks, scissors and other basic PaperCrafting items from the Stamper’s Toolkit


