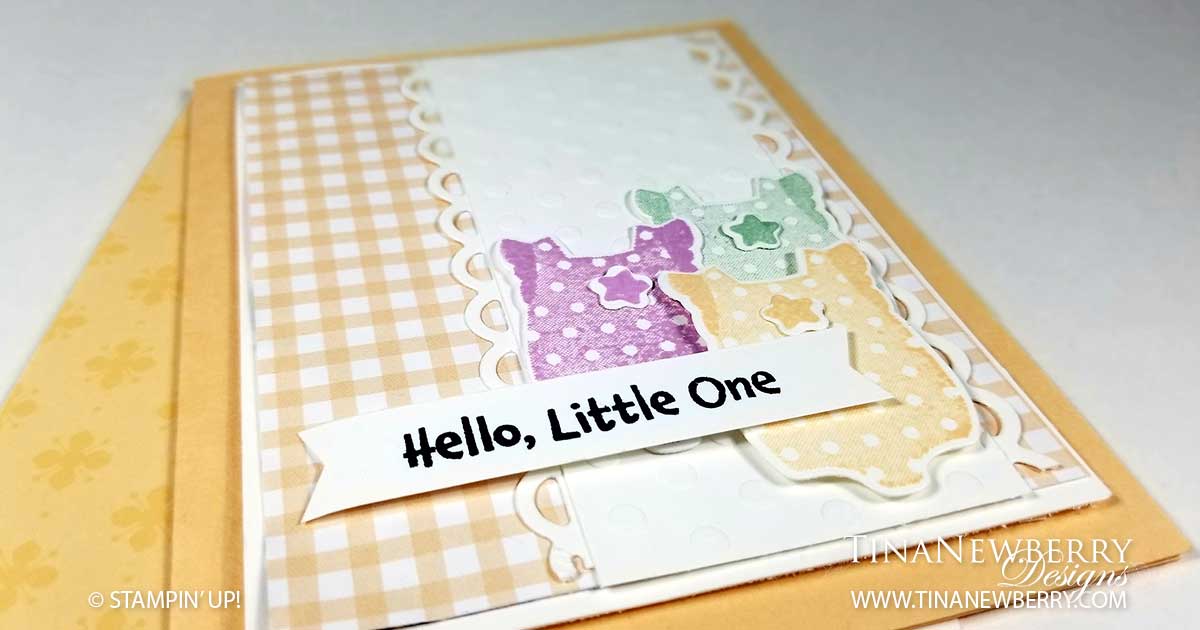
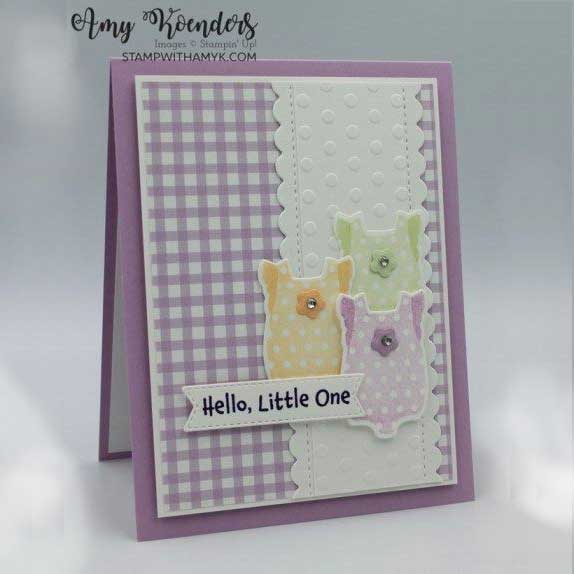
Gingham was made for babies! When Logan was a baby, my Mother made him a gingham check baby blanket that he carried around everywhere! He loved it so much. We still have it. This adorable card is a new take on gingham in Pale Papaya, one of the five 2021-2023 In-Colors. I added the Checks and Dots embossing folder and the Scalloped Contour Dies to show off the cute onesies and fun sentiment tag. Hard to believe this is just Stamps, Ink and Paper SIP! #simplestamping. Thank you to Amy K for the inspiration!
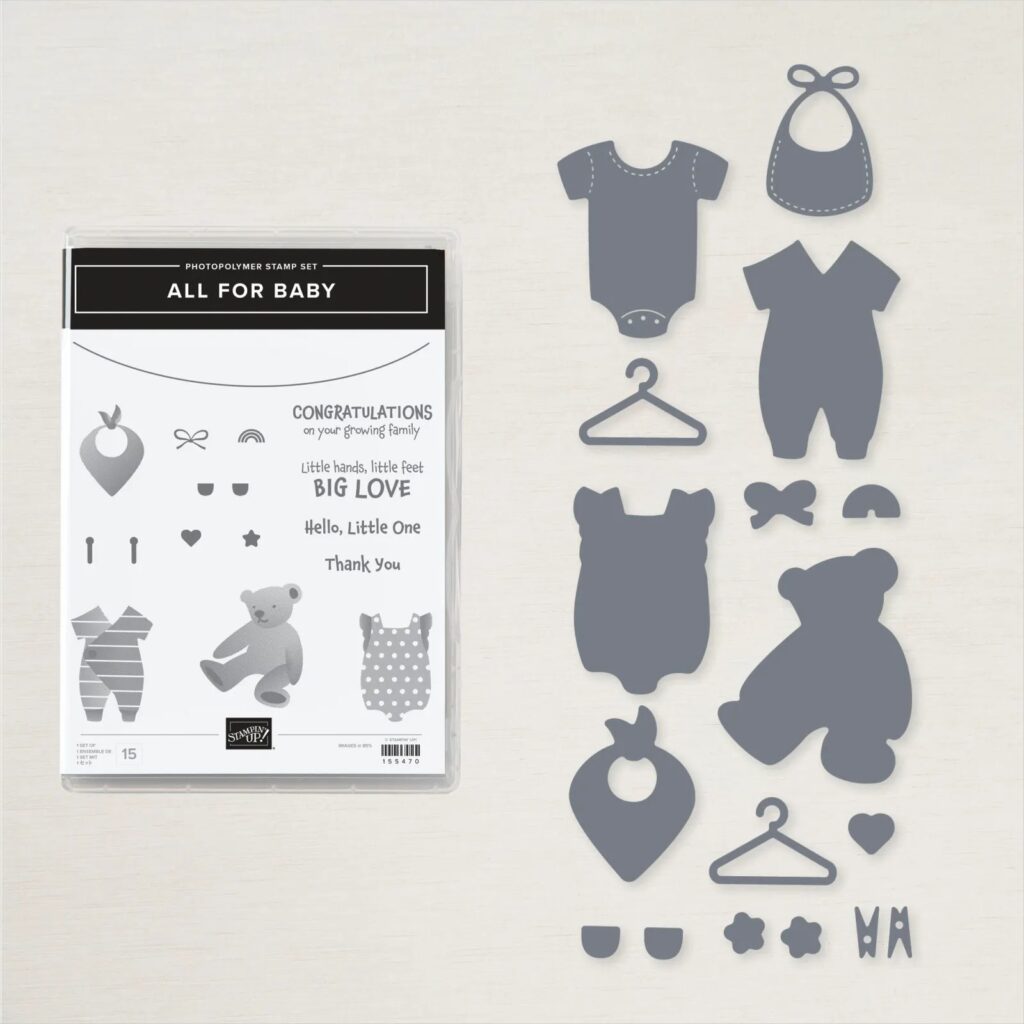
All For Baby Bundle – Save 10% when you buy the bundle.
Measurements
Full list of supplies needed, listed below. A die cutting machine is needed for this card.
Card Base: Pale Papaya Cardstock 5 1/2″ h x 8 1/2″ w folded to 5 1/2″ h x 4 1/4″ w
Cardstock Background: 5 7/8″ h x 3 3/4″ w
Pattern Background: Pansy Petal DSP 4 3/4″ h x 3 5/8″ w
Sentiment Layer: Basic White Cardstock 1/2″h x 3″ w
Dots Embossed Layer: Basic White Cardstock 4 3/4″ h x 2″ w
Scalloped Edges: Basic White Cardstock scraps diet cut with the Scalloped Contours Die Cuts.
Inside Layer (Optional): Basic White Cardstock 5 1/2″ h x 4 1/4″ w
Let’s Create
- Affix all stamps to Acrylic Blocks.
- Fold the Card Base in half using a Bone Folder to sharpen the crease.
- Attach the Pattern Background to the Cardstock Background with the adhesive of your choice.
- Run the Basic White Dots Embossed Layer through the Stampin’ Cut and Emboss Machine with the Dots Embossing Folder.
- Create the Scalloped Edges
- Run the Basic White Scrap through the Stampin’ Cut & Emboss Machine twice with the edge of the largest rectangle.
- Use Paper Snips to trim the edges to size.
- Attach to the back of the Dots Embossed Layer with the adhesive of your choice.
- Attach the Dots Embossed Layer to the Gingham Layer with the adhesive of your choice.
- Stamp three Onesies and three matching stars on Basic White scrap cardstock. And then die cut them out.
- Attach the Onesies with a combination of adhesives – one with Stampin’ Dimensionals to the Dots Embossed Layer.
- Attach the Stars to the front of the Onesies with Mini Glue Dots.
- Stamp the Sentiment on the Basic White Sentiment Layer and trim the edges with the Banner Pick a Punch.
- Attach the Sentiment with Stampin’ Dimensionals.
- Stamp the Inside Layer to your liking and attach with adhesive of your choice.
- Add Designer Series Paper to your envelope flap.
- Super Cute!!! Who’s having a baby you can send it to?!
Shopping List


Stamper’s Toolkit


