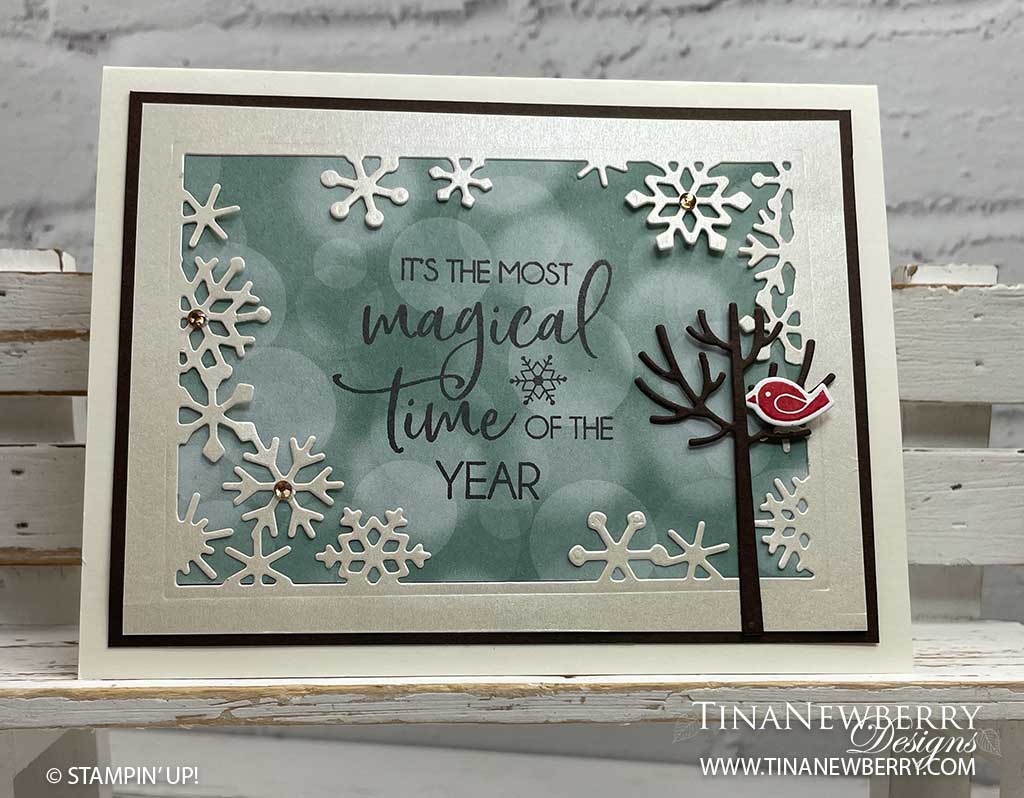
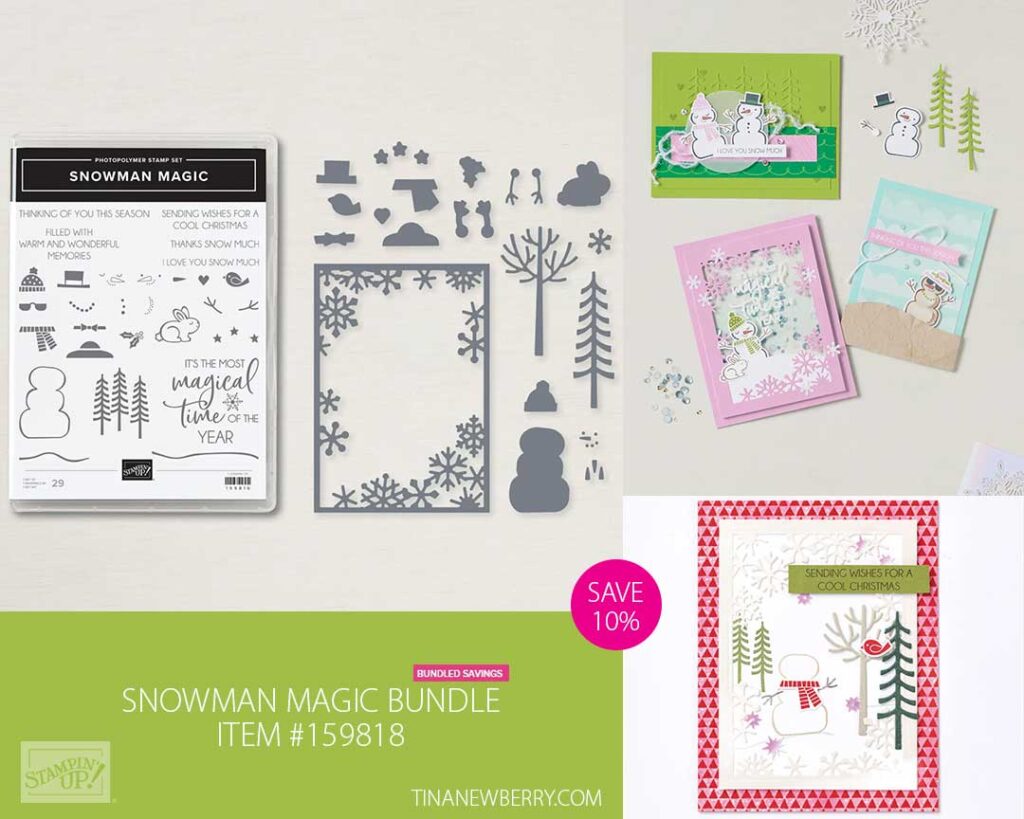
Create snow flurries in minutes – for a card that looks like you spent hours – with the Snowman Magic bundle. Read on for details.
Measurements
Full list of supplies needed, listed below. A die cutting machine is needed for this card.
Very Vanilla Cardstock:
- 5 ½” w x 8 ½” h scored and folded on the long-side at 4 1/4″for Card Base
- 5 1/4″ h x 4″ w for inside
Early Espresso Cardstock: 5 ⅛”w x 4 ⅞” h
Pearlescent Specialty Paper: 4 ⅞” w x 3 ⅝” h
Lights Aglow Designer Series Paper (DSP): 4 ¼” w x 3” h
Early Espresso Cardstock Scrap: 2 ¾” x 2” (for die cutting tree)
Let’s Create
- Affix all stamps to Acrylic Blocks.
- Fold the Very Vanilla Card Base in half using a Bone Folder to sharpen the crease.
- Using the Snowman Dies cut the frame using Pearlescent specialty paper, centering it with an even border. Save the middle scrap for stamping the small bird on.
- Place Stampin’ Seal adhesive on the backs of snowflakes and the side edges of the frame and adhere the Lights Aglow DSP to the back. The width is exactly 3” which is the same as the opening in the frame. So be sure to line it up correctly. (Note: Since the Lights Aglow paper is 6×6, this allows you to get 2 cards from each piece. If this isn’t an issue for you, you may consider cutting your Lights Aglow panel a smidge larger than 3”.)
- Using Early Espresso ink pad, Stamp the sentiment just to the left of center – leaving room for the tree on the left side.
- Adhere these panels to your Early Espresso panel using Stampin’ Seal. Use Stampin’ Dimensional to adhere these layers to your folded card base.
- Stamp the bird using Real Red ink pad onto the scrap of Pearlescent paper from the center of the die cut frame and cut out using the bird die from the Snowman Dies.
- Cut an Early Espresso tree using the tree die from the Snowman Dies.
- Adhere the the tree to the right side of the card, using Stampin’ Seal.
- Using a Stampin’ Dimensional adhere the bird to the tree.
- Place a Champagne Rhinestone in the center of several of the snowflakes.
- Stamp and decorate the inside and attach with Stampin’ Seal.
- Decorate your envelope.
- How pretty! Now send it to someone special.
Shopping List
")


 Specialty Designer Series Paper")

Recommended Stamper’s Toolkit ❤
Product List
$12.00

$7.00

$4.25

$5.75

$5.50

$11.00

$26.00

$7.00

$6.50

$11.00

$20.00

$11.00

$80.75

$128.00


$16.00

$13.00


