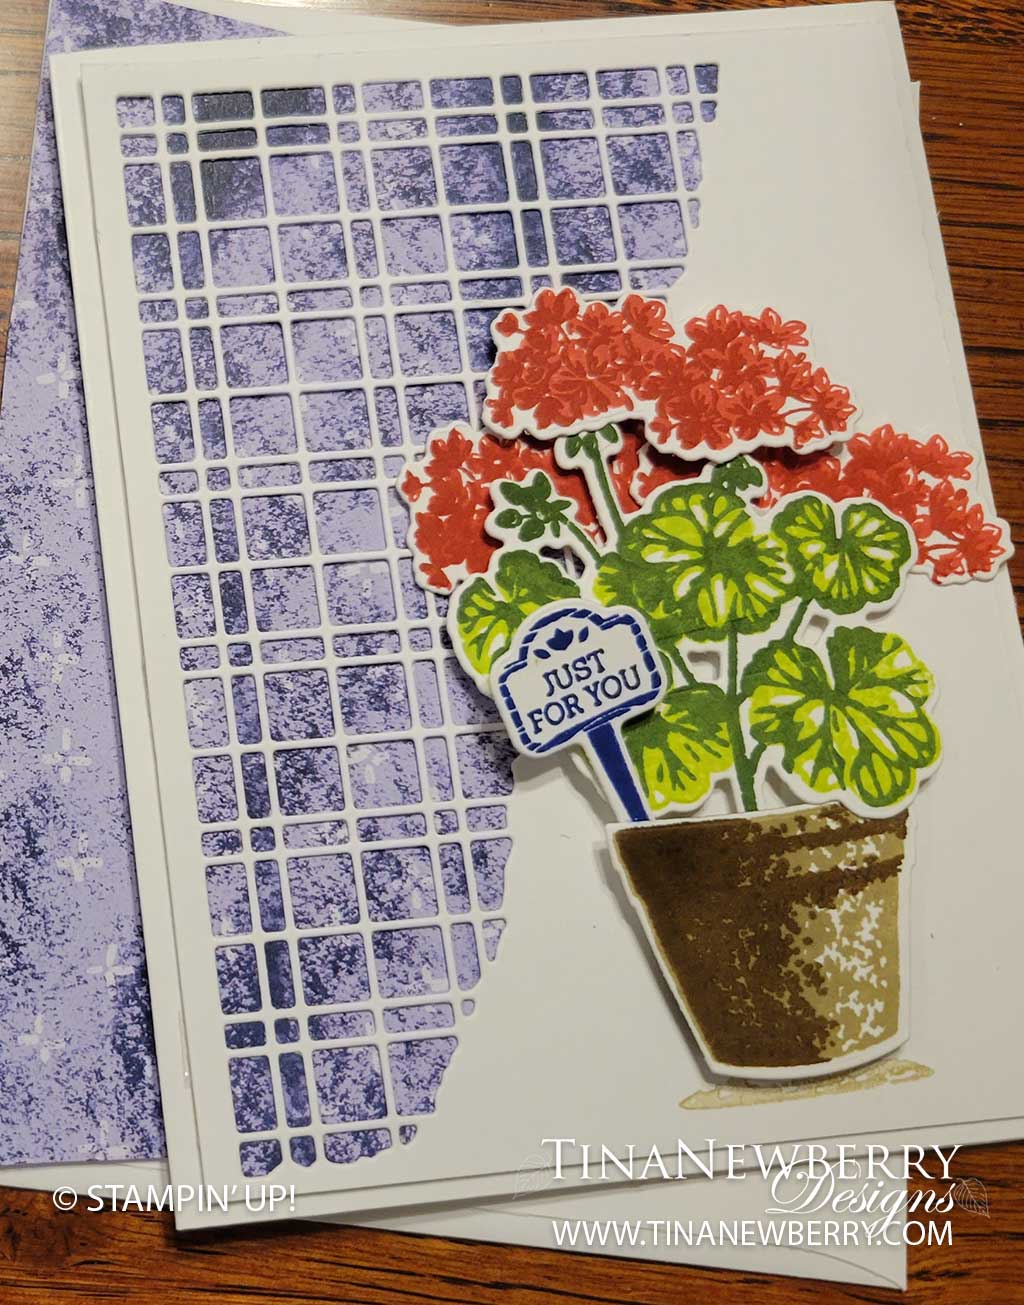
Think it took a lot of time to create all the different shading on this card? Nope! Distinktive™ stamps from Stampin’ Up! make it easy. Take the pot for example – two stamps, two colors – one light, one dark. That’s it. Super easy. Two-Steps. Read on for all the details.
Measurements
Full list of supplies needed, listed below. A die cutting machine is needed for this card.
Basic White Thick Cardstock: Card Base 5 1/2″ h x 8 1/2″ w folded to 5 1/2″ h x 4 1/4″ w
Basic White Cardstock:
- 5 1/4″ h x 4″ w
- scrap for stamping flowers and pot
Tea Boutique Designer Series Paper (DSP): 5 1/4″ h x 4″ w
Let’s Create
- Affix all stamps to Acrylic Blocks.
- Fold the Card Base in half using a Bone Folder to sharpen the crease.
- Run the 5 1/4″ h x 4″ w Basic White Cardstock through the Stampin’ Cut & Emboss Machine with the Split Card Textures.
- Stamp the Pot, Flowers, Stems, and Tag on Basic White Cardstock scrap:
- Pot: Stamp the fill image in Crumb Cake ink and the shade image in Soft Suede ink. Take your time to line it up.
- Flowers: Stamp the fill image in Sweet Sorbet and the detail image in Real Read ink. I stamped 3 of these for fuller blossoms.
- Stem: Stamp the outline image in Old Olive and the fill image in Parakeet Party ink.
- Tag: Stamp in Starry Sky ink.
- Die cut the pot, flowers, stems and tag.
- Time to assemble! Yes already. I told you this was easy.
- Attach the DSP to the Card Base using Stampin’ Seal.
- Attach the die cut Basic White Cardstock scrap using Stampin’ Seal.
- To assemble the flower… use Mini Glue Dots.
- Attach the stems to the back of the pot
- Attach one set of flowers to the top of the stems.
- Attach the Just For You with a Mini Glue Dot.
- At this point, set your flower pot on the die cut Basic White on the card. Get an idea of where you want the pot and then stamp the Pot Shadow in Crumb Cake Ink.
- Set your flower pot back on the card and tuck the two remaining flowers into place behind. Attach these with Stampin’ Seal.
- Now attach your flower pot with Stampin’ Dimensionals.
- I did not use gems on this cards, but wouldn’t some Rhinetone Basic Gems, Basic Pearls or maybe even Red Rhinestones? Sprinkle some on!
- Stamp and decorate the inside.
- Decorate your envelope. Maybe stamp the flower on the front of the card or decorate the flap with some more DSP. So pretty.
- Love! Now send it to someone special.
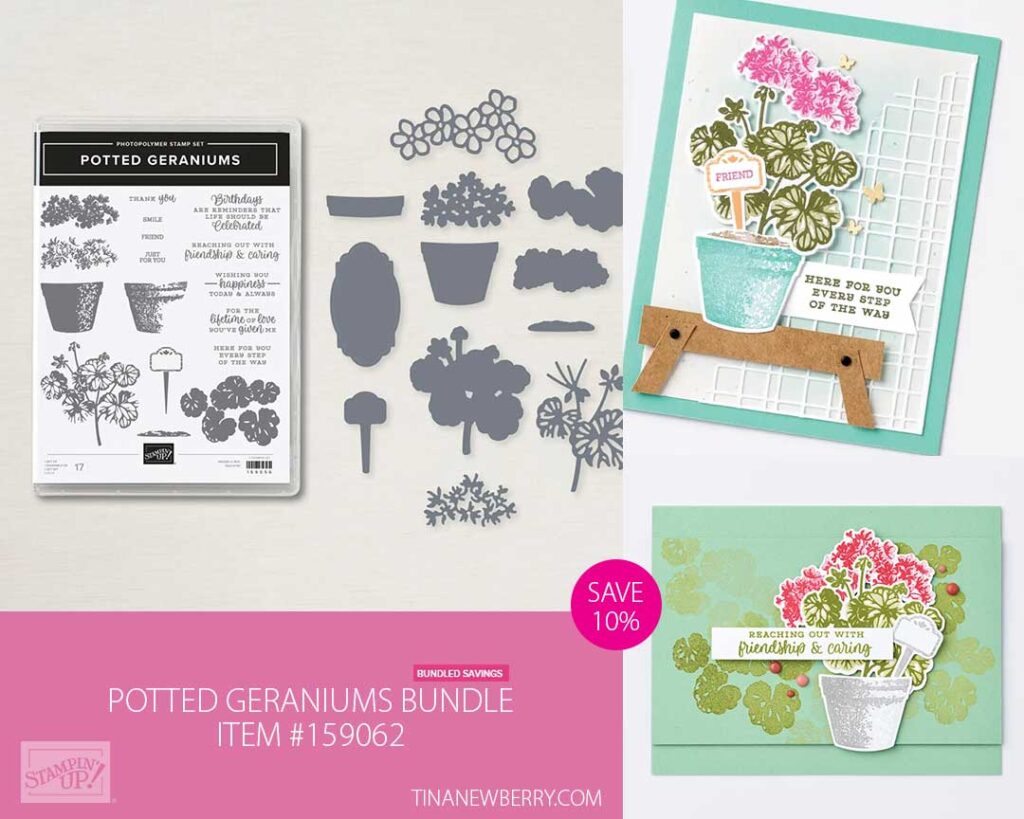
Shopping List
")


 Designer Series Paper")

$28.00
Recommended Stamper’s Toolkit ❤
Product List
$12.00

$7.00

$4.25

$5.75

$5.50

$11.00

$26.00

$7.00

$6.50

$11.00

$20.00

$11.00

$80.75

$128.00


$16.00

$13.00


