
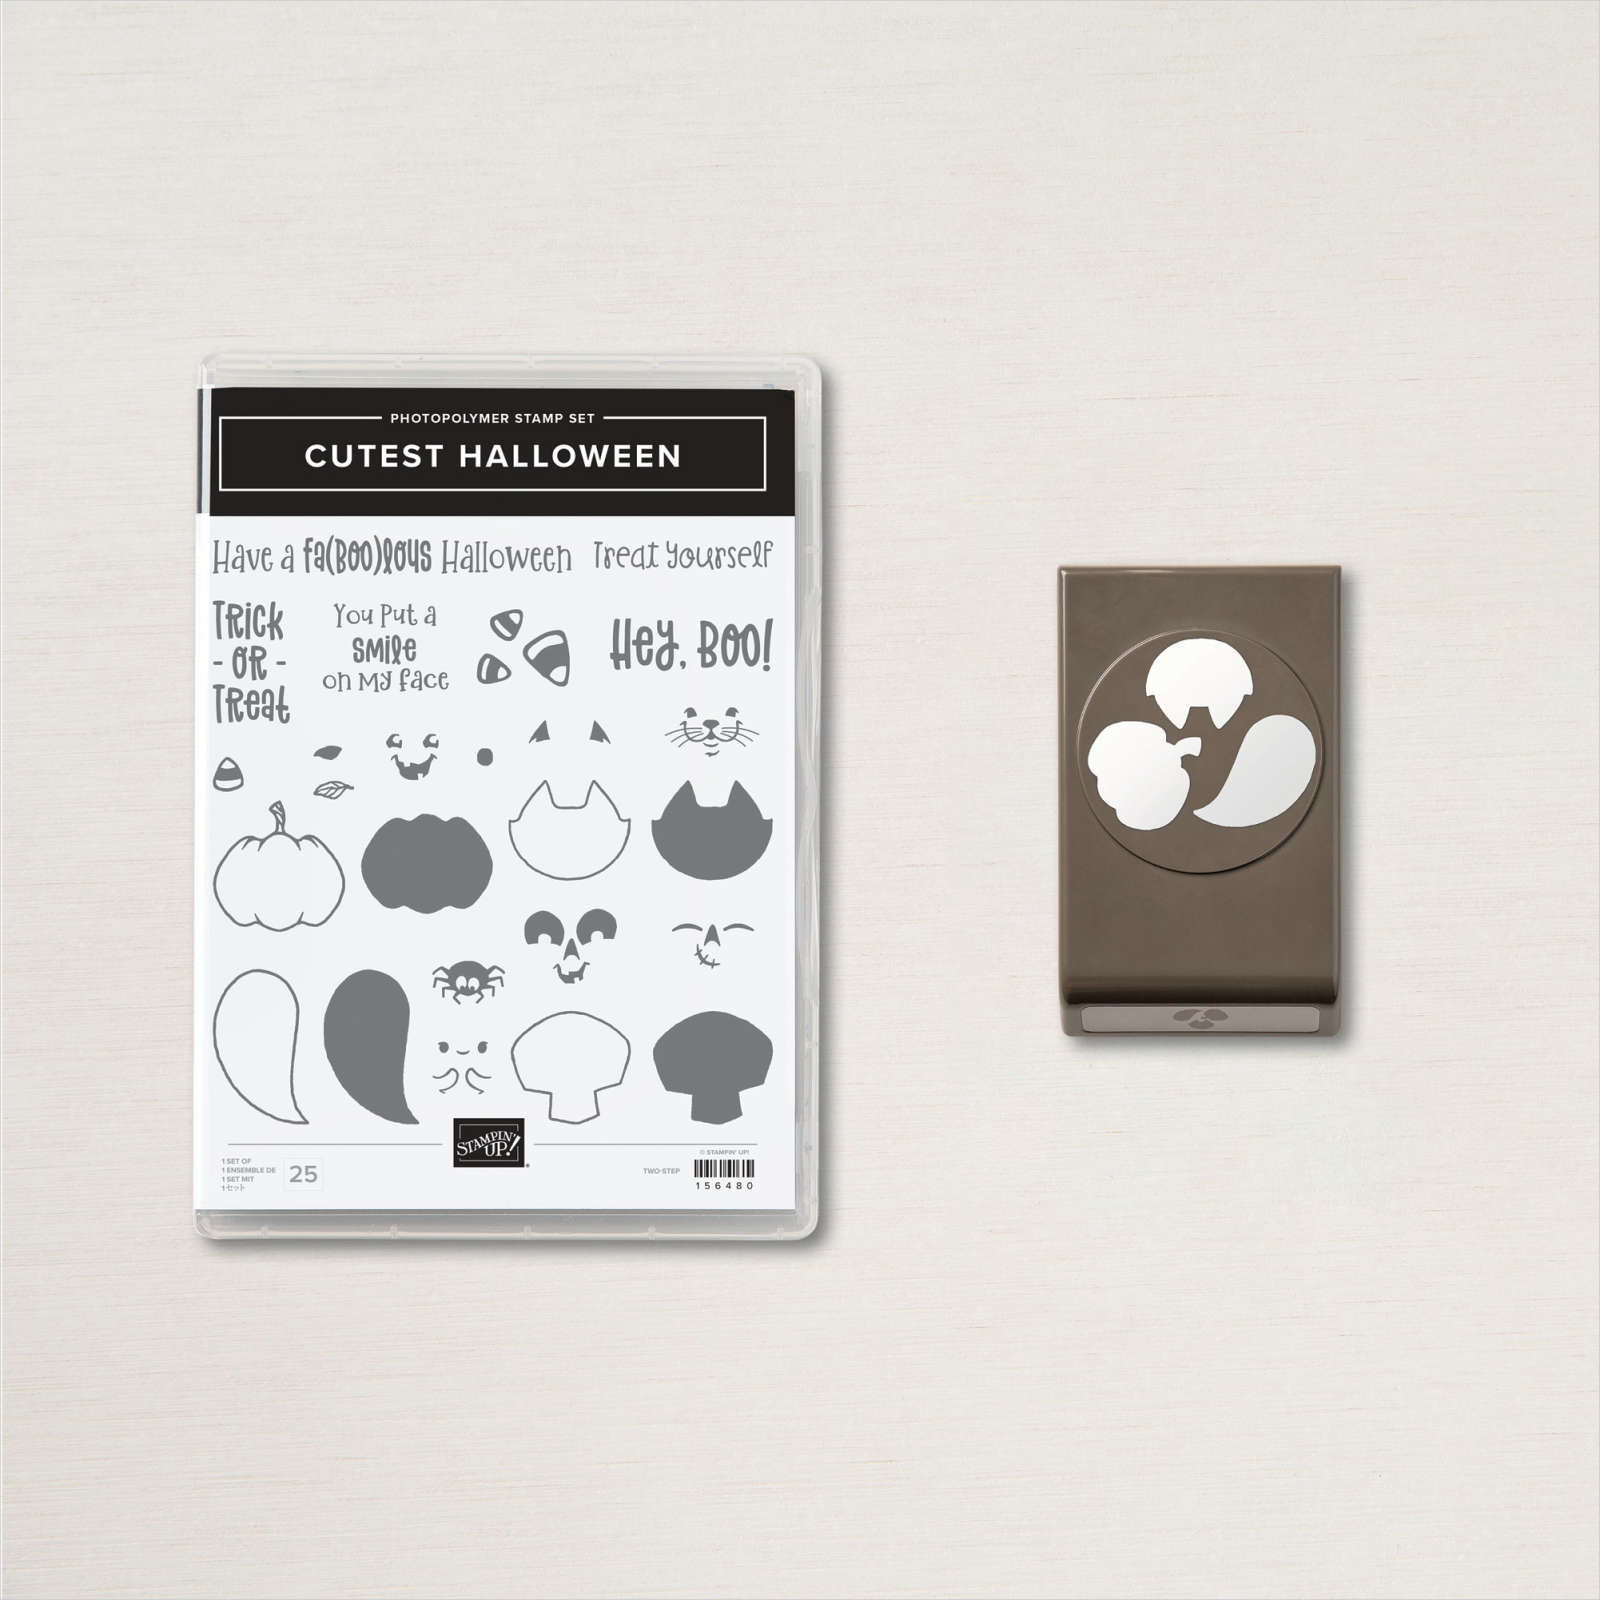
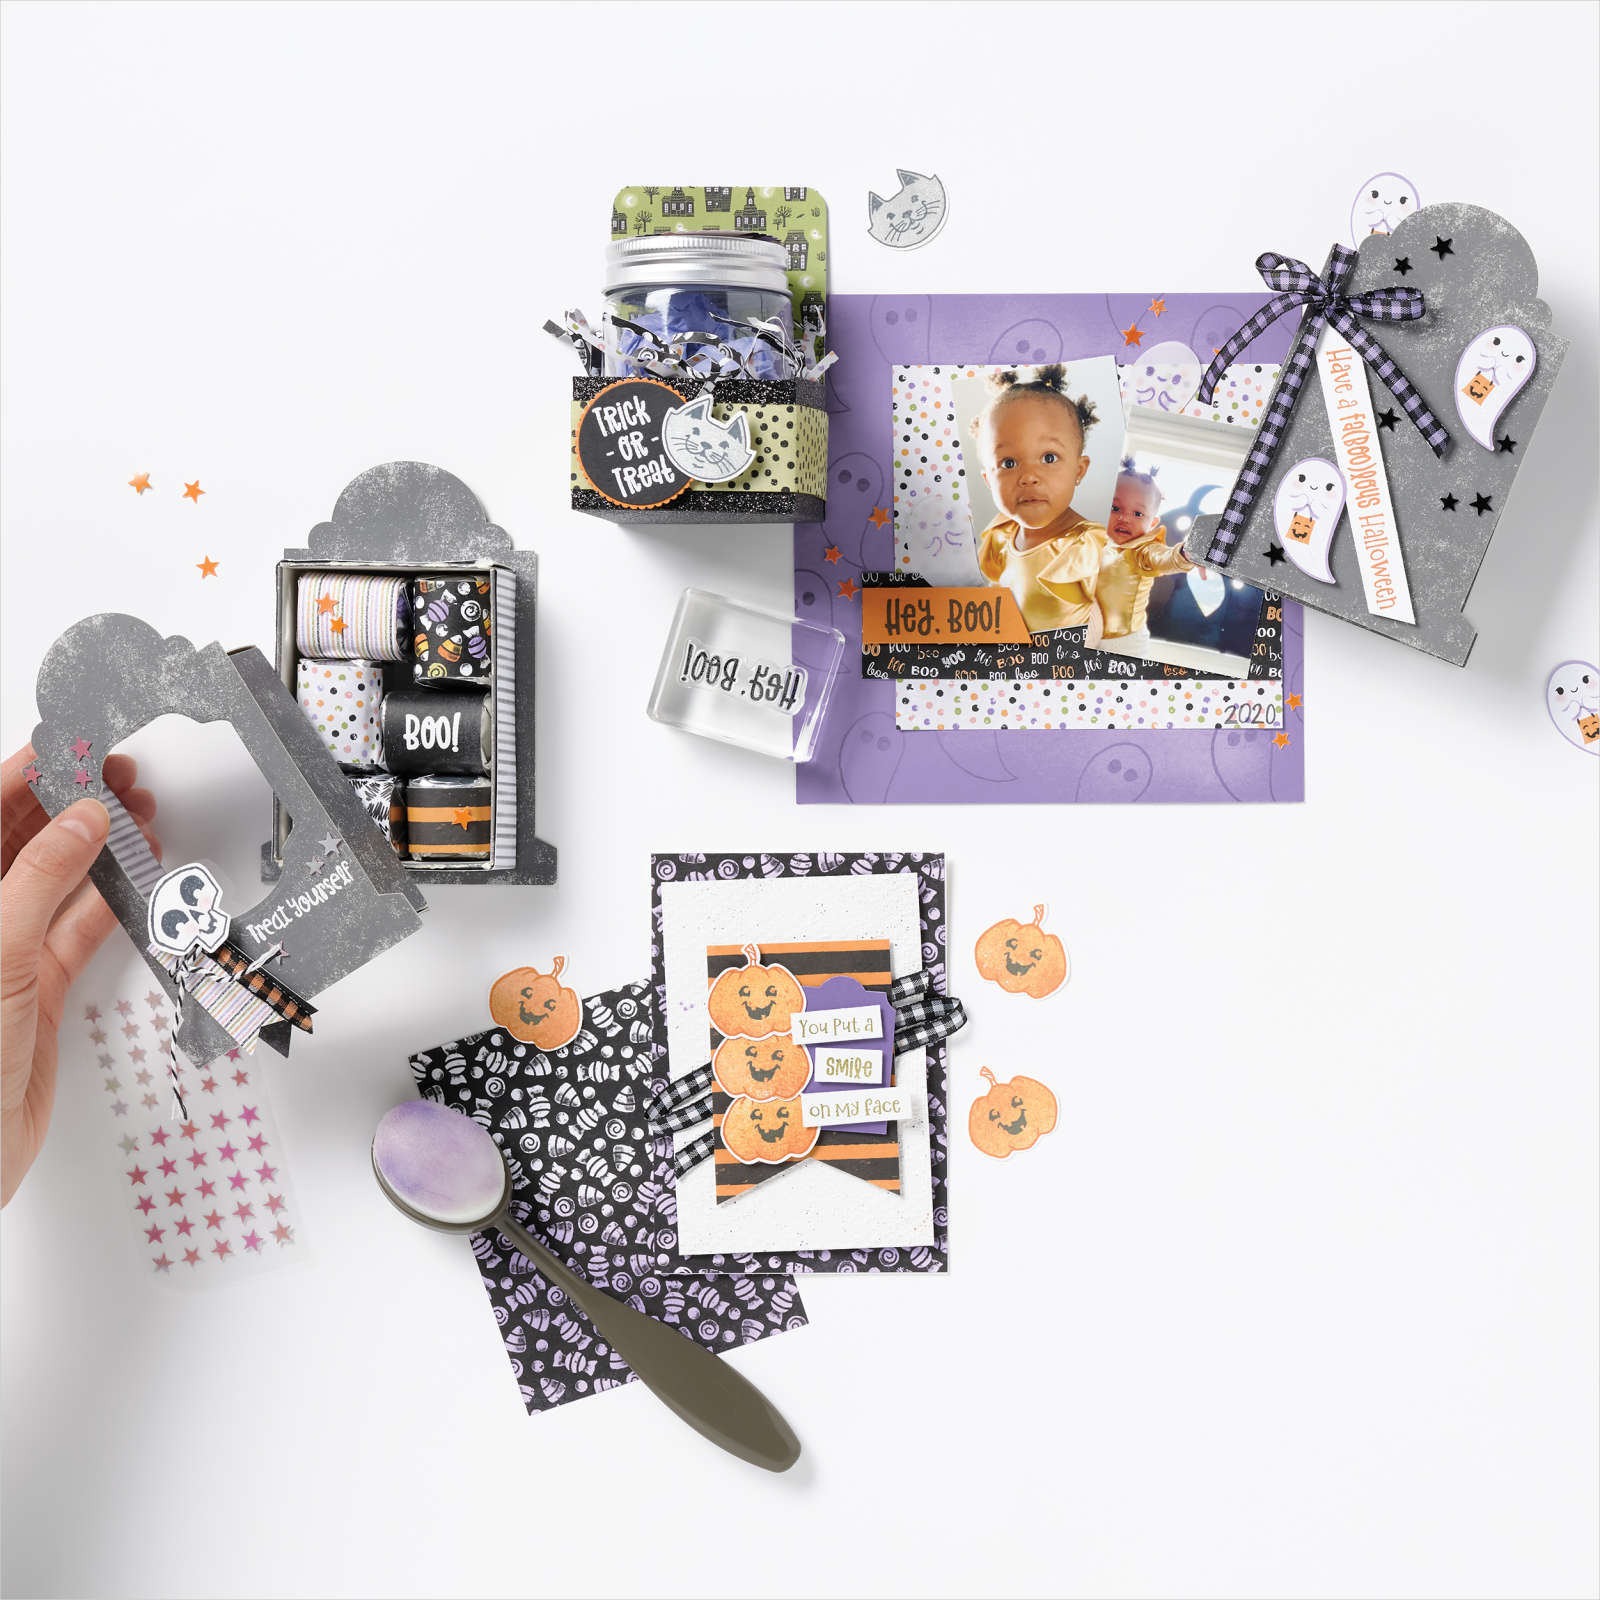
I’m not much into scary things. Actually I’m a total wimp around thrillers making Halloween not my favorite kind of celebration. That’s why I fell in love with the Cute Halloween Suite by Stampin’ Up! It’s all cute little pumpkins and ghosts, black cats and yes even friendly skulls. The sentiments in the stamp set are adorable and the fonts so fun.
Measurements
Full list of supplies needed, listed below. A die cutting machine is needed for this card.
Card Base: Basic Black Cardstock 4 1/4″ h x 11″ w scored at 5 1/2″ w and folded to 4 1/4″ h x 5 1/2″ w
Background: Highland Heather Cardstock 4″ h x 5 1/4″ w
White Rectangle: Basic White Cardstock 3 3/4″ h x 1″ w
Square Background: Gorgeous Grape Cardstock 3 3/4″ h x 3 3/4″ w
Squares (4): Cute Halloween Designer Series Paper 1 3/4″ h x 1 3/4″ w
Sentiment: Basic White Thick Cardstock Scrap with the Layering Circles Dies
Sentiment Matte: Highland Heather Cardstock Scrap Layering Circles Dies
Inside Layer (Optional): Basic White Cardstock 4″ h x 5 1/4″ w
Let’s Create
- Affix all stamps to Acrylic Blocks.
- Fold the Card Base in half using a Bone Folder to sharpen the crease.
- Attach the Highland Heather Background using Stampin’ Seal.
- Attach the White Rectangle using Stampin’ Seal.
- On the Gorgeous Grape Square Background, layout the 4 Cute Halloween DSP Squares. Once you get them where you want them, attach with Stampin’ Dimensionals.
- From the Cute Halloween DSP, fussy cut a cat, ghost and skull with bird. Attach to the DSP squares with Dimensionals.
- Stamp the Sentiment on Basic White Scrap and die cut with the Layering Circles Dies.
- Die cut the Highland Heather Sentiment Matte with the Layering Circles Dies.
- Attach the Sentiment to the Sentiment Matte.
- Add Stampin’ Dimensionals to the back of the Sentiment Matte. Attach a piece of Silver Trim behind the Sentiment Matte and attach to the Square Background.
- Attach the Gorgeous Grape Square Background with Stampin’ Dimensionals.
- Tie a bow with the Black and White Gingham Ribbon.
- Sprinkle with Cute Stars Adhesive Backed Sequins.
- Stamp the Inside Layer to your liking and attach with adhesive of your choice.
- Decorate your envelope.
- A-DORBS!!!! Who will you send it to?
Shopping List


 Designer Series Paper")
 Gingham Ribbon")


Stamper’s Toolkit
You will also need adhesive, acrylic blocks, scissors and other basic PaperCrafting items from the Stamper’s Toolkit


")


