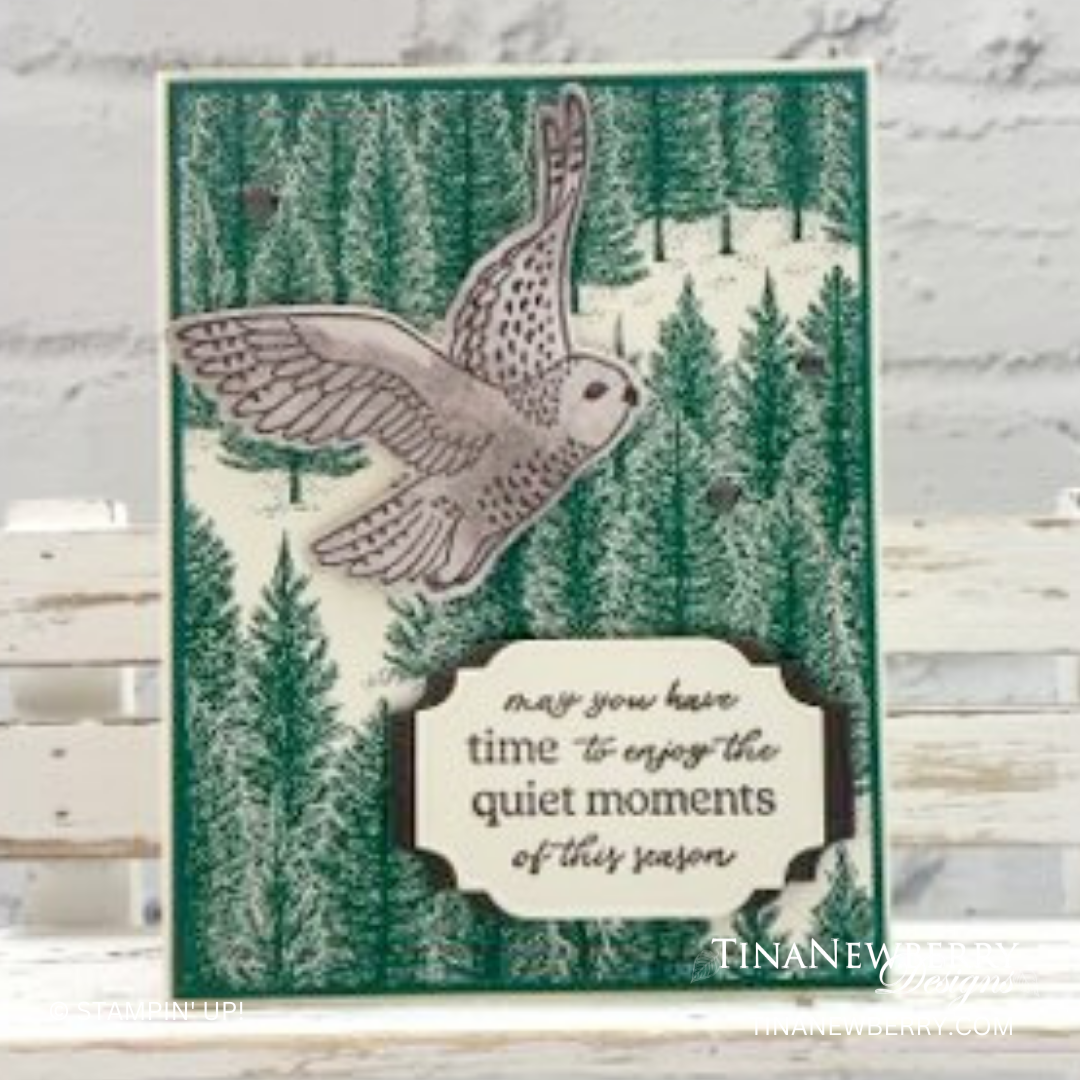
Can you imagine stamping all of those individual trees to make this forest background? I can’t either! Lucky for us we don’t have to! Use the Fragrant Forest background stamp with Shaded Spruce ink and this becomes a Quick & Easy card! My fave.

Measurements
Full list of supplies needed, listed below. A die cutting machine is needed for this card.
Very Vanilla
- 5 ½” x 8 ½” scored and folded on the long-side at 4 ¼”
- 5 ¼” x 4” for background
- 2 ¾” x 2” (for stamping and die cutting sentiment)
Shaded Spruce
- 5 ⅜” x 4 ⅛”
Early Espresso
- 2 ¾” x 2” (for die cutting mat around the sentiment)
Winter Meadow Designer Series Paper
- 3 ¼” x 3 ¼” (Mottled Print with brown coloring for stamping and die cutting flying owl)
Let’s Create
- Affix all stamps to Acrylic Blocks.
- Fold the Card Base in half using a Bone Folder to sharpen the crease.
- Using Shaded Spruce Ink pad and the Fragrant Forest Background stamp, create the background onto the 5 ¼” x 4” Very Vanilla piece of cardstock.
- Using Early Espresso ink, stamp the flying owl onto the 3 ¼” x 3 ¼” Winter Meadow Designer Series Paper.
- Using Early Espresso ink, stamp the sentiment onto the 2 ¾” x 2” Very Vanilla cardstock and die cut using the label die from the “All That” die set. Cut a label die using this same die from the 2 ¾” x 2” Early Espresso cardstock. Cut this die cut label in half and adhere to the back of the die cut sentiment so that it shows about ¼” on each side of the Very Vanilla sentiment.
- Assemble the card: Adhere the 5 ⅜” x 4 ⅛” shaded spruce cardstock onto the folded Very Vanilla card base.
- Adhere the stamped Very Vanilla panel to the card. Using Stampin’ Dimensionals, adhere the owl towards the upper left of the card. Using Stampin’ Dimensionals, adhere the layered sentiment toward the lower right of the card.
- Randomly place 3 of the Pebbled Path Adhesive Backed Dots from the 2023-2024 In Color Dots Assortment.
- Be sure to decorate the inside of the card and the envelope before sending to brighten someone’s day!
Shopping List
Recommended Stamper’s Toolkit ❤
Product List


