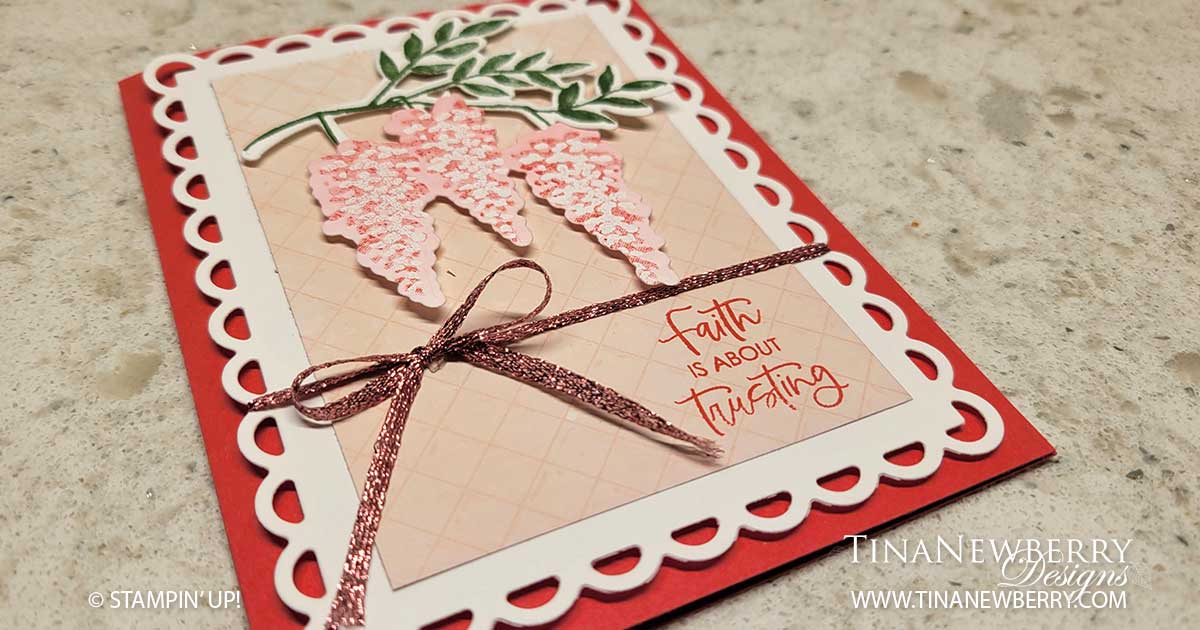
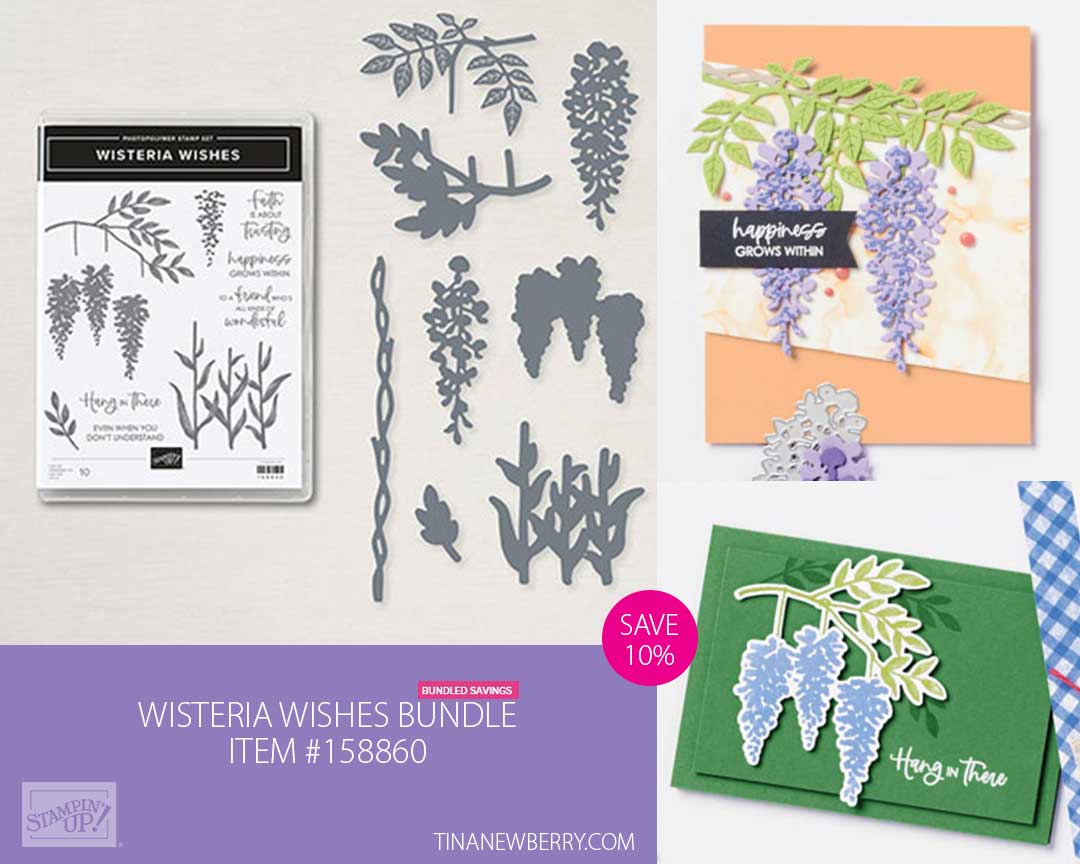
Create an endearing card of encouragement with the new Wisteria Wishes Bundle by Stampin’ Up! Using a blending brush with the new Sweet Sorbet In-Color stamp pad, you can give your wisteria blossoms a gradient look just like Pink Japanese Wisteria blossoms! I’ll show you how.
Measurements
Full list of supplies needed, listed below. A die cutting machine is needed for this card.
Sweet Sorbet Cardstock: 5 1/2″ h x 8 1/2″ w scored and folded on the long side at 4 1/4″
Basic White Cardstock:
- 5 1/2″ h x 4 1/4″ w for die cut
- scrap for branch and flowers
- 5 1/2″ h x 4/14″ w for inside
Design a Daydream 12″x12″ Host Designer Series Paper (DSP): 4 1/4″ h x 3″ w
Let’s Create
- Affix all stamps to Acrylic Blocks.
- Fold the Card Base in half using a Bone Folder to sharpen the crease.
- Die cut one 5 1/2″ h x 4 1/4″ w Bssic White Cardstock piece with the larges Color & Contours die.
- Stamp the Sentiment on the lower corner of the DSP with Sweet Sorbet ink.
- Attach the DSP to the die cut Basic White with Stampin’ Seal.
- Wrap the Sweet Sorbet Metallic Woven Ribbon around both layers and tie a bow just above the sentiment.
- Stamp the Branch in Garden Green ink and Die Cut.
- Use a blending brrush to apply Sweet Sorbet ink to a scrap piece of Basic White Cardstock taking care to blend from top to bottom so the top is darker than the bottom. Apply Sweet Sorbet ink to the blossom accent stamp and stamp on scrap paper before stamping on the Sweet Sorbet blended scrap. Clean the blossom accent stamp and then stamp again in Versamark ink, offsetting the Sweet Sorbet impression you made first. Sprinkle with white embossing powder and heat set. Then die cut with the wisteria blossom die.
- Attach the Wisteria Blossom to the Branch with Multipurpose glue. When set, attach to the DSP with Stampin’ Dimensionals.
- Attach the die cut Basic White layer with Stampin’ Dimensionals.
- Stamp and decorate the remaining 5 1/2″ h x 4 1/4″ w Bssic White Cardstock piece for the inside and attach with Stampin’ Seal.
- Decorate your envelope.
- Pretty! Now send it to someone special.
Shopping List
")


$9.50

$18.00


 Host Designer Series Paper")
 Metallic Woven Ribbon")

$35.00

$12.50
")
$30.00
Recommended Stamper’s Toolkit ❤
Product List
$12.00

$7.00

$4.25

$5.75

$5.50

$11.00

$26.00

$7.00

$6.50

$11.00

$20.00

$11.00

$80.75

$128.00


$16.00

$13.00


