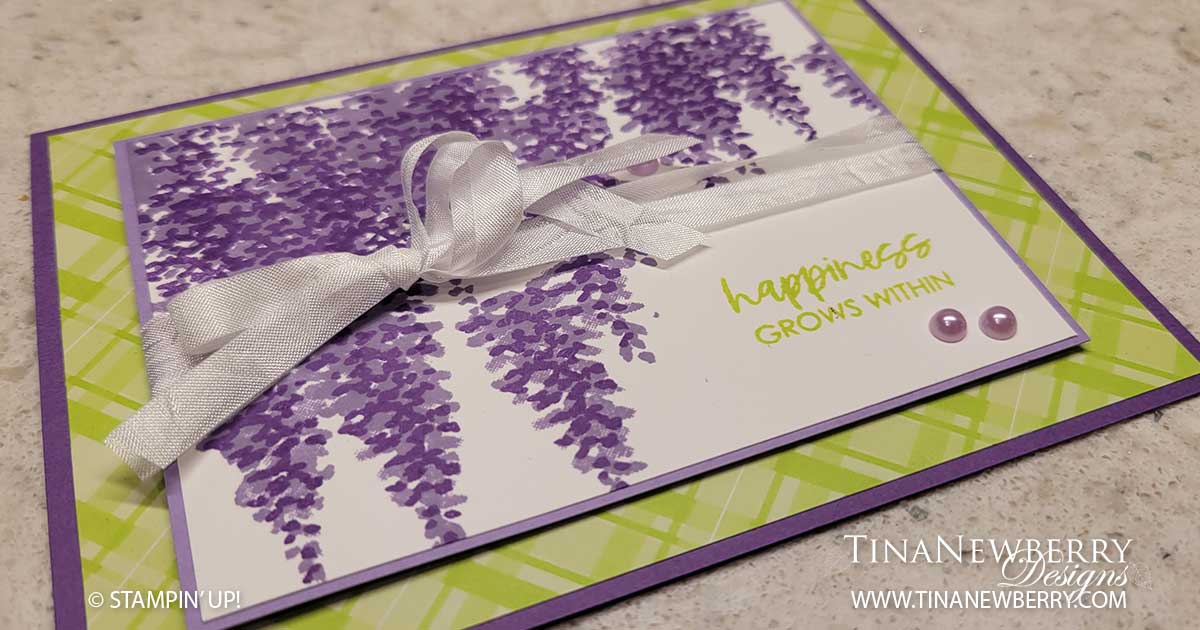
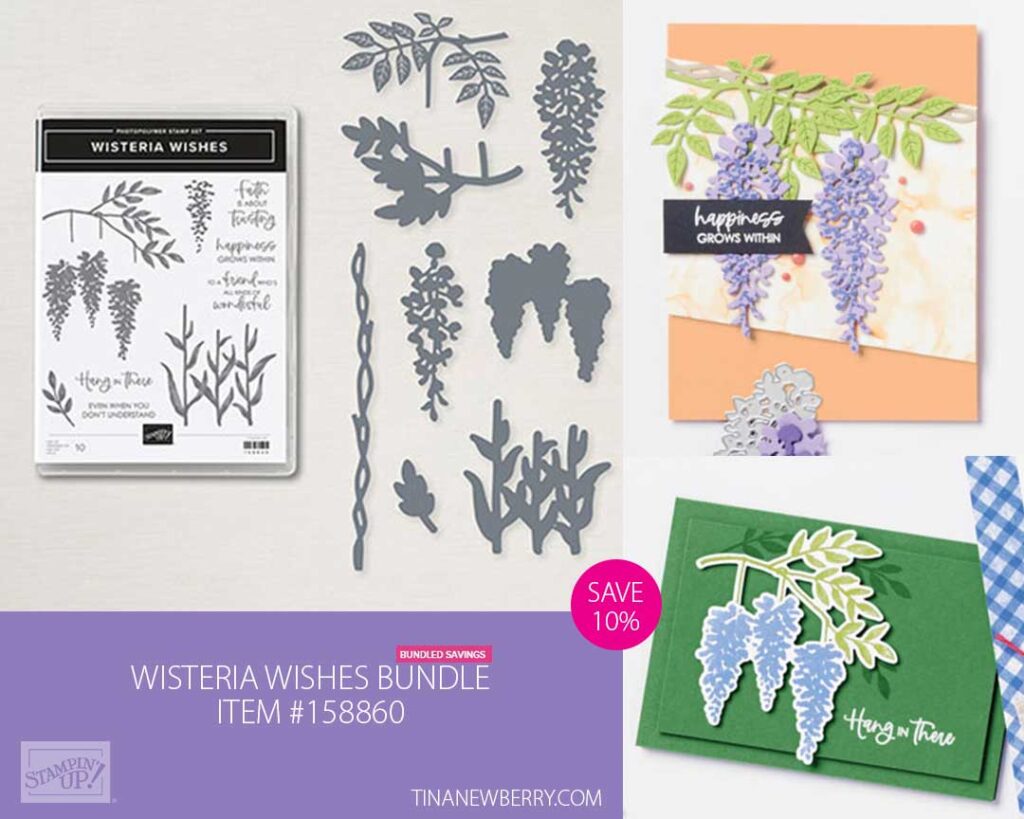
My parents have an arbor in their front yard in New Hampshire where a beautiful purple wisteria grows. The vines grow all around the arbor and have even shot across the lawn! Logan and I call it the Harry Potter vine. I’ve only seen it in bloom once or twice, but it sure is beautiful. When the Wisteria Wishes Stamp Set came out in the new Stampin’ Up! Annual Catalog, I knew I was in for hours and hours of fun creating with this pretty bundle. Create a cute quick & easy card in just minutes with the Wisteria Wishes Stamp Set and add a bit of pop with the Parakeet Party Plaid paper from the 2022-2024 In-Color Designer Series Paper Pack. Then use this layout over an over again with your other favorite stamp sets and patterned paper.
Measurements
Full list of supplies needed, listed below.
Gorgeous Grape Cardstock: 4 1/2″ h x 11″ w scored and folded on the long-side at 5 1/2″
Highland Heather Cardstock: 3 3/8″ h x 4 3/8″ w
2022-2024 Designer Series Paper (DSP): 4″ h x 5 1/4″ w
Basic White Cardstock:
- 3 1/4″ w x 4 1/4″ h
- 4″ h x 5 1/4″ w
Let’s Create
- Affix all stamps to Acrylic Blocks.
- Fold the Card Base in half using a Bone Folder to sharpen the crease.
- On the 3 1/4″ w x 4 1/4″ h Basic White Cardstock, stamp
- the sentiment in the lower right corner with Parakeet Party ink
- the wisteria flowers all around in Highland Heather
- the wisteria detail blossoms in gorgeous grape on top of every flower
- Use Stampin Seal’ to attach the stamped panel to the 3 3/8″ h x 4 3/8″ w Highland Heather panel.
- Double up 12″ of Crinkle Seam Binding, wrap around the stamped panel and tie a bow. Trim the ends as needed.
- Attach the Parakeet Party plaid piece to the folded Gorgeous Grape Card Base with Stampin’ Seal.
- Attach the stamped panel to the Parakeet Party with Stampin’ Dimensionals.
- Sprinkle on the Highland Heather pearls.
- Stamp and decorate the inside and attach with Stampin’ Seal.
- Decorate your envelope.
- Such a sweet card! Who will you send it to?
Recommended Stamper’s Toolkit ❤
Product List


