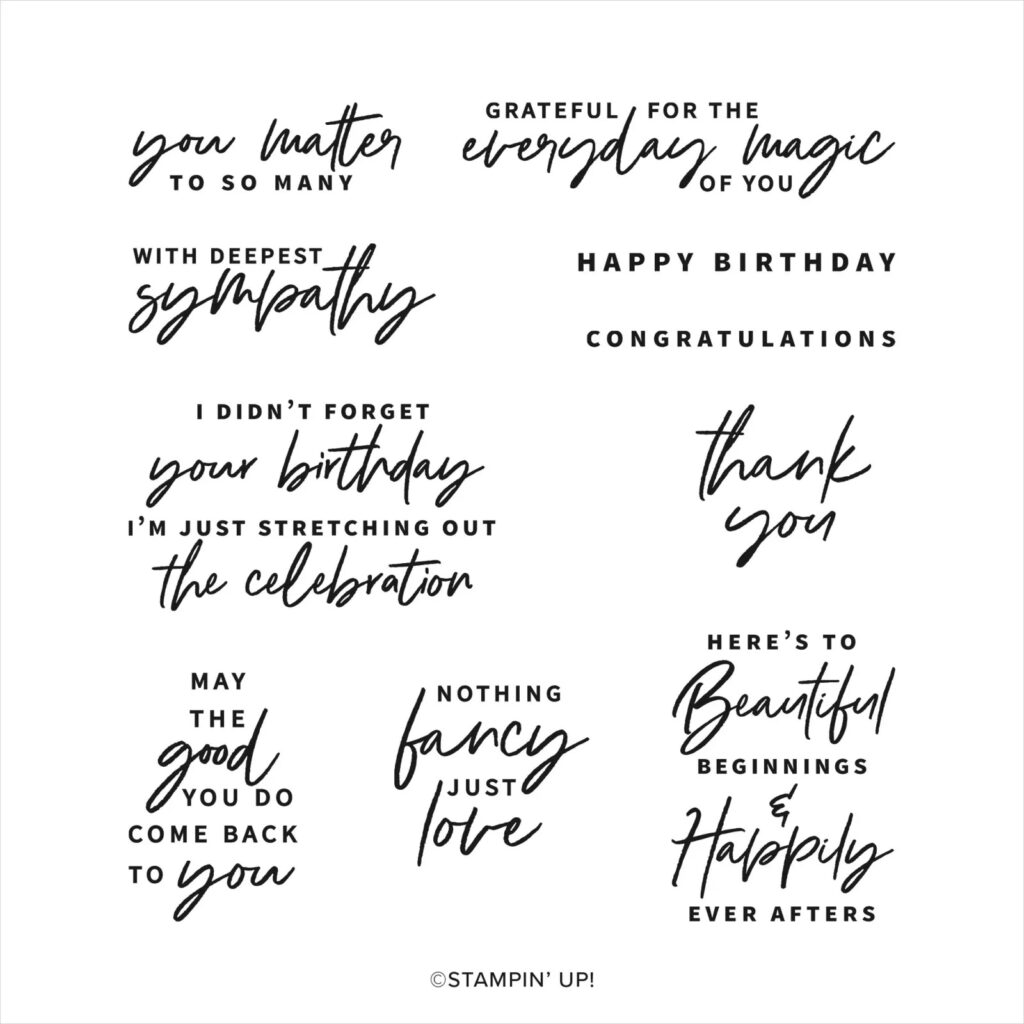
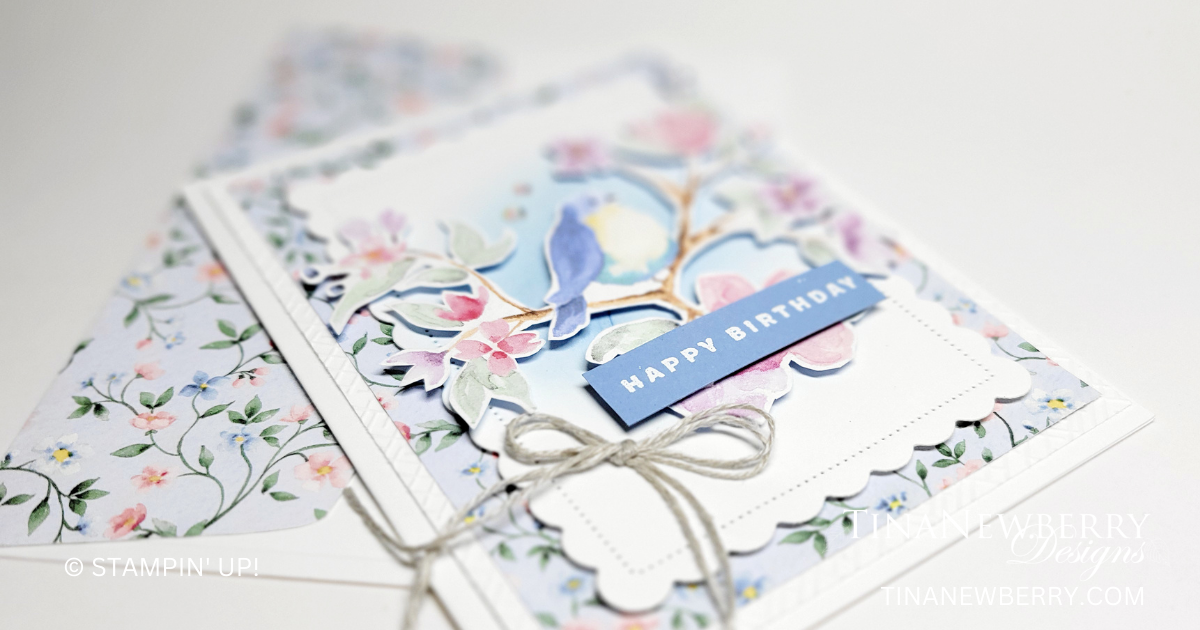
I’m finding it quite therapeutic to use my Paper Snips scissors to cut images out of Stampin’ Up!’s beautiful Designer Series Paper. And I couldn’t resist CASEing this stunning card by Kim McGillis, unsing the Flight & Airy free Sale-a-bration DSP, the Scalloped Contours Dies (retiring April 30), and the Something Fancy Stamp Set (NOT retiring! YAY).

Measurements
Full list of supplies needed, listed below. A die cutting machine is needed for this card.
Basic White Thick Cardstock: 5 1/2″ h x 8 1/2″ w folded to 5 1/2″ h x 4 1/4″ w
Basic White Cardstock:
- 5 1/4″ h x 4″ w
- 4 1/2″ x 3 1/2″ w
Boho Blue Cardstock: Scrap for sentiment
Flight & Airy Designer Series Paper (DSP):
- 5″ h x 3 3/4″ w
- Scrap of bird on a branch
Let’s Create
- Affix all stamps to Acrylic Blocks.
- Fold the Card Base in half using a Bone Folder to sharpen the crease.
- Run the 5 1/4″ h x 4″ w Basic White through the Stampin’ Cut & Emboss Machine with an embossing folder of your choice. Attach to the Card Base with Stampin’ Seal.
- Attach the DSP Panel with Stampin’ Seal.
- Run the 4 1/2″ x 3 1/2″ w Basic White through the Stampin’ Cut & Emboss Machine with the Scalloped Contour dies.
- With a blending brush, apply Boho Blue ink to the scalloped panel.
- Use Paper Snips to fussy cut the bird on the branch from the scrap DSP.
- Attach the bird to the scalloped panel with Stampin’ Dimensionals.
- Attach the scalloped panel with Stampin’ Dimensionals.
- Make the Sentiment
- Stamp the sentiment in Versamark Ink
- Sprinkle on white Embossing Powder
- Use a Heat Tool to heat set
- Use Paper Trimmer or Paper Snips to trim the sentiment to size.
- Attach the sentiment with Stampin’ Dimensionals.
- Double over a stand of Linen Thread and tie a bow. Attach with a Mini Glue Dot.
- Sprinkle on the Iridescent Rhinestone gems.
- Stamp and decorate the inside.
- Decorate your envelope.
- So lovely! Now send it to someone special.
Shopping List
Recommended Stamper’s Toolkit ❤
Product List


