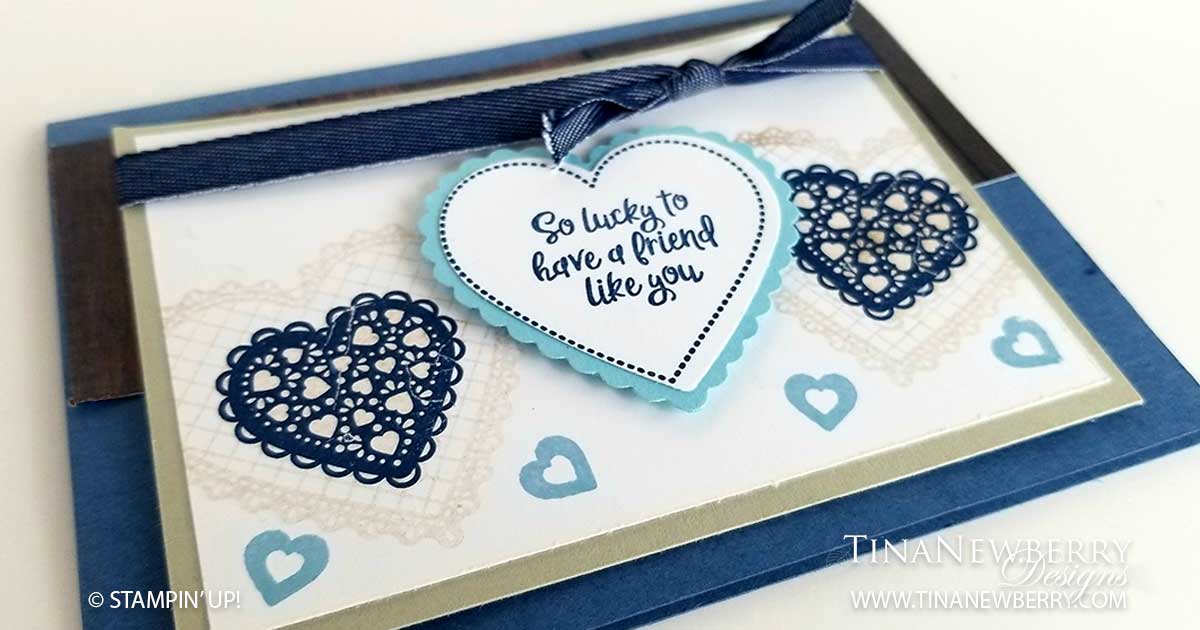
Hearts in non-traditional colors! Yay! Hearts for all seasons. Fun! Hmmm.. I should send this to a man. Any takers? The In Good Taste wood grain paper makes a nice contrast to the Sahara Sand and you guessed it, the new Misty Moonlight In-Color is making an appearance as the Card Base.
Cutting Dimensions
Full list of supplies needed are listed at the bottom of the page.
Card Base: Misty Moonlight Cardstock 8 1/2 h” x 5 1/2″ w folded to 4 1/4″ w x 5 1/2″ h
Background Strip: In Good Taste DSP 5 1/2″ h x 2″ w
Stamped Layer Matte: Sahara Sand Cardstock 4 3/4″ h x 3 1/2″ w
Stamped Layer: Whisper White Cardstock cut 4 1/2″ h x 3 1/4″ w
Ribbon: 6″ and 2″ Denim Ribbon
Scalloped Heart: Balmy Blue Cardstock with the Scalloped Heart Punch
Sentiment Heart: Whisper White Cardstock with the Plain Heart Punch
Instructions
- Affix all stamps to Acrylic Blocks.
- Fold the Card Base in half using a Bone Folder to sharpen the crease.
- Use Stampin’ Seal Adhesive to adhere the Background Strip to the Card Base.
- On the Stamped Layer, use Sahara Sand Ink to stamp the Large Scalloped Heart. Stamp off once for a lighter image.
- Use Night of Navy ink to stamp the Small Scalloped Heart over the Large Scalloped Heart, the Dotted Heart Outline and the Sentiment.
- Use Balmy Blue Ink to stamp the Tiny Hearts along the bottom.
- Use Stampin’ Seal Adhesive to adhere the Sentiment Heart to the Scalloped Heart.
- Use Stampin’ Seal Adhesive to adhere the Stamped Layer to the Stamped Layer Background.
- Affix the 6″ piece of Ribbon to the Stamped Layer Background.
- Use Dimensionals to Adhere the Scalloped Heart to the Stamped Layer.
- Use Dimensionals to Adhere the Stamped Layer Background to the Card Base.
- Tie the 2″ Ribbon in a knot.
- You’re Done! Now send some sunshine. Put it in the mail!
Product List
")


 Denim Ribbon")


Recommended Stamper’s Toolkit


Design inspired by Bonnie O’Neill.