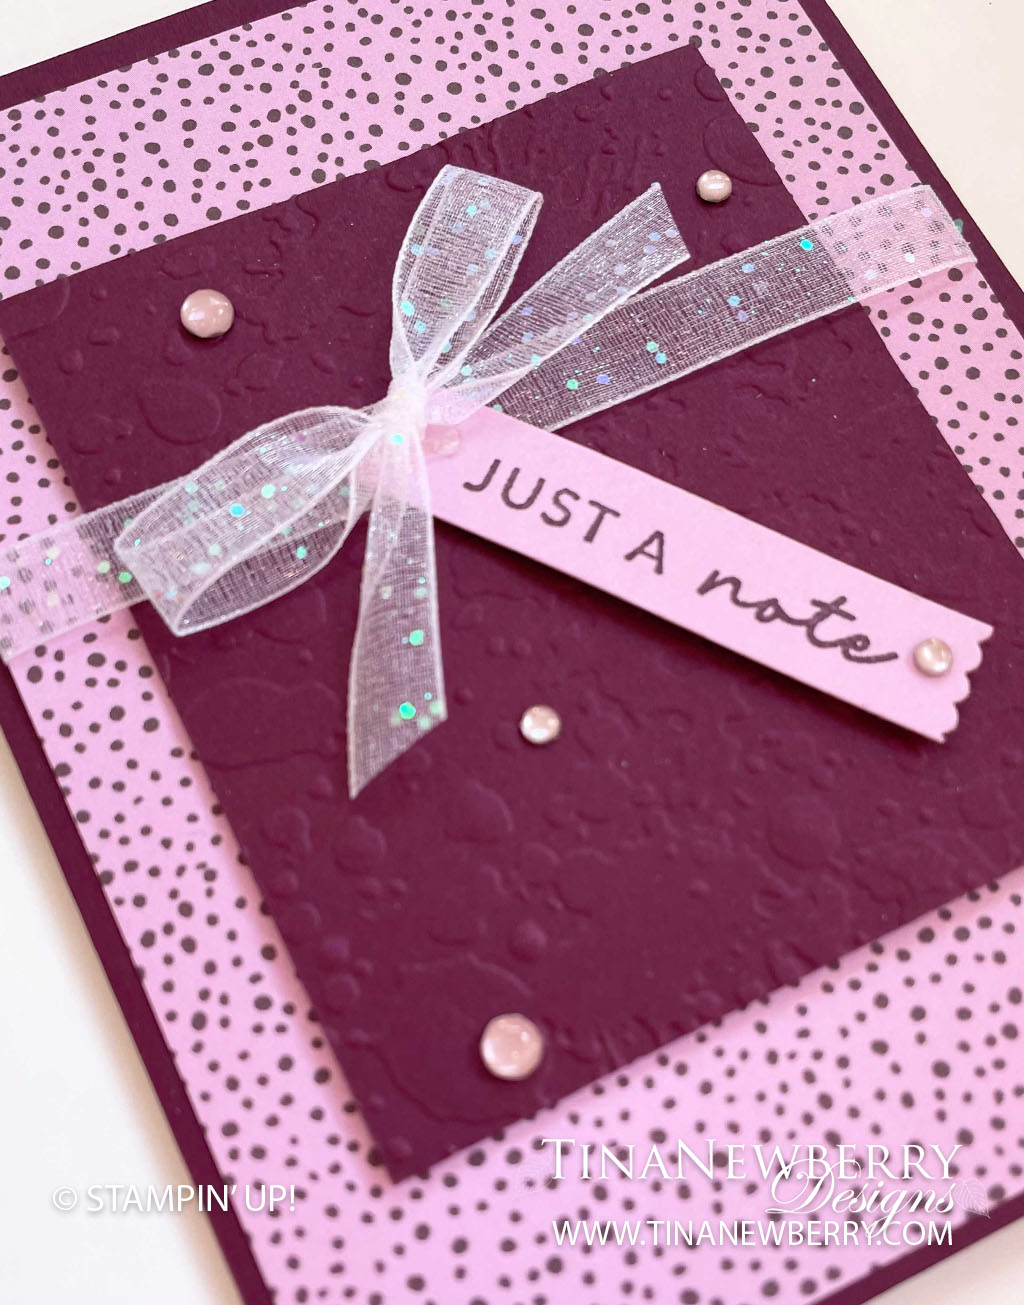
In a hurry and need a card? You’ve got it with this simple layout. Grab your favorite patterned paper and coordinating cardstock from your stash and pull this card together in minutes.
Measurements
Full list of supplies needed, listed below. A die cutting machine is needed for this card.
Card base: Blackberry Bliss cardstock 5 ½”h x 8 ½”w, scored at 4 ¼”
Background layer: Flowers & More DSP 5 ¼”h x 4”w
Embossed layer: Blackberry Bliss cardstock 3 ½”h x 3”w
Sentiment layer: Fresh Freesia cardstock ½”h x 3”w
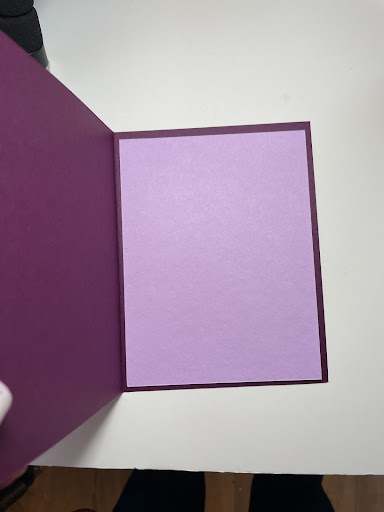
Interior greeting layer: Fresh Freesia cardstock 5 ¼” h x 4” w
Let’s Create
- Affix all stamps to Acrylic Blocks.
- Fold the Card Base in half using a Bone Folder to sharpen the crease.
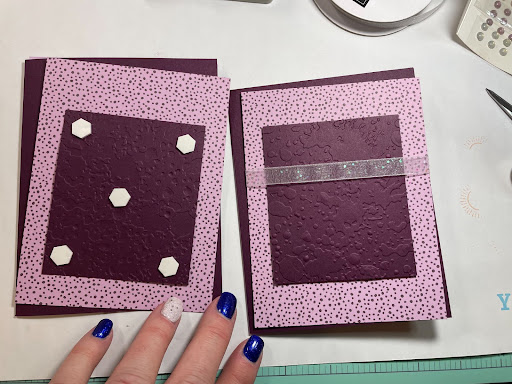
- Emboss Blackberry Bliss cardstock layer with the Splatters embossing folder.
- Adhere embossed Blackberry Bliss layer with Dimensionals onto the Flowers & More DSP layer.
- Wrap ribbon around the layers and adhere the ends to the backside.
- Adhere the layers onto the card front.
- Tie a ribbon bow and adhere with 1-3 Mini Glue Dots.
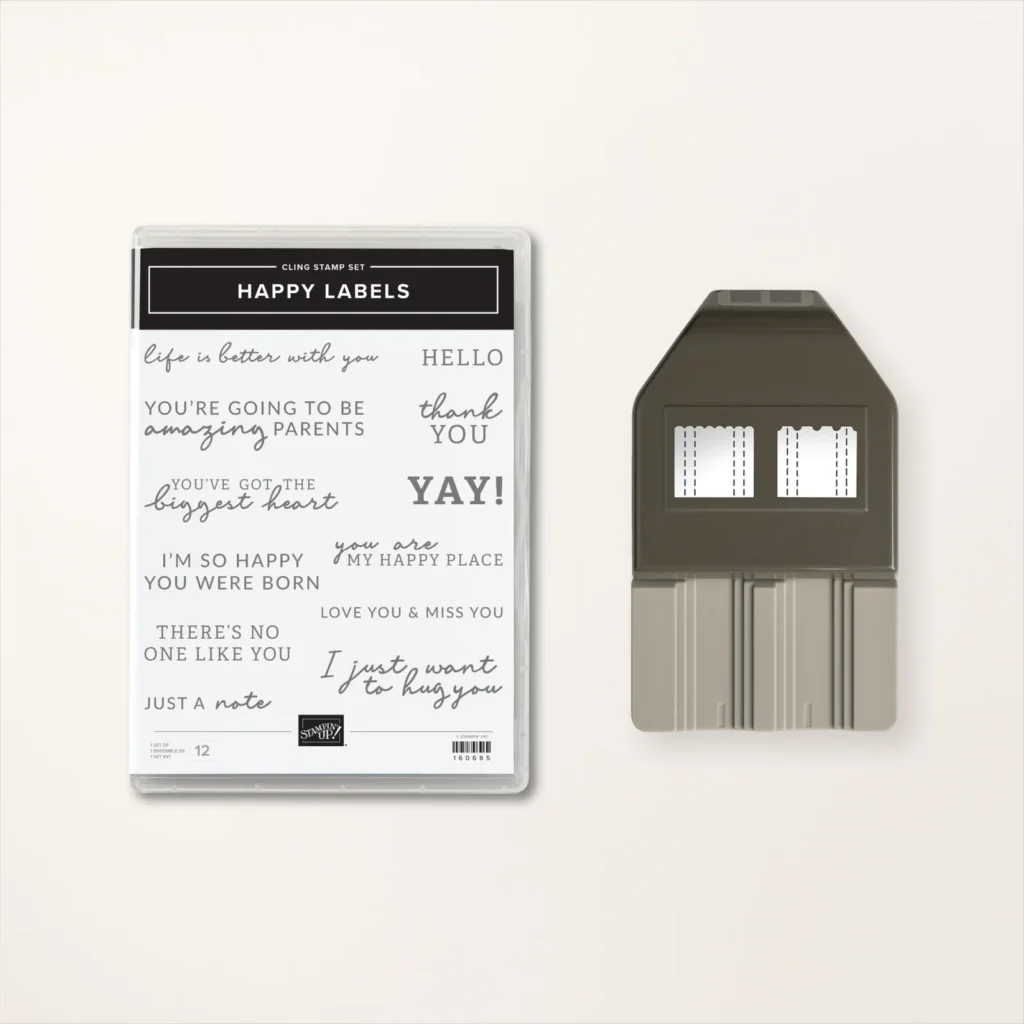
- Stamp the sentiment with Blackberry Bliss Stampin’ Pad onto the Fresh Freesia cardstock layer.
- Punch the right hand end with the Happy Labels Punch, left hand side is plain.
- Adhere the sentiment label onto the card front with Dimensionals on diagonal, tuck the end under the ribbon.
- Embellish with Adhesive Backed Milky Dots.
- Adhere the Fresh Freesia cardstock layer into the interior of the card base with Stampin’ Seal.
- Decorate your envelope.
- Very nice! Now send it to someone special.
Shopping List
")


 Host Designer Series Paper")

 Glittered Organdy Ribbon")

Recommended Stamper’s Toolkit ❤
Product List
$12.00

$7.00

$4.25

$5.75

$5.50

$11.00

$26.00

$7.00

$6.50

$11.00

$20.00

$11.00

$80.75

$128.00


$16.00

$13.00


