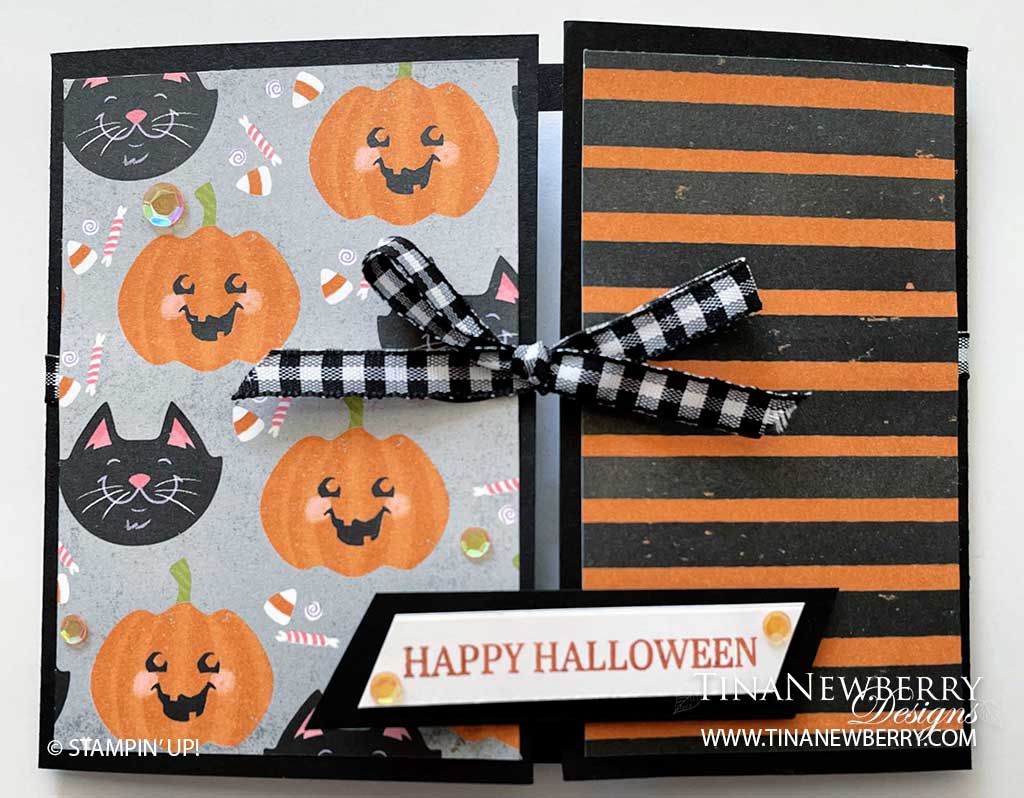
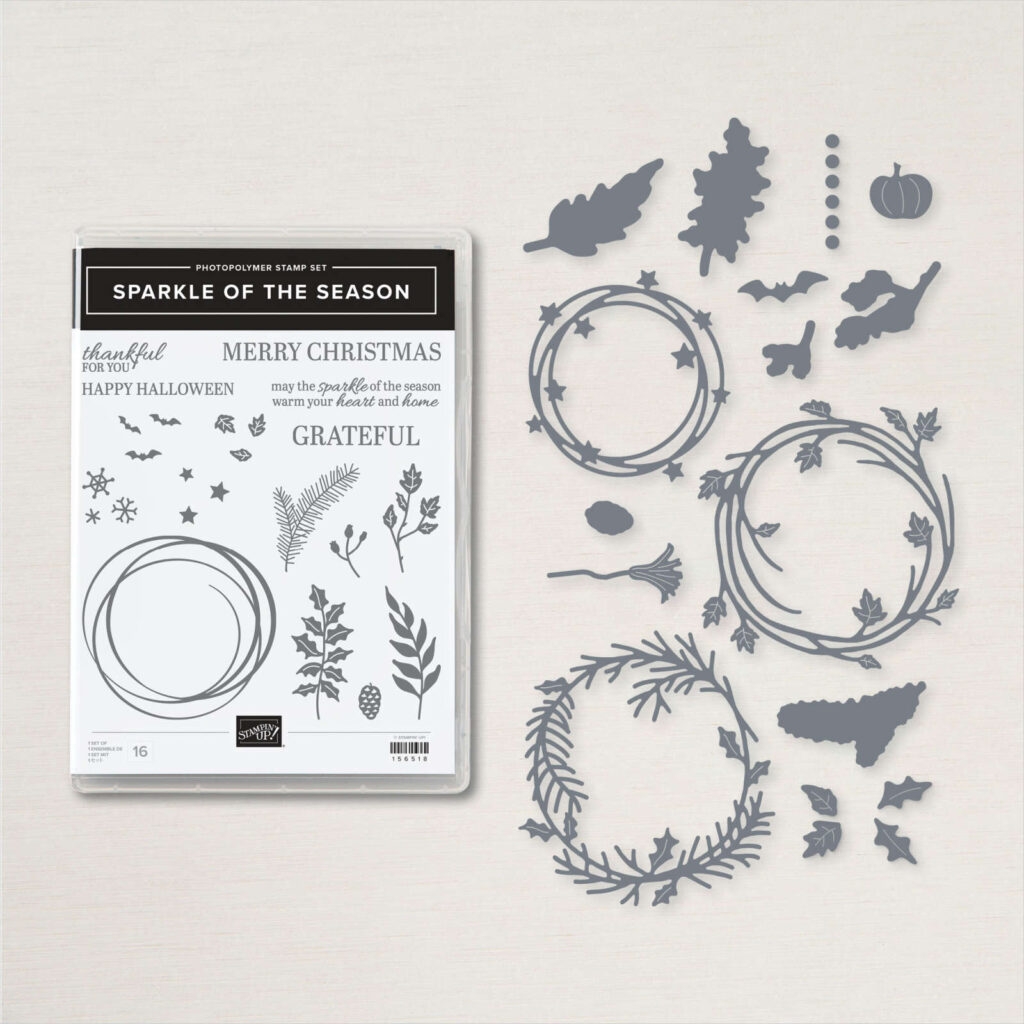
Aren’t the little faces on these pumpkins and cats SO CUTE!!!! They make me happy paired with the fun pumpkin and black striped paper from the Cute Halloween Suite. Eek adorable, but it’s the Happy Halloween sentiment I adore from the Sparkle of the Season Bundle. This Bundle is versatile holiday season Bundle covering Halloween, Thanksgiving AND Christmas all in one! Make this Quick & Easy card – with a fun fold in a jiffy when you combine the Cute Halloween Designer Series Paper with the Sparkle of the Season Bundle.
Measurements
Full list of supplies needed, listed below.
Card Base: Basic Black Cardstock to 4 ¼” h x 11” w. Score and fold on the long side at 3” and 8 ½” to make a barn door card.
Background Pieces (5):
Cute Halloween Designer Series Paper (4)
Front: 4″ h x 2 ¾” and 4″ h x 2 ¼” h
Inside: 4″ h x 1 ¼” w and 4″ h x 1 ½” w
Basic White Cardstock (1)
Inside: 4″ h x 2 1/4″ w
Sentiment Matte: Basic Black Cardstock 3/4″ h x 3″ w
Sentiment Layer: Basic White 1/2″ h x 2 3/4″ w
Inside Layer: Basic White Cardstock 4″ h x 5 1/4″ w
Let’s Create
- Affix all stamps to Acrylic Blocks.
- Fold the Card Base in half using a Bone Folder to sharpen the crease.
- Wrap the Black & White Gingham Ribbon around the card and tie a bow at the front, center of the card.
- Adhere the 2 Cute Halloween DSP Background pieces to the card front panels, right over the ribbon using Stampin’ Seal+.
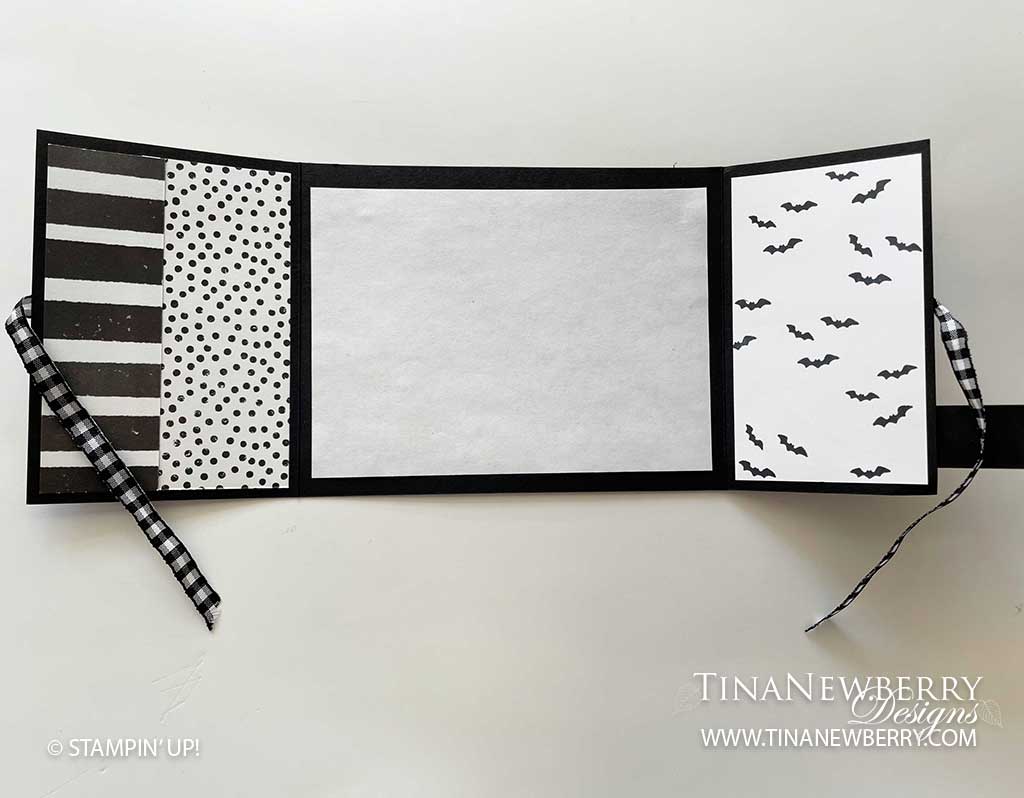
- Adhere two Cute Halloween DSP inside Background pieces to the left side interior flap using Stampin’ Seal.
- Use Memento stamp pad to stamp bats all over the 2 ¼” x 4” Basic White Background piece. Adhere this to the interior right side flap using Stampin’ Seal.
- Stamp and decorate the inside 4″ h x 5 1/4″ w Basic White Background layer and use Stampin’ Seal attach to the interior center panel..
- Stamp the sentiment with Pumpkin Pie Stampin’ Pad onto the ½” x 2 ¾” Basic White cardstock Sentiment Layer. Use Paper Snips to cut angles on each end of the sentiment.
- Adhere the sentiment layer onto the Basic Black ¾” x 3” Sentiment Matte piece with Stampin’ Dimensionals and use Paper Snips to cut angles at each end of Sentiment Matte.
- Adhere the layered sentiment with Dimensionals to the right side panel card front, so that it overlaps the center of the card but is only adhered to the right side panel.
- Sprinkle on some Artistry Blooms sequins.
- Decorate your envelope.
- Adorbs!! Who will you send it to?
Shopping List
")


 Designer Series Paper")

 Gingham Ribbon")
Stamper’s Toolkit
You will also need adhesive, acrylic blocks, scissors and other basic PaperCrafting items from the Stamper’s Toolkit


")


