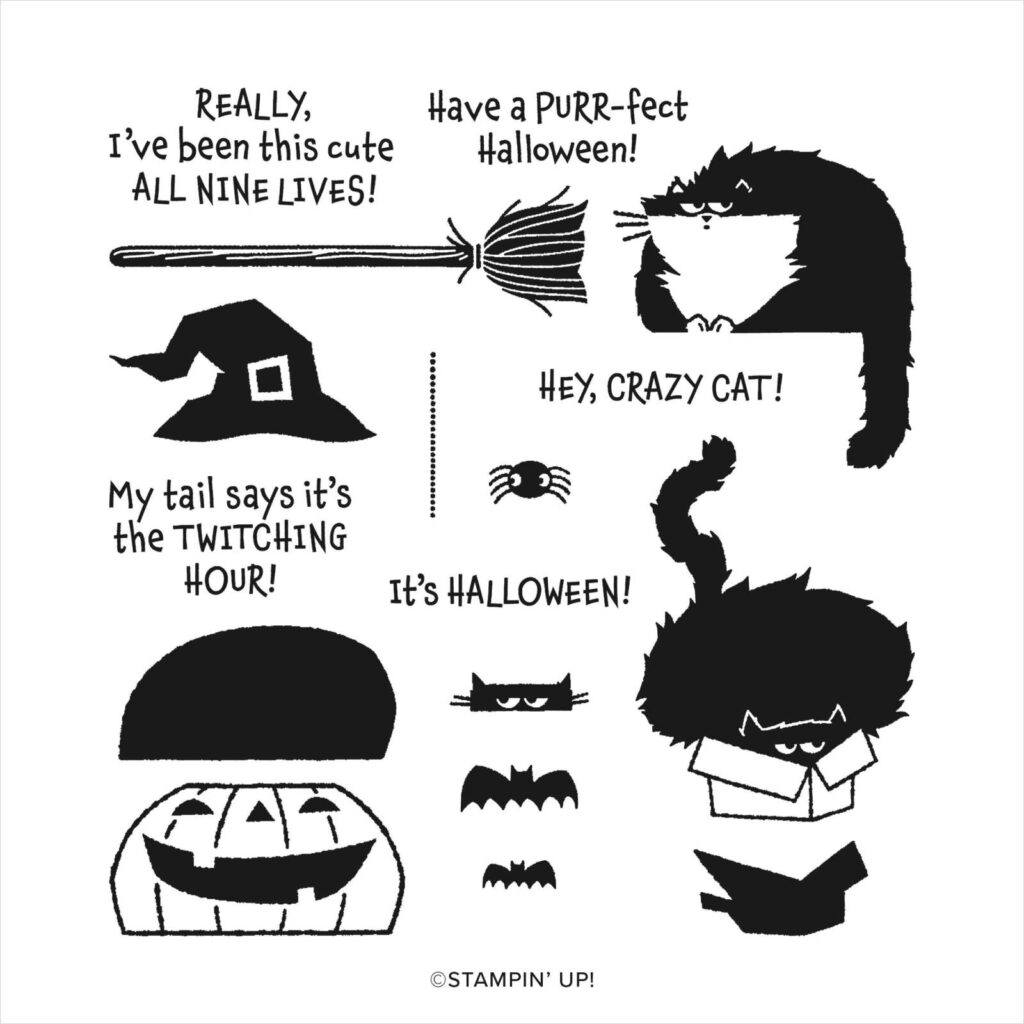
I’ve had many cats over the years and most have been quite entertaining. Each with their own personality. The big fat cat in the box in this stamp set made me chuckle and reminded me of Fletcher, a stray feral kitten we adopted about 8 years ago. He continues to be a bit wild living the dream on an inlet at our dear friends’ the Lynn’s, and for sure will be the first to try to fit in a box half his size. Bwahahah!
Measurements
Full list of supplies needed, listed below.
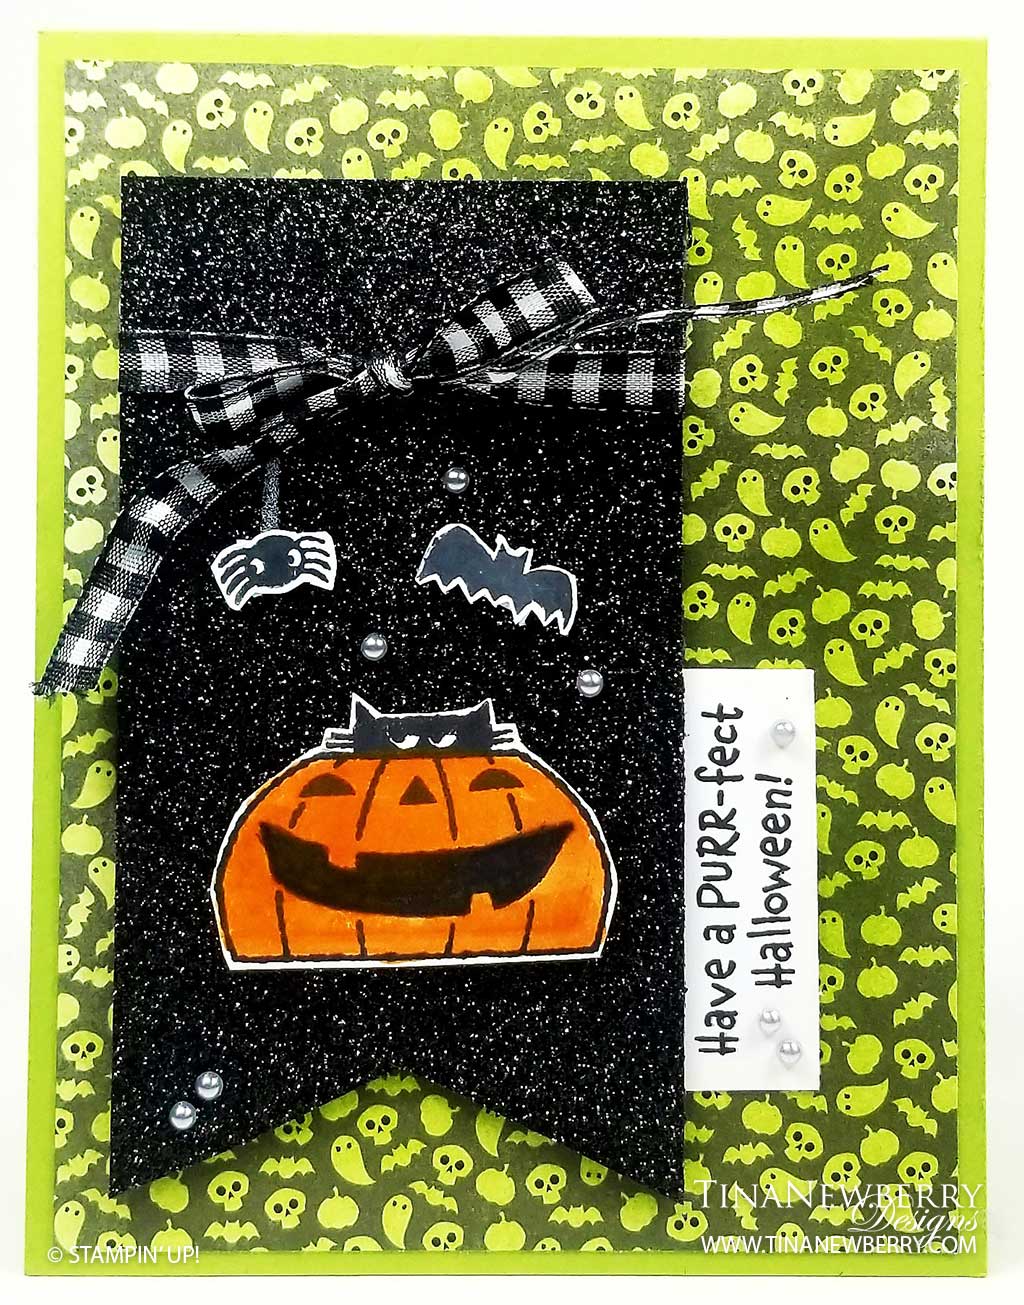
Card Base: Granny Apple Green Cardstock 5 1/2″ h x 8 1/2″ w folded to 5 1/2″ h x 4 1/4″ w
Background: Cute Halloween Designer Series Paper 5 1/4″ h x 4″ w
Banner: Black Glitter Paper 4 1/2″h x 2 1/2″ w
Sentiment Layer: Basic White Cardstock scrap
Pumpkin, Bat, & Spider: Basic White Cardstock scrap
Inside Layer (optional): Basic White Cardstock 5 1/4″ h x 4″ w
Let’s Create
- Affix all stamps to Acrylic Blocks.
- Fold the Card Base in half using a Bone Folder to sharpen the crease.
- Use a Blending Brush to apply Granny Apple Ink to the Cute Halloween Designer Series Paper Background and then attach using Stampin’ Seal.
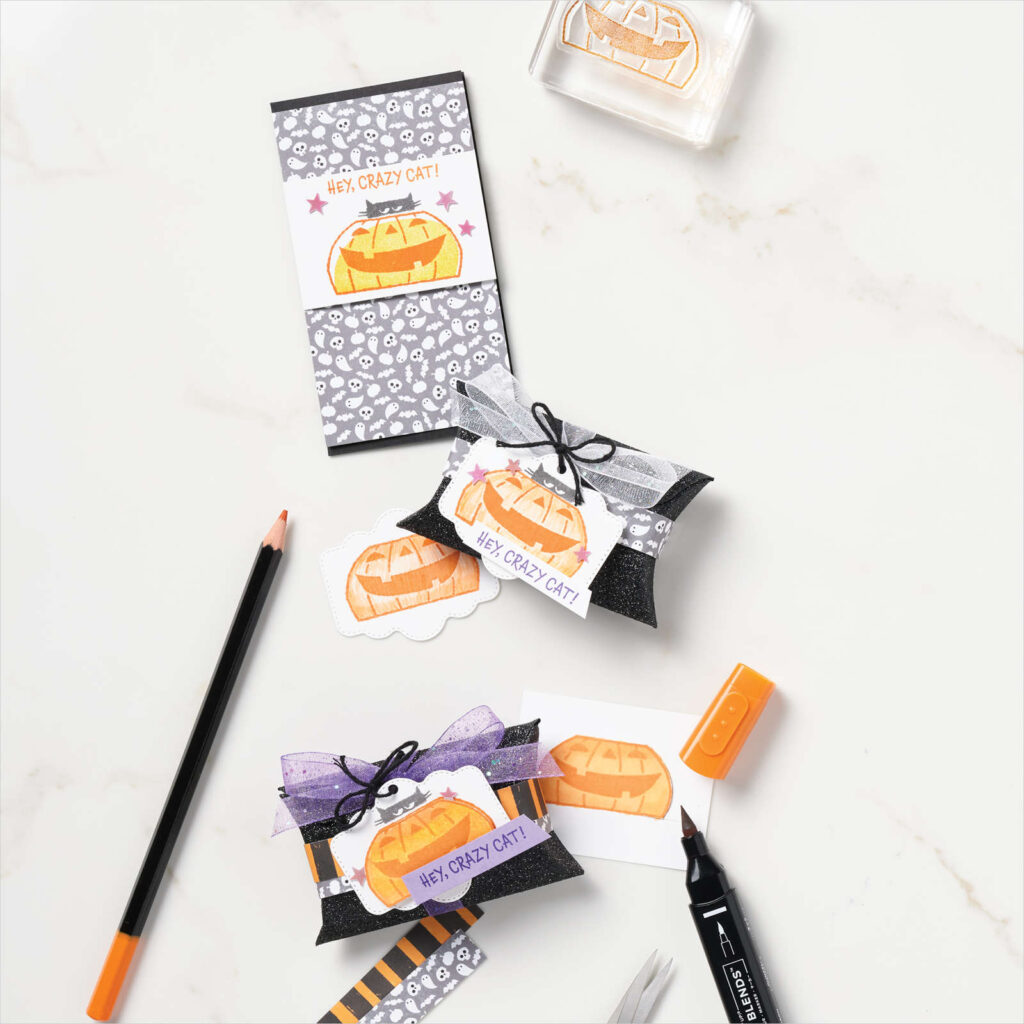
- Stamp the Spider, Pumpkin, Bat and Sentiment using Tuxedo Black Memento Ink on Basic White Cardstock scrap and stamp the Pumpkin fill stamp in Pumpkin Pie. If preferred, use a Pumpkin Pie Stampin’ Blend to darken the color on the Pumpkin.
- Fussy cut all of them out and set aside.
- To create the banner tip:
- Gently pinch one end of the Black Glitter Banner layer in half to mark the middle. Then unfold.
- Use Paper Snips to cut a 1/4″ – 1/2″ slit along the center crease you just made. The longer your slit the deeper your banner will be.
- Cut from the corner to the bottom of the slit, removing a triangle. Repeat from other corner.
- Wrap about 6″ of Black and White Gingham Ribbon around the top of the Banner and tie a bow.
- Use Stampin’ Dimensionals to attach the Spider, Pumpkin and Bat to the Banner – extra adhesive may be needed to adhere to the Glitter Paper.
- Use a Chalk Marker to draw a spider web strand from the Ribbon to the Spider.
- Use Stampin’ Dimensionals to attach the Banner.
- Use Stampin’ Seal to attach the Sentiment.
- Sprinkle with Silver Metallic Pearls.
- Stamp the Inside Layer to your liking and attach with adhesive of your choice.
- Decorate your envelope.
- HA! Love it! Who will you send it to?
Shopping List
Stamper’s Toolkit
You will also need adhesive, acrylic blocks, scissors and other basic PaperCrafting items from the Stamper’s Toolkit


