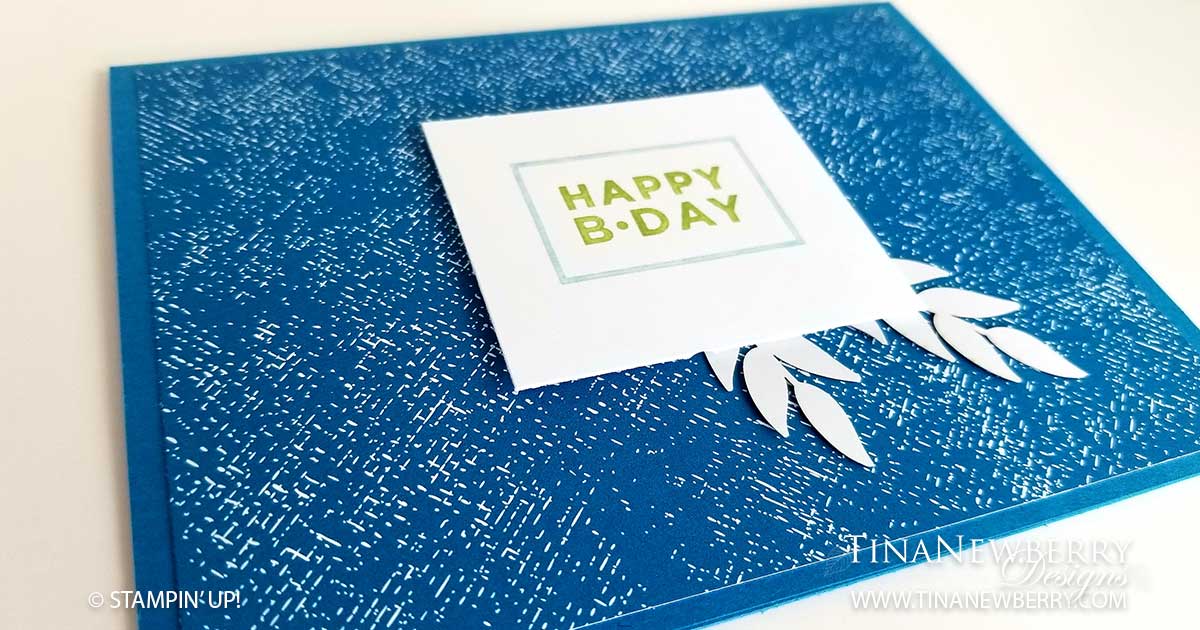
This one’s for the boys! This super simple, cute card took me just 10 minutes to make. I used my resources with the printed paper, some markers and the white side of the Forever Greenery Gold Foil Die Cuts. The Happiest of Birthdays Stamp Set pulled it all together. Now, if only I could stamp straight! LOL.
Full list of supplies needed, listed below.
Card Base: Pacific Point Cardstock 8 1/2 h” x 5 1/2″ w folded to 4 1/4″ h x 5 1/2″ w.
Background: Brights DSP 4″ h x 5 1/4″ w
Sentiment Layer: Whisper White Cardstock 2″ h x 2 1/4″ w
- Affix the stamp to an Acrylic Block.
- Fold the Card Base in half using a Bone Folder to sharpen the crease.
- Attach the Background Layer to the Card Base using Stampin’ Seal.
- Use the Stampin’ Write Markers to color the Sentiment. When you are done, huff on the stamp to re-wet it and stamp the Sentiment onto the Sentiment Layer.
- Affix the leaves or sprigs of your choice with Multipurpose Liquid Glue or Stampin’ Seal.
- Attach the Sentiment Layer to the Card using Dimensionals
- Ta Da! Who will you send it to?
Learn the Markering Technique
The products listed in this video are out of date, but the techniques work just as well on current Stampin’ Write Markers.
Product List
Recommended Stamper’s Toolkit ❤
Product List


