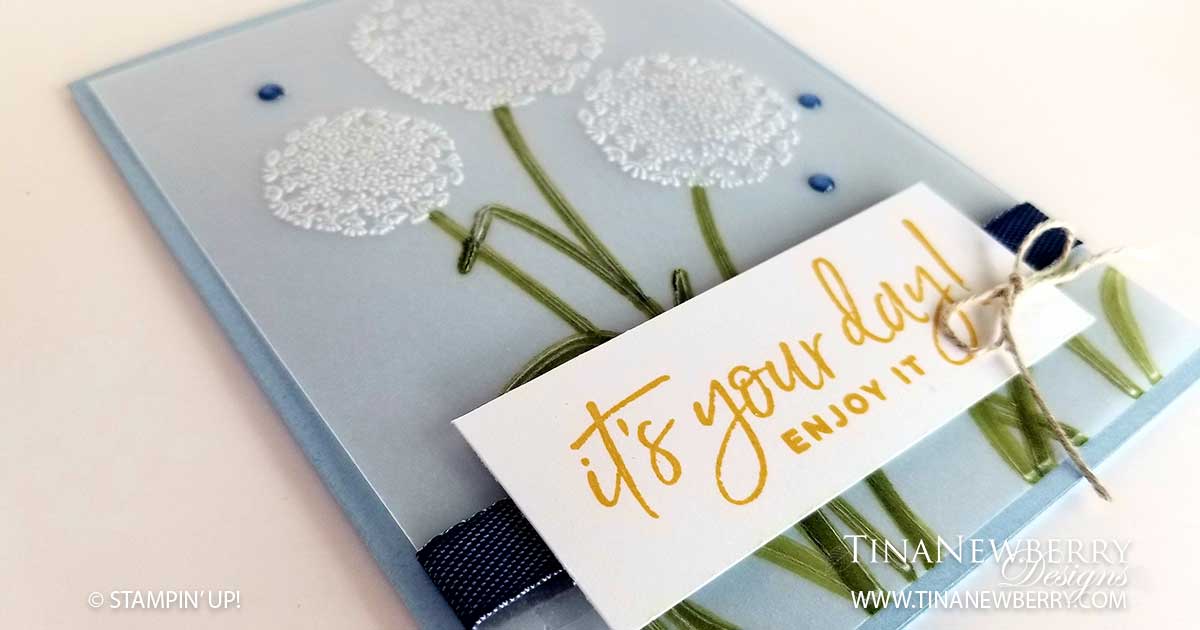
Isn’t this card cheery? Hard to believe dandelions are weeds when they are so pretty. I copied this card straight from the 2020-20201 Annual Catalog. You can find it on page 103. I was intrigued to figure out how the designer made the dandelions. I thought for sure she inked her embossing folder. Boy was I wrong! She embossed vellum. SO much easier and very pretty. The original artist used the Watercolor Pencils to color the stems. I don’t have those so I first tried the Stampin’ Write Markers. I didn’t love that look, as expected it was streaky. I had better luck with the Stampin’ Blend, but I would like to try the Watercolor Pencils. (Add those to my list! LOL). I tried very hard to at least change up the colors from what was used in the catalog, but in the end I really liked the original color scheme, so that’s what I went with. I love it!
Full list of supplies needed, listed below. A die cutting/embossing machine is needed for this project.
Card Base: Seaside Spray 8 1/2 h” x 5 1/2″ w folded to 4 1/4″ w x 5 1/2″ h.
Background: Vellum Cardstock 5 1/4″ h x 4 ″ w
Sentiment Layer: Whisper White Cardstock 1″ h x 3″ w
Ribbon: 5″ Denim Ribbon
Thread: 3″ Linen Thread
- Affix the stamp to an Acrylic Block.
- Fold the Card Base in half using a Bone Folder to sharpen the crease.
- Emboss the Vellum with the Dandelion 3D Embossing Folder.
- Color the back of the stems on the Embossed image with the light Old Olive Blend.
- Lay the Ribbon in place along the front of the card and attach the ends to the back of the Vellum Background Layer using Stampin’ Seal.
- Adhere the Vellum Background to the Card Base, by adding Stampin’ Seal strategically so it doesn’t show through.
- Stamp the Sentiment in Bumble Bee ink on the Sentiment Layer.
- Adhere the Sentiment Layer using Stampin’ Dimensionals.
- Tie a bow with the Linen Thread and attach with a Mini Glue Dot.
- Affix the Misty Moonlight Enamel Dots to the card.
- Ta Da! That was easy. Who will you send it to?
Product List
Recommended Stamper’s Toolkit ❤
Product List


