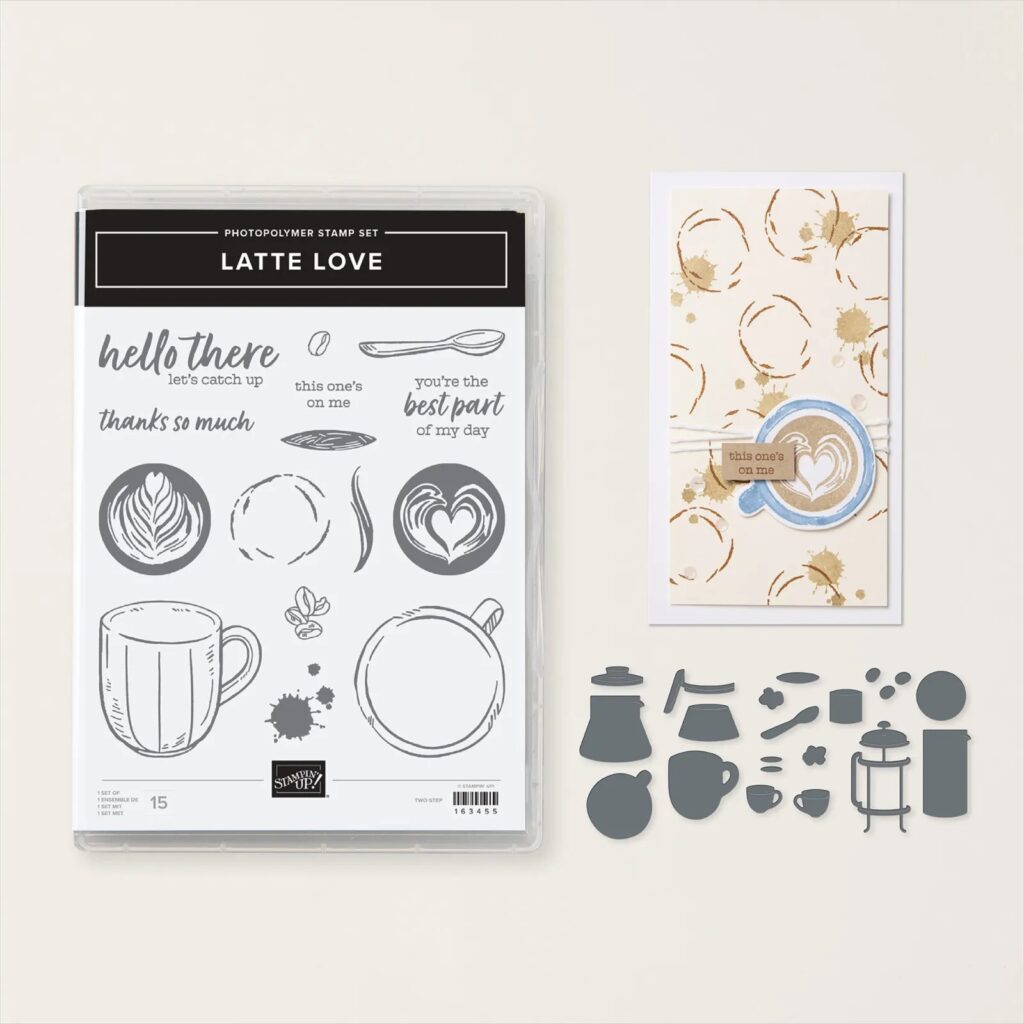
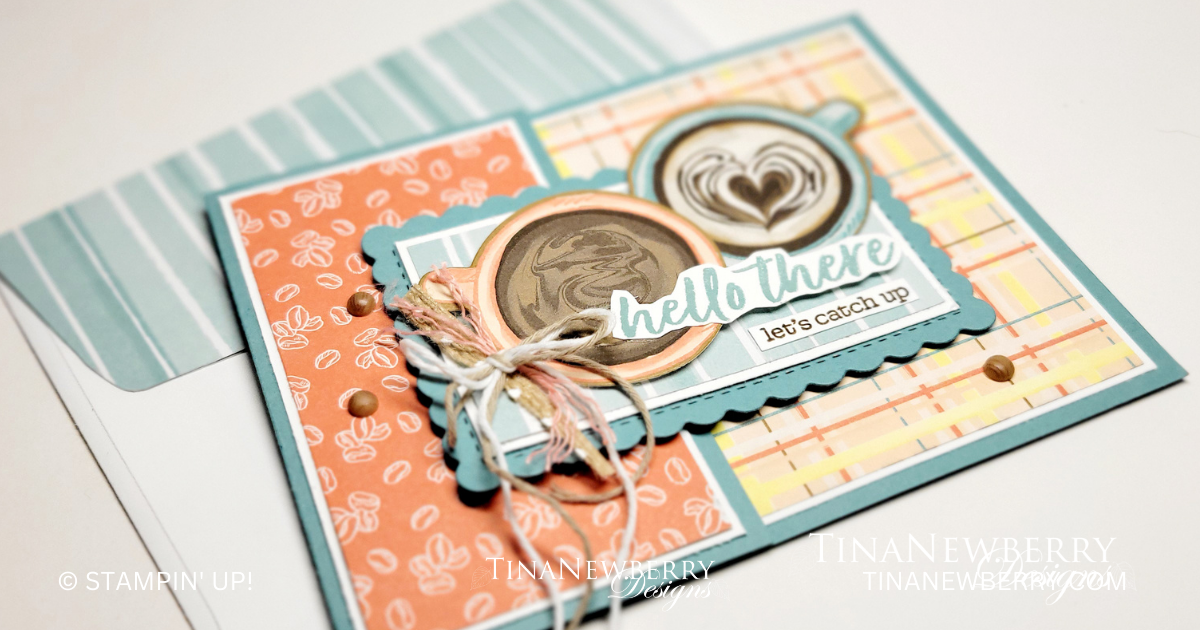
One of my favorite card layouts shows off designer series paper with a big impact, yet so quick & easy to make. Here I’m using the the A Little Latte Suite with a Calypso Coral and Lost Lagoon color palette. What will you make with this layout?

Measurements
Full list of supplies needed, listed below. A die cutting machine is needed for this card.
Lost Lagoon Cardstock:
- 4 ¼” h x 8” w scored and folded at 5 ½” w
- 4 ¼” w x 3” h scrap for die cut
Basic White Cardstock:
- 5 ½” w x 4 ¼” h
- 2 ¼” w x 4” h
- 2” h x 3 ¼” w (2)
- Scrap for sentiments
A Little Latte Designer Series Paper (DSP): Three coordinating patterns
- 5 ⅛” w x 3 ⅞” h
- 2 ⅛” w x 3 ⅞” h
- 1 ⅞” h x 3 ⅜” w
Let’s Create
- Affix all stamps to Acrylic Blocks.
- Fold the Card Base at the score line using a Bone Folder to sharpen the crease.
- Run the Lost Lagoon scrap through the Stampin’ Cut & Emboss Machine with the Scalloped Contours Die.
- Die cut coffee cups from Designer Series Paper (DSP).
- Stamp Hello There on Basic White scrap in Lost Lagoon ink and use Paper Snips to fussy cut out.
- Stamp Let’s Catch Up on Basic White scrap in Early Espresso Ink and use Paper Trimmer or Paper Snips to trim to size
- Matte DSP with Basic White Cardstock:

- Attach Lost Lagoon Die Cut to Left Front Panel with Stampin’ Dimensionals. Be careful to only put Dimensionals behind left most part of die cut panel.
- Arrange coffee cups and sentiments on Lost Lagoon Die Cut panel and attach with Stampin’ Dimensionals and Stampin’ Seal.
- Make a junk bow by laying two small pieces of trim or ribbon on top of two pieces of Baker’s Twine and then tying a bow with the Baker’s Twine. Arrange and trim ends as needed. Attach with Mini Glue Dot.
- Sprinkle on Adhesive Backed Swirl Dots
- Stamp and decorate the remaining 2” h x 3 ¼” w Basic White for inside
- Decorate your envelope.
- So fun!! Who will you send it to?
Shopping List
Recommended Stamper’s Toolkit ❤
Product List


