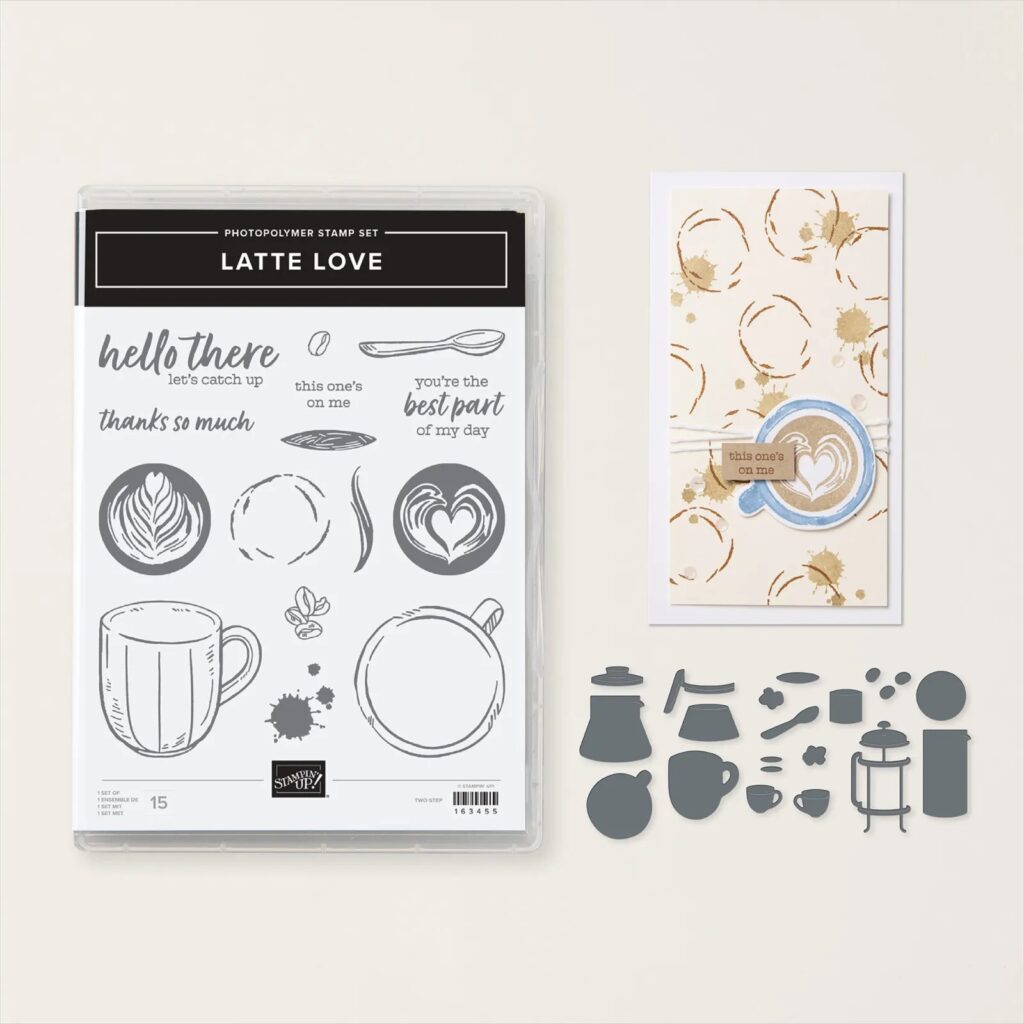
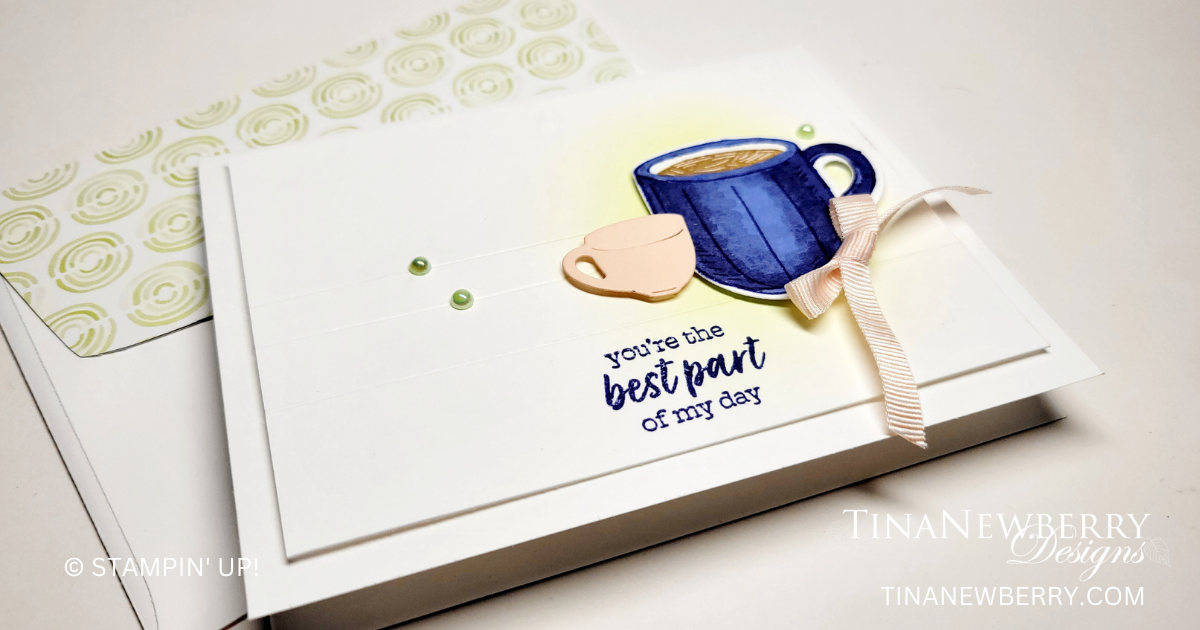
Use a scoring tool and a blending brush to create a simple background for this sweet layout. I used the Latte Love Bundle, but you could substitute any sentiment and focal image.

Measurements
Full list of supplies needed, listed below. A die cutting machine is needed for this card.
Basic White Thick Cardstock:
- 5 ½” w x 8 ½” h scored and folded at 4 ¼” h
- Scrap for coffee cup
Basic White Cardstock: 5 ½” w x 4 ¼” h (2)
Petal Pink Cardstock: scrap for tea cup
Let’s Create
- Affix all stamps to Acrylic Blocks.
- On Basic White Thick Cardstock, stamp the coffee cup in Starry Sky ink. Color with Starry Sky Stampin’ Blends as follows:
- Mimicking the bottom curve of the coffee cup, use the Dark Starry Sky Blend to extend curved lines out from the left and right edges about ¼ – ½”, all the way up the edge.
- Allow about 30 seconds for the ink to dry.
- Using the LIght Starry Sky Blend, repeat the curved lines, starting at the left edge and then going up the right edge extend the lines all the way across the cup.
- The idea is to pull some of the darker ink from the edges toward the center.
- Allow about 30 seconds for the ink to dry.
- Repeat step a with the Dark Starry Sky Blend.
- Die cut the coffee cup.
- From a scrap piece of Petal Pink, die cut the tea cup.
- Arrange tea cup and coffee cup on one of the 5 ½” w x 4 ¼” h Basic White Cardstock panels. Mark placement with a light pencil mark, then remove cups.
- Stamp Sentiment on 5 ½” w x 4 ¼” h panel off to the side of the cups.
- Use a Blending Brush to apply subtle ink to the background of the panel
- Use the scoring blade on Paper Trimmer to create three lines ½” apart on the inked panel, across where cups will be placed.
- Use Dimensionals to attach the cups.
- Fold the Card Base in half using a Bone Folder to sharpen the crease.
- Attach the panel to the Card Base with Stampin’ Dimensionals.
- Sprinkle on 2022-2024 In Color Pearls.
- Tie a bow with the Petal Pink from the Ribbon Duo combo pack and attach with a Mini Glue Dot.
- Stamp and decorate the remaining 5 ¼” w x 4” h for inside
- Decorate your envelope.
- So sweet! Who will you send it to?
Shopping List
Recommended Stamper’s Toolkit ❤
Product List


