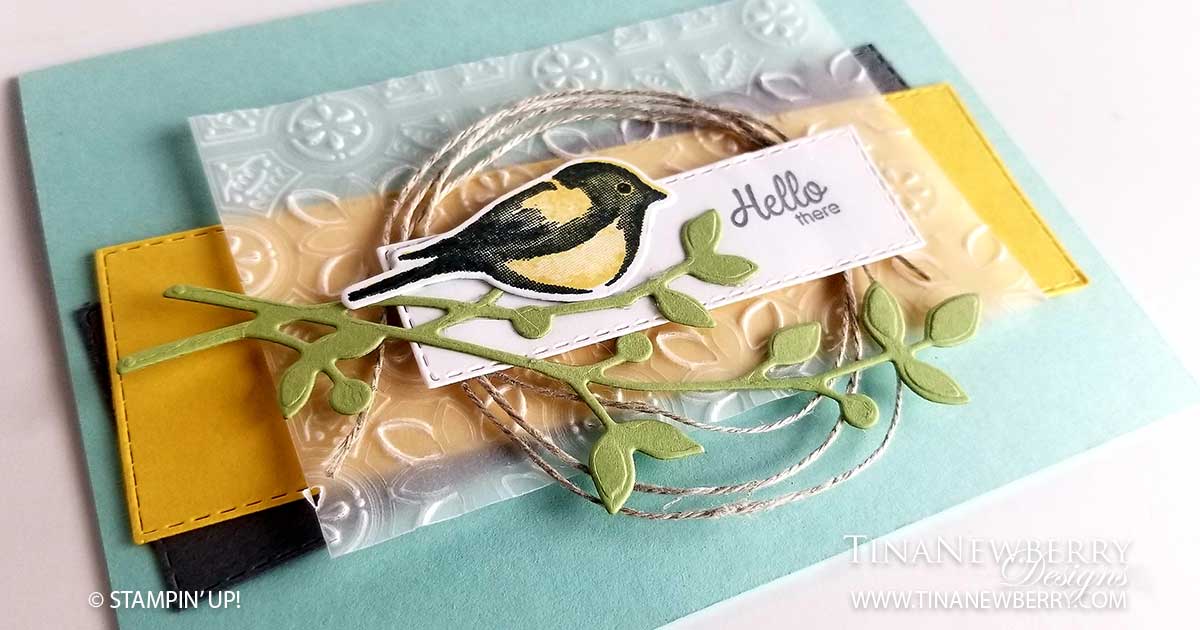
When I saw a card similar to this, I just HAD to make my own version. I love the color combination and the Tin Tile embossed Vellum is just stunning! Plus, when I last lived in New Hampshire, the desk in my home office overlooked a southeast facing window and this card brings back memories to the days when cute little yellow finches would entertain the cats and I at the feeder on the front lawn. This bird is finch-like to me, but it could also be a blue bird with some Balmy Blue Ink or a Robin.
Cutting Dimensions
Full list of supplies needed, listed below. A die cutting machine is needed for this card.
Card Base: Pool Party Cardstock 8 1/2 h” x 5 1/2″ w folded to 5 1/2″ w x 4 1/4″ h.
Background Rectangles (2): Basic Grey and So Saffron Cardstock. Die cut with the largest Rectangle Die from the Stitched Rectangles Dies. Then re-align the die on the short edges to create a shorter rectangle about 1 1/2 to 1 1/4″ h.
Vellum Layer: 2 3/4″ h x 4″ w and embossed with the Tin Tile Embossing Folder.
Sentiment Layer: Whisper White Cardstock die cut with the 3/4″h x 2 3/4″ Stitched Rectangle Die.
Linen Thread: About 9 or 10″
Instructions
- Affix all stamps to Acrylic Blocks.
- Fold the Card Base in half using a Bone Folder to sharpen the crease.
- Use Stampin’ Seal to adhere the Background Rectangles to the Card Base.
- Use Stampin’ Seal to adhere the Vellum Layer to the Card.
- Coil the Linen Thread and affix to the Card with Glue Dots.
- Use Basic Gray Ink to stamp the Sentiment on the Sentiment Layer.
- Adhere the Sentiment Layer to the Card with Dimensionals.
- On scrap Whisper White Cardstock stamp the bird filler in So Saffron Ink and then stamp the bird outline in Tuxedo Black Memento Ink. Die cut the bird out.
- Die cut the Branch with Pear Pizzaz Cardstock.
- Use Stampin’ Seal or Fine Tip Liquid Glue to adhere the Branch to the card.
- Use Stampin’ Seal to adhere the Bird to the Card.
- Lovely! Now send it to someone!
Product List
Stamper’s Toolkit
Design inspired by Chelsey Hart Christensen.


