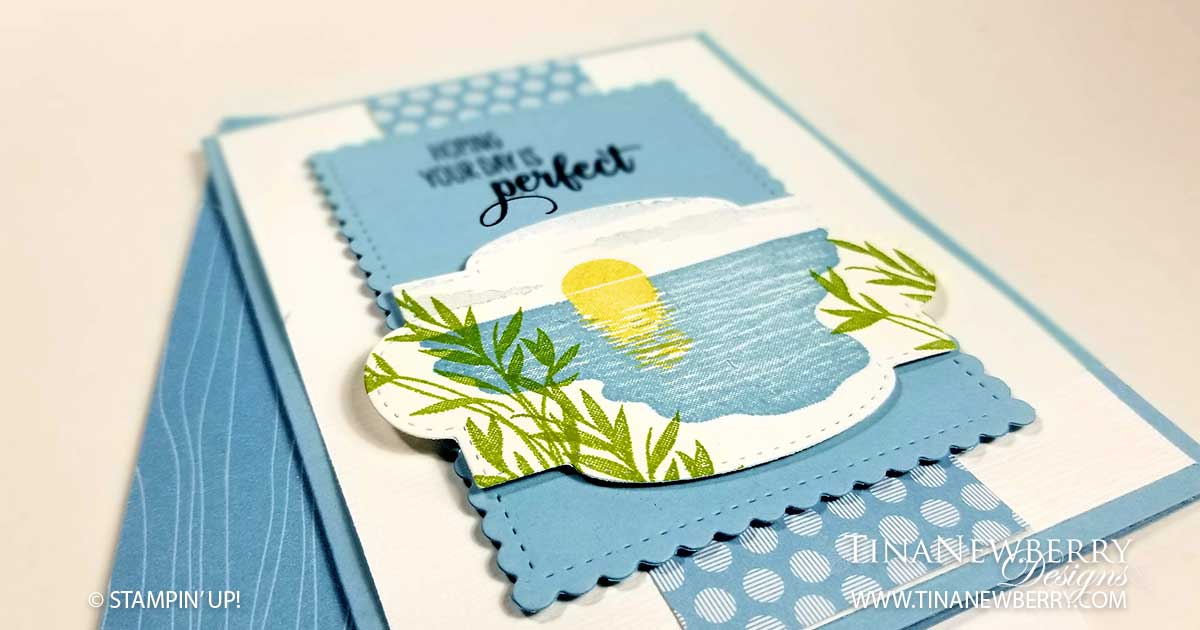
I was immediately drawn to the Sending Sunshine stamp set because well for one, I love sunrise and sunset and for two, I knew my northern peeps would be needing some sunshine right about now. Connie Babbert deserves all the credit for this card. I’m just a really good copier! This beauty is just Stamps, Ink & Paper.
Full list of supplies needed, listed below. A die cutting machine is needed for this card.
Card Base: Balmy Blue Cardstock 8 1/2 h” x 5 1/2″ w folded to 5 1/2″ h x 4 1/4″ w.
Background: Basic White Cardstock 5 1/4″ h x 4″ w
Decorative Strip: Pastels DSP 5 1/4″ h x 1 3/4″ w
Sentiment Layer: Balmy Blue Cardstock scrap trimmed with the 4″ x 3″ Stitched So Sweetly Die
Stamped Decorative Layer: Basic White Cardstock scrap trimmed with the Stitched So Sweetly Die
- Affix all stamps to Acrylic Blocks.
- Fold the Card Base in half using a Bone Folder to sharpen the crease.
- Run the Background through the Stampin’ Cut & Emboss machine with the Subtle Embossing Folder. Attach to card.
- Attach Decorative Strip.
- Stamp the Sentiment on the Sentiment Layer with Tuxedo Black Ink.
- Stamp the sunset scene on the Stamped Decorative Layer.
- Attach the Stamped Decorative Layer to the Sentiment Layer with Stampin’ Dimensionals.
- Attach the Sentiment Layer with Stampin’ Dimensionals.
- Decorate the Inside Layer and attach.
- Decorate the envelope.
- So cute! Now send it to someone special.
Stamper’s Toolkit
You will also need adhesive, acrylic blocks, scissors and other basic PaperCrafting items from the Stamper’s Toolkit
Design inspired by Connie Babbert.


