
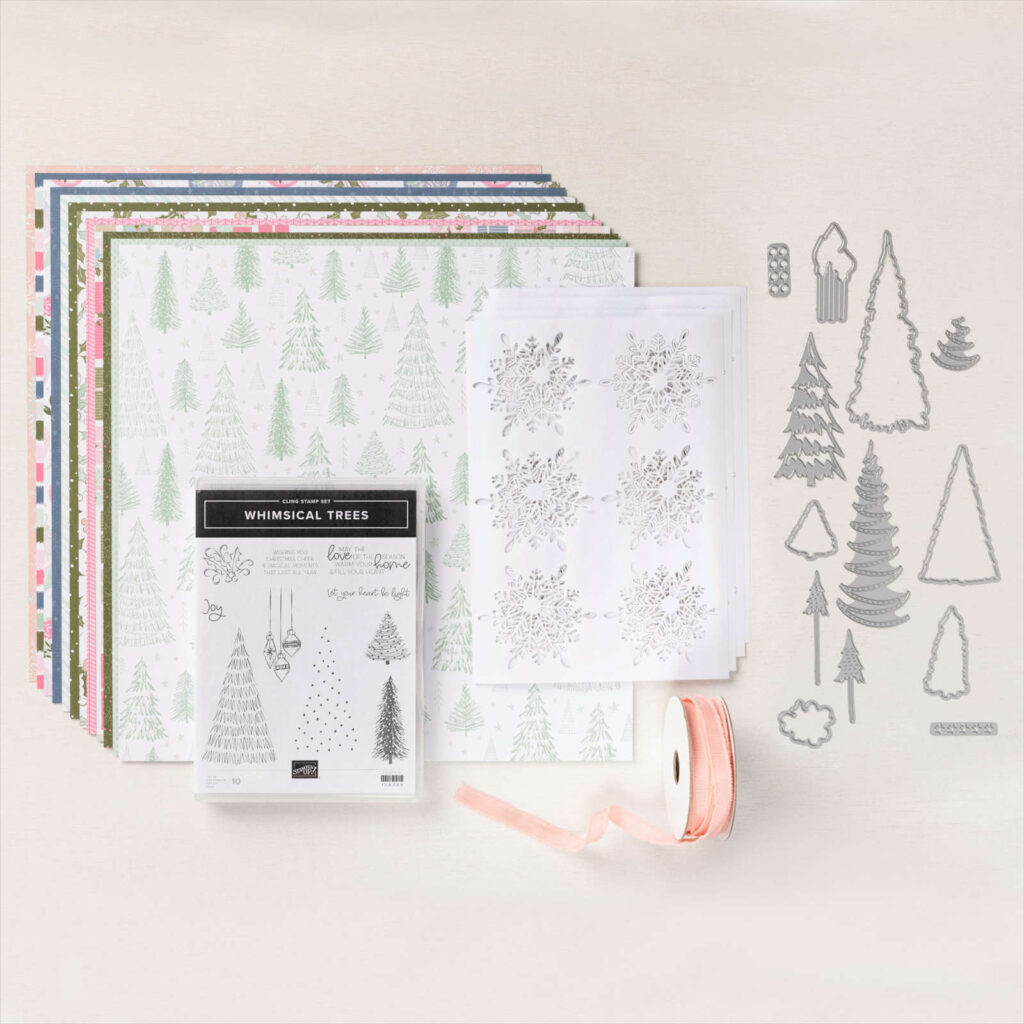
Pink for Christmas! Such a refreshing take on the season and so pretty in the The Whimsy & Wonder Suite. For this card, I embossed in silver right on the Pink Snowflake Designer Series Paper and then I used White Craft Ink and a Water Painter to ‘flick’ some snow flurries on the background. Some Snowy White Velvet Garland, Basic Rhinestones and a bit of Silver Trim complete this fun card.
Measurements
Full list of supplies needed, listed below. A die cutting machine is needed for this card.
Card Base: Blushing Bride Cardstock 8 1/2″ h x 5 1/2″ w scored and folded to 4 1/4″ h x 5 1/2″ w
Background: Whimsy & Wonder Designer Specialty Series Paper 4″ h x 5 1/4″ w
Sentiment Layer: Basic White Cardstock scrap
Garland: Snowy White Velvet Sheets scrap
Inside Layer (optional): Basic White Cardstock 4″ h x 5 1/4″ w
Let’s Create
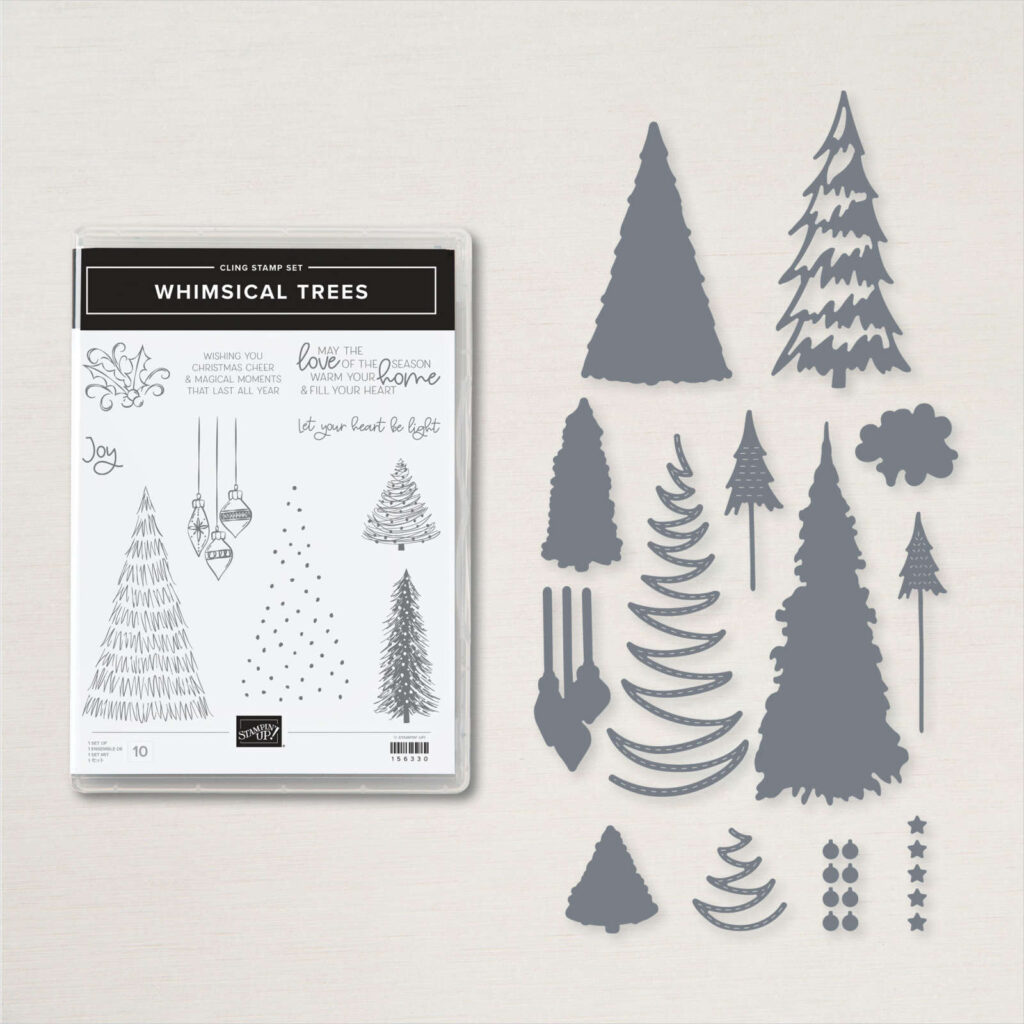
- Affix all stamps to Acrylic Blocks.
- Stamp three trees – one large dots and two small- on the Background with Versamark Ink, sprinkle with Silver Embossing Powder and Heat Emboss.
- Attach Adhesive Sheets to the back of the Snowy White Velvet Sheet scrap and die cut the Garland Die.
- Remove the backing on the Garland and attach to the largest tree.
- Stamp the Sentiment in Polished Pink ink on Basic White Cardstock scrap.
- Die cut the Sentiment with the Stitched Rectangle Die
- Use a Mini Glue dot to attach the Silver Trim to the back of the Sentiment and then attach Sentiment with Stampin’ Dimensionals.
- Sprinkle on Basic Rhinestones.
- Stamp Inside Layer and attach.
- Decorate your Envelope.
- Pretty!!Put it in the mail!
Shopping List
")
 Specialty Designer Series Paper")


Stamper’s Toolkit
You will also need adhesive, acrylic blocks, scissors and other basic PaperCrafting items from the Stamper’s Toolkit


")

