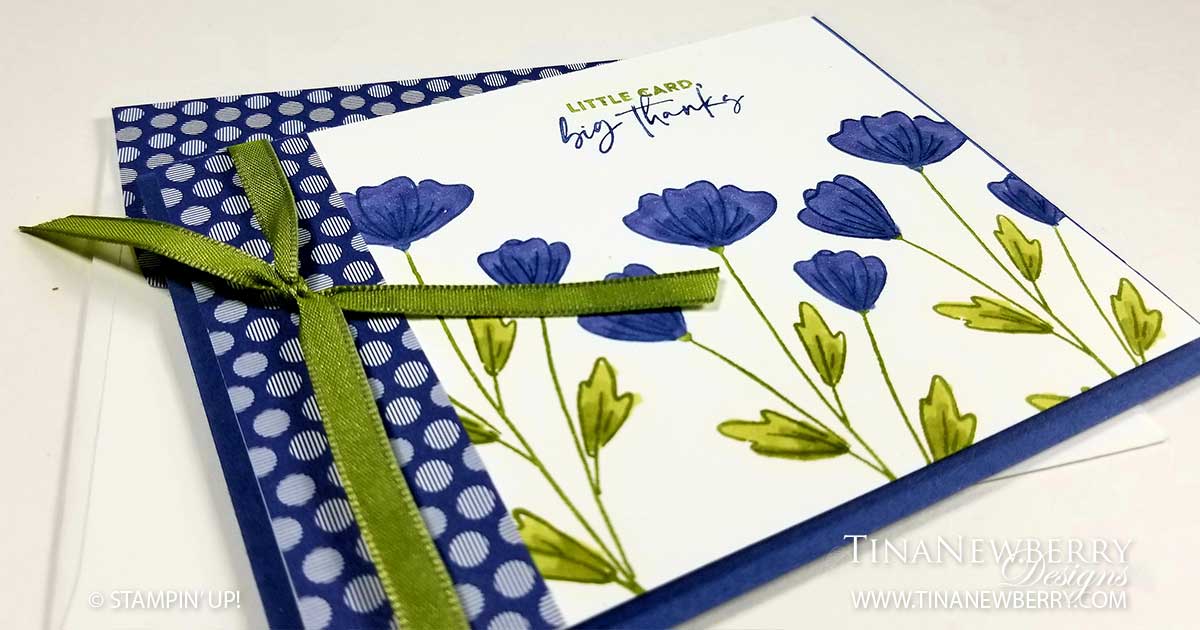
Sometimes the most simple cards, are the prettiest! The stamping on the front of this card looks complex, but it’s just one flower stamp repeated three times, and the sentiment. I used Stampin’ Write Markers to ink multiple colors per image. #simplestamping
Full list of supplies needed, listed below.
Card Base: Misty Moonlight Cardstock 8 1/2″ h x 5 1/2″ w folded to 4 1/4″ h x 5 1/2″ w
Background & Sentiment: Basic White Thick Cardstock 4″ h x 5 1/4″ w
Decorative Layer: 2020-2022 In-Color Designer Series Paper 4″ h x 1″ w
- Affix all stamps to Acrylic Blocks.
- Fold the Card Base in half using a Bone Folder to sharpen the crease.
- Use Misty Moonlight and Old Olive Stampin’ Write Markers to ink up the Sentiment. Rewet the ink by breathing or ‘huffing’ on the stamp before stamping the image. You may want to do a couple practice impressions on scrap paper to see if you’re applying enough ink.
- Use Misty Moonlight and Old Olive Stampin’ Write Markers to ink up the flower and leaves outlines. Rewet the ink by breathing or ‘huffing’ on the stamp before stamping the image. You may want to do a couple practice impressions on scrap paper to see if you’re applying enough ink.
- Once the flowers and leaves outlines are stamped, use Stampin’ Blends (alcohol) markers to color in the the images.
- Attach the Background & Sentiment and Decorative Layers together with adhesive.
- Add a knot of ribbon around the Decorative Layer.
- Attach the Background & Sentiment Layer with Stampin’ Dimensionals.
- Decorate the Inside Layer and attach.
- Decorate the envelope.
- Simple and Pretty!! Put it in the mail!
Shopping List
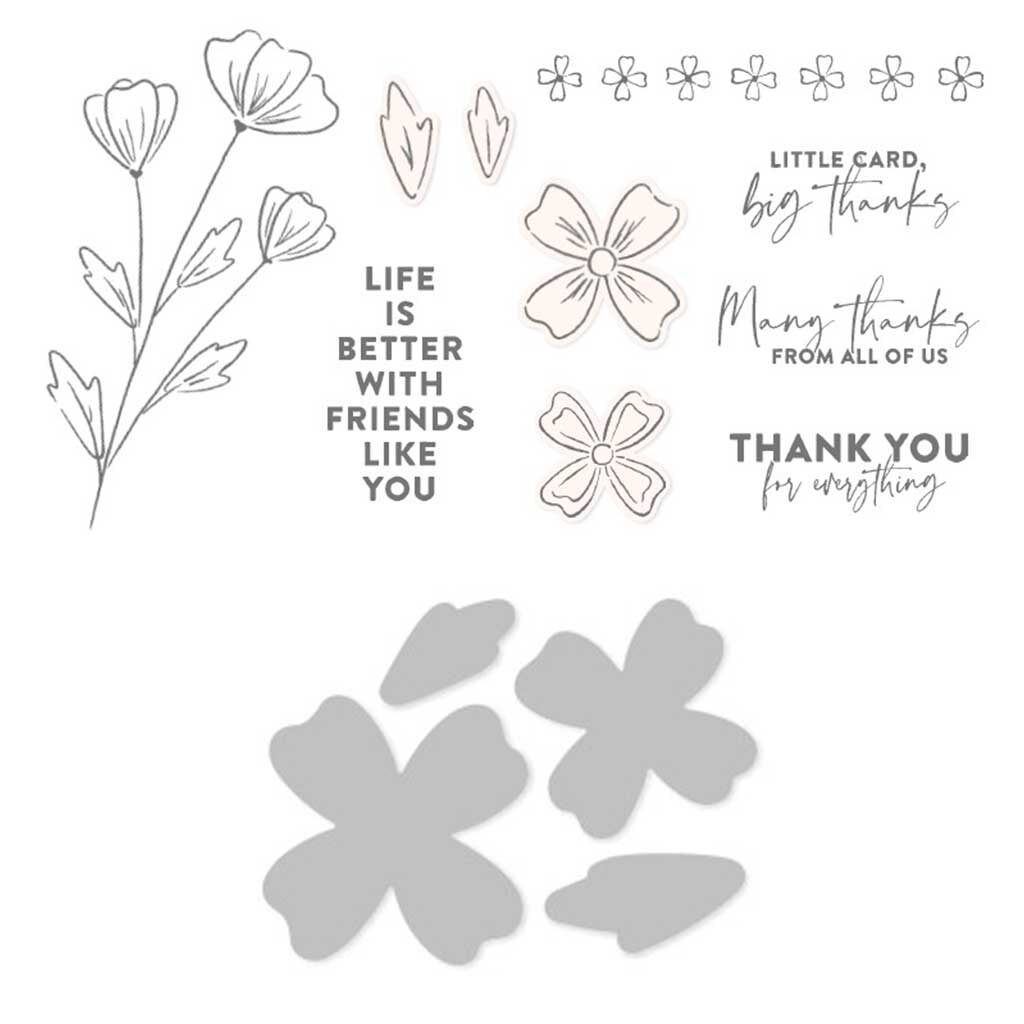
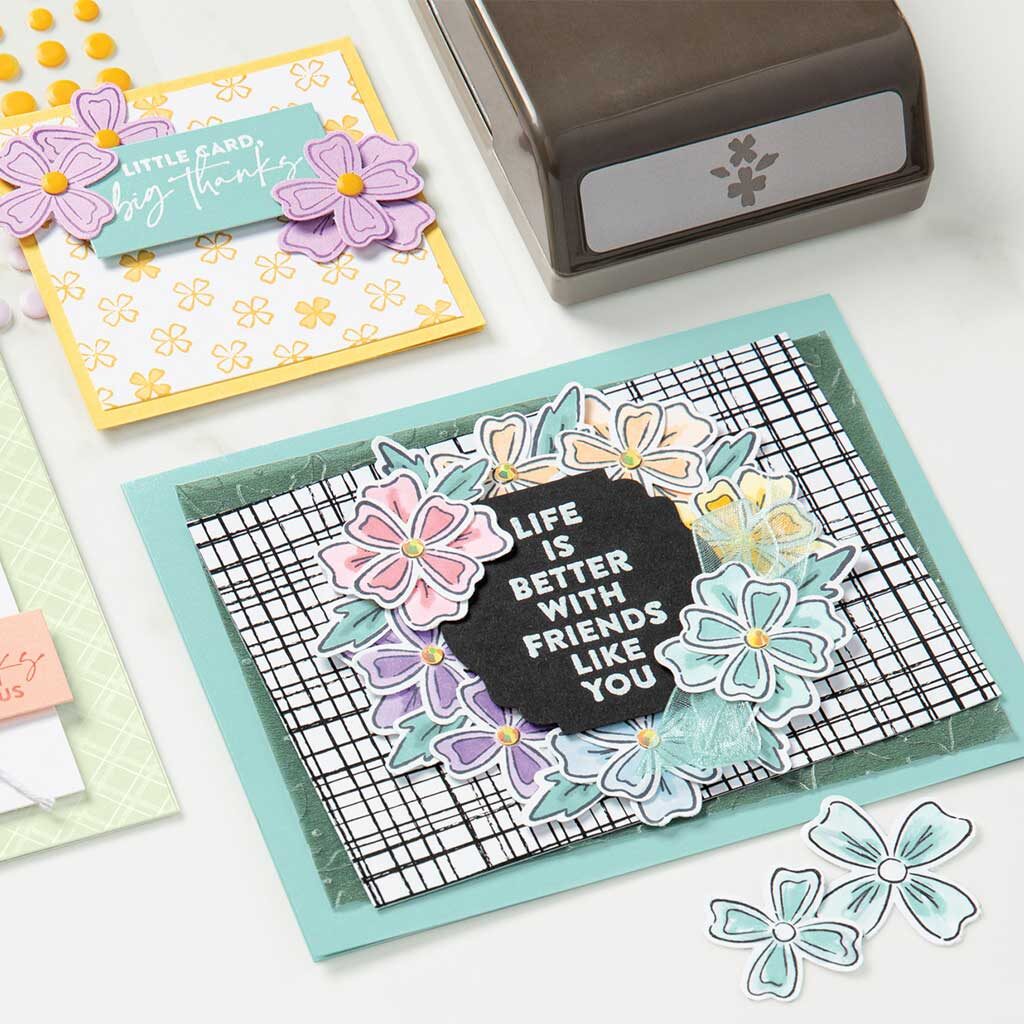
This project also uses the Flowers of Friendship Bundle.
Stamper’s Toolkit
You will also need adhesive, acrylic blocks, scissors and other basic PaperCrafting items from the Stamper’s Toolkit


