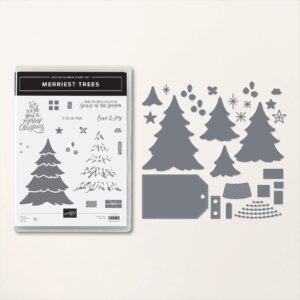
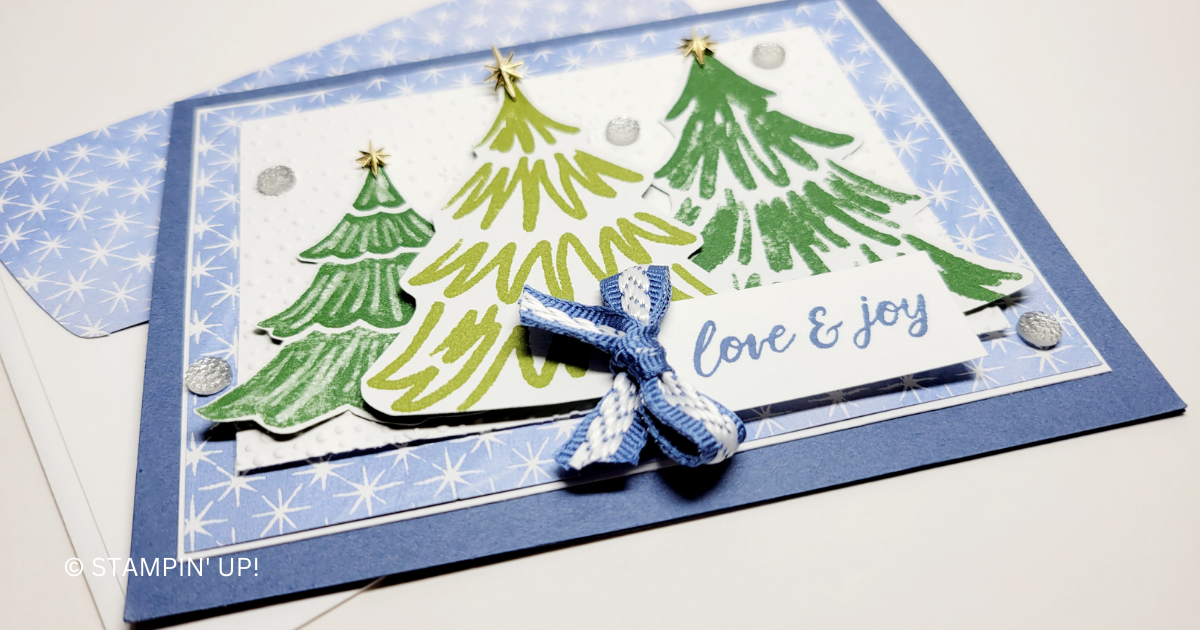
You can make this card in minutes with the Designer Series Paper doing all the work! You can stamp these beautiful trees from the Merriest Trees Stamp Set in your favorite colors and then die cut them, or you can use your Paper Snips scissors, like I did, to cute them out of the A Walk in the Forest Designer Series Paper pack.

Measurements
Full list of supplies needed, listed below. A die cutting machine is needed for this card.
Misty Moonlight Cardstock: 5 ½” w x 8 ½” h scored and folded at 4 ¼” h
Basic White Cardstock:
- 4” h x 5 ¼” w
- 3 ¾” h x 5” w
- 3” h x 4 ¼” w
- Scrap for sentiment
Garden Green Cardstock: 5 ½” w x 3 ¼” h
A Walk in the Forest Designer Series Paper (DSP):
- 4 ⅞” w x 3 ⅝” h
- Fussy cut trees
Let’s Create
- Affix all stamps to Acrylic Blocks.
- Fold the Card Base in half using a Bone Folder to sharpen the crease.
- Attach the DSP to the 3 ¾” h x 5” w Basic White cardstock with Stampin’ Seal and attach to the Card Base with Stampin’ Seal.
- Use your Paper Snips to fussy cut three trees from the DSP.
- Run the 3” h x 4 ¼” w Basic White cardstock through the Stampin’ Cut & Emboss Machine with the Snowflake Sky 3D embossing folder.
- Attach the embossed panel and the trees with Stampin’ Dimensionals.
- Stamp the sentiment in Misty Moonlight ink on Basic White scrap and trim to size. Attach with Stampin’ Dimensionals.
- Add some Adhesive Backed Star Trinkets to the tops of the trees. Sprinkle on some gems from the Faceted Gems Trio Pack.
- Tie a tiny bow with the Misty Moonlight ⅜” Inner Braid Ribbon and attach with a Mini Glue Dot.
- Stamp and decorate the remaining 4” h x 5 ¼” w for inside
- Decorate your envelope.
- Super cute!! Who will you send it to?
Recommended Stamper’s Toolkit ❤
Product List


