Create a bright and cheery birthday card with this fun, quick and easy layout. C.A.S.E. (Copy and Share Everything) this card using the supplies listed or substitute your favorite patterned paper and colors.
Measurements
Full list of supplies needed, listed below. A die cutting machine is needed for this card.
Basic White Thick Cardstock: 5 ½” w x 8 ½” h scored and folded at 4 ¼” h
Basic White Cardstock:
- 2” x 3 ½”
- Scrap for cake
Flirty Flamingo: 5 ⅜” x 4 ⅛”
Azure Afternoon: 3 ⅜” x 2”
Lighter Than Air Designer Series Paper (DSP):
- 5 ¼” x 3”
- 5 ¼” x ½”
Let’s Create
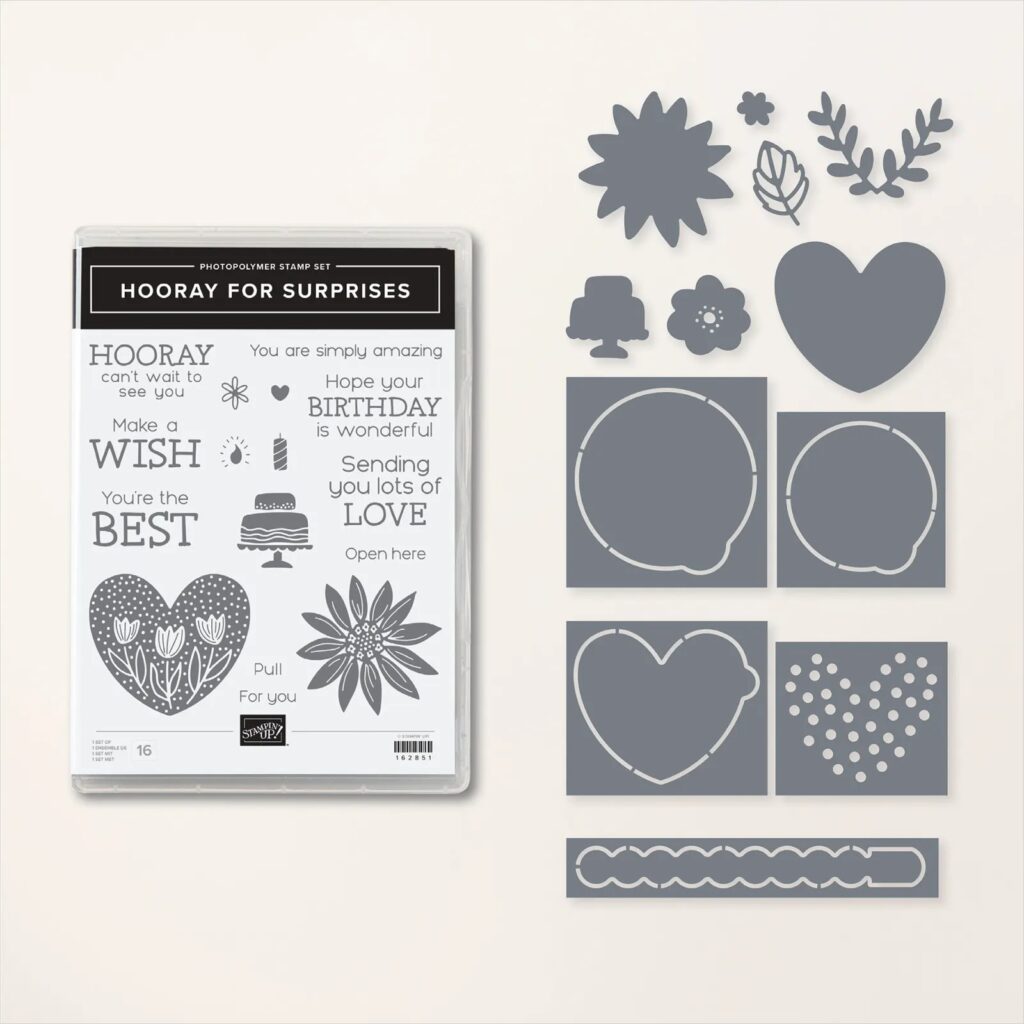
- Affix all stamps to Acrylic Blocks.
- Fold the Card Base in half using a Bone Folder to sharpen the crease.
- Attach the 5 ⅜” x 4 ⅛” Flirty Flamingo cardstock with Stampin’ Seal.
- Attach the 5 ¼” x 3” DSP with Stampin’ Seal.
- Attach the 5 ¼” x ½” DSP strip along the right edge of the 5 ¼” x 3” DSP with Stampin’ Seal.
- Using the Lemon Lolly ribbon from the Sheer Ribbon Combo Pack, tie a bow around these layers approx. ¾” from the bottom edge.
- Attach these pieces about ¼” from the left side of the Flirty Flamingo card with Stampin’ Seal.
- Using Flirty Flamingo ink, stamp the cake onto Basic White Scrap and die cut.
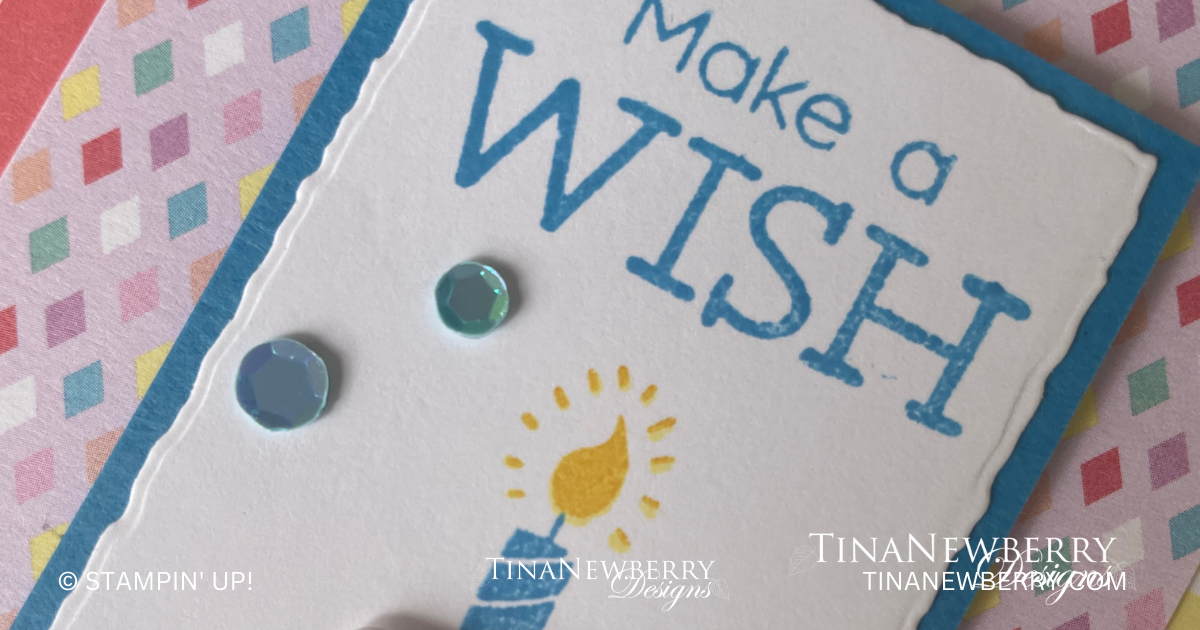
- Die cut the Basic White 3 ¼” x 2” cardstock using the deckled rectangle die with measures approx. 4 ⅛” x 1 ¾”. Using the Make A Wish stamp and Azure Afternoon ink pad, stamp the sentiment towards the top of this die cut layer. Using the candle flame and Daffodil Delight ink, stamp the flame of the candle just below the sentiment. Using Azure Afternoon ink, stamp the candle just below the yellow flame.
- Adhere the die cut cake using Stampin’ Dimensionals to the stamped Basic White Layer.
- Adhere the stamped layer to the 3 ⅜” x 2” Azure Afternoon Cardstock.
- Using Stampin’ Dimensionals, adhere these layers to the card front towards the top.
- Randomly place 2 of blue sequins from the Pastel Adhesive-Backed Sequins onto the card.
- Decorate the inside of your card and your envelope.
Shopping List
")


 Designer Series Paper")


$30.00
 Sheer Ribbon Combo Pack")

Recommended Stamper’s Toolkit ❤
Product List
$12.00

$7.00

$4.25

$5.75

$5.50

$11.00

$26.00

$7.00

$6.50

$11.00

$20.00

$11.00

$80.75

$128.00


$16.00

$13.00


