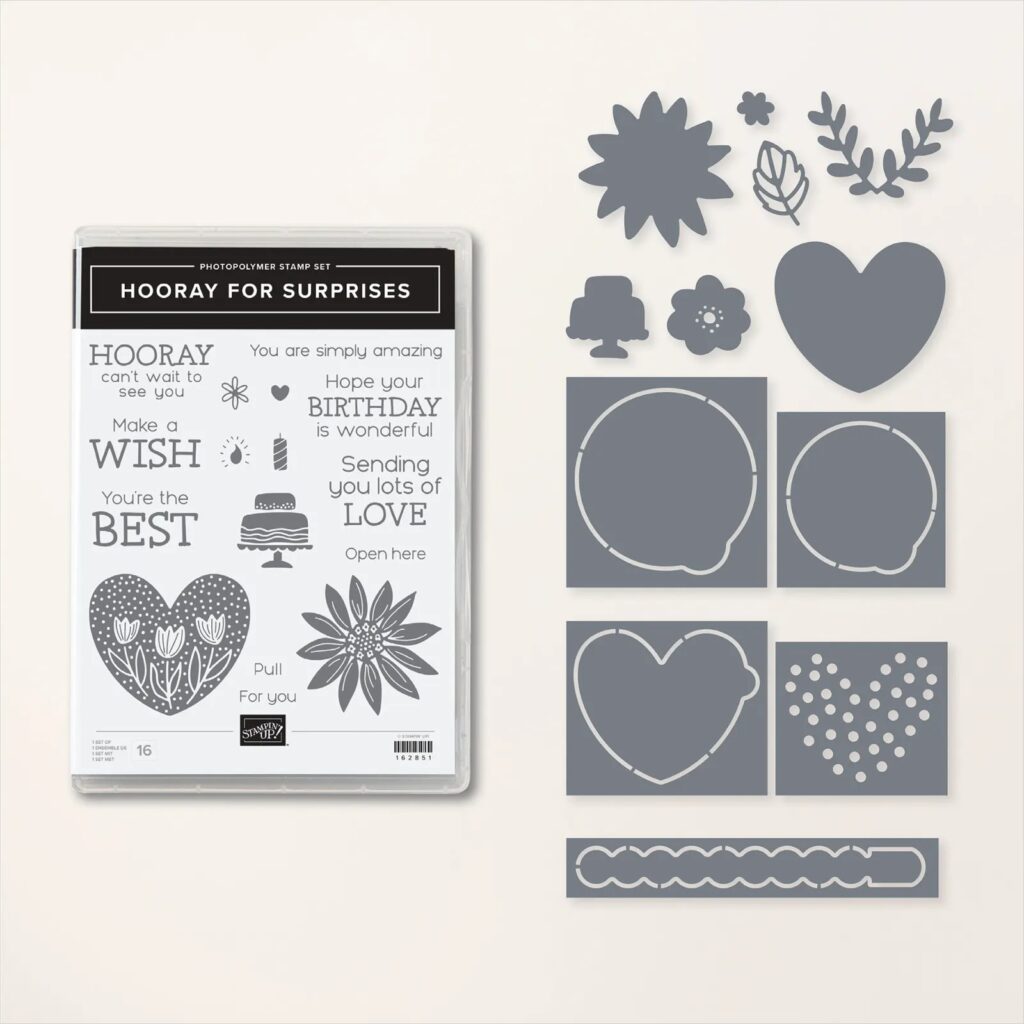
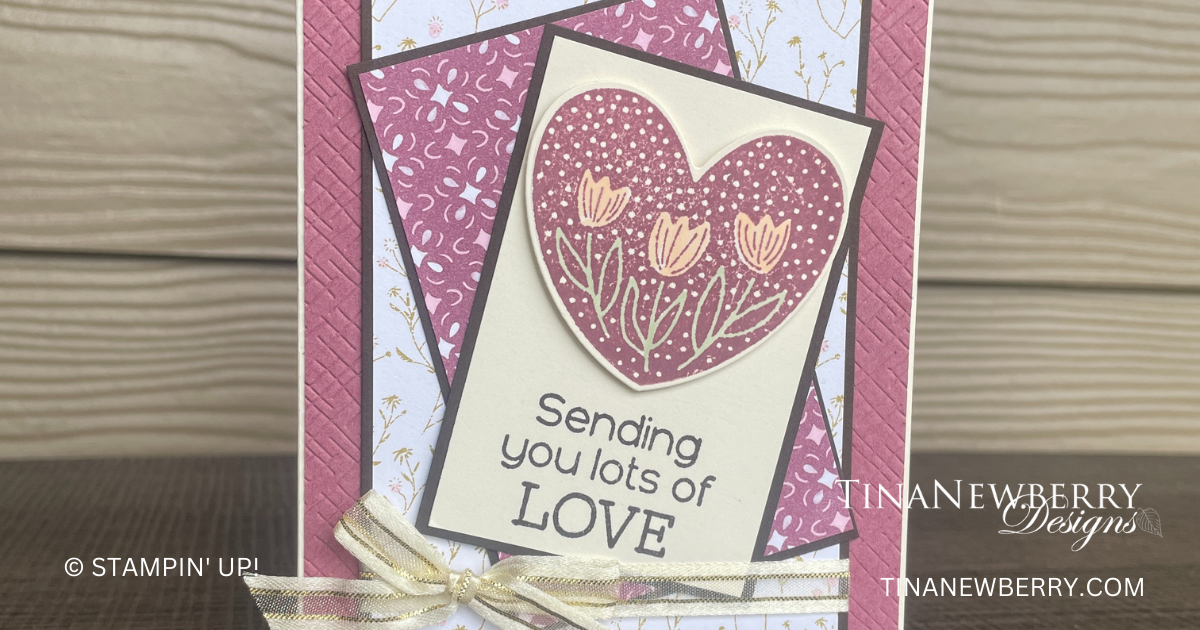
Lots of layers come together in this quick & easy project, easily replicable using your own supplies, or check out the shopping list to recreate as designed.

Measurements
Full list of supplies needed, listed below. A die cutting machine is needed for this card.
Very Vanilla Thick Cardstock: 5 ½” w x 8 ½” h scored and folded at 4 ¼” h
Very Vanilla Cardstock:
- 3 ⅜” x 2 ¼”
- Scrap for stamping and die cutting heart
Moody Mauve: 5 ⅜” x 4 ⅛”
Early Espresso
- 4 ⅝” x 3 ⅜”
- 4” x 2 ½”
- 3 ½” x 2 ⅜”
Poetic Expressions Series Paper (DSP):
- 4 ½” x 3 ¼” (light background)
- 3 ⅞” x 2 ⅜” (Moody Mauve background)
Let’s Create
- Affix all stamps to Acrylic Blocks.
- Fold the Card Base in half using a Bone Folder to sharpen the crease.
- Using the crosshatching embossing folder from the Basics Embossing Folder Bundle, emboss the 5 ⅜” x 4 ⅛” Moody Mauve cardstock. Attach this layer to the folded card base using Stampin’ Seal
- Using Moody Mauve Ink Pad, stamp the heart with the tulips onto the Very Vanilla Scrap of cardstock, and die cut.
- Color in the flowers using a Petal Pink Light stampin Blend. Color the leaves using a Soft Seafoam Light Stampin’ Blend.
- Using Early Espresso ink pad, stamp the sentiment towards the bottom of the 3 ⅜” x 2 ¼” Very Vanilla cardstock.
- Using Stampin’ Dimensionals, attached the die cut heart to this piece.
- Match up the 2 DSP pieces with their coordinating Early Espresso mats and adhere them using Stampin’ Seal.
- Attach the stamped Very Vanilla cardstock to the remaining Early Espresso mat using Stampin’ Seal.
- Using a piece of Gold & Very Vanilla Satin Edged Ribbon, tie a bow around the 4 ⅝” x 3 ⅜” Early Espresso/Light colored DSP Layers and adhere these layers centered to the card.
- Attach the other DSP layered piece at a bit of an angle and the stamped Very Vanilla layered piece at an angle to opposite direction using Stampin’ Seal.
- Decorate the inside of your card and your envelope and send someone special your love.
Shopping List
Recommended Stamper’s Toolkit ❤
Product List


