Jazz up your background with a few snowflake watermarks. I’ll show you how!
Measurements
Full list of supplies needed, listed below. A die cutting machine is needed for this card.
Garden Green Cardstock: 5 ½” h x 8 ½” w scored and folded on the long-side at 4 ¼” for the Card Base
Basic White Thick Cardstock:
- Scrap for Moose
Basic White Cardstock:
- 4” h x 5 1/2” w
- 4” x 3” scrap
- 3/4” h x 3 1/2” w
Sweetest Christmas 12” x 12” Designer Series Paper (DSP)
- 4 3/4” h x 3 1/2” w
Let’s Create
- Affix all stamps to Acrylic Blocks.
- Fold the Card Base in half using a Bone Folder to sharpen the crease.
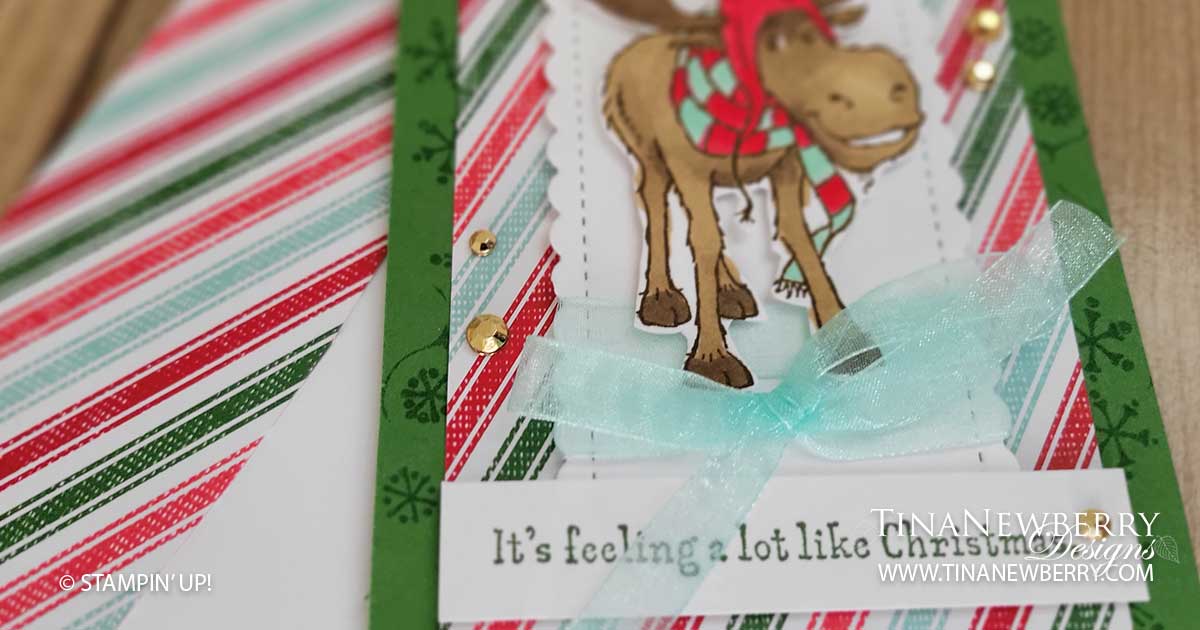
- Using Versamark Ink, Stamp the snowflake stamp in a random pattern around the outside edge of the front of the Card Base.
- Use Stampin’ Seal to attach the DSP to the front of the Card Base.
- Run the 4” x 3” scrap Basic White through the Stampin’ Cut and Emboss machine with the Scalloped Contour Die.
- Wrap Pool Party ⅜ Sheer Ribbon around the bottom of the die cut and tie a bow in the middle. Attach Basic White die cut panel to the front of the card with Stampin’ Dimensionals.
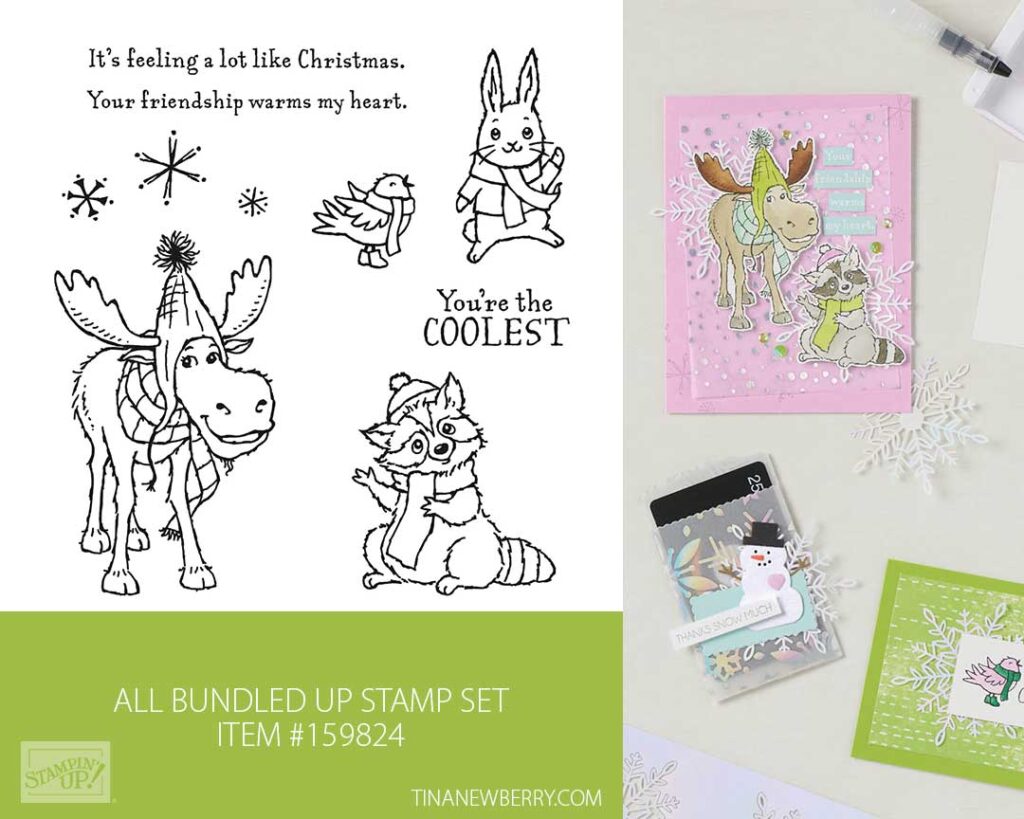
- On the Basic White Thick scrap, stamp the Moose, in Tuxedo Black ink. Use Stampin’ Blends to color in. I used: Soft Suede, Pool Party, and Real Red
- Use Paper Snips to fussy cut the Moose out.
- Attach the Moose with Stampin’ Dimensionals.
- In garden Green ink stamp the sentiment on the ¾” x 3 ½” Basic White Carstcok piece and attach to the front of the card with Stampin’ Dimensionals at the far edges of the sentiment piece. Arrange so it is overlapping the die cut Basic White panel.
- Sprinkle on some Gilded Gems.
- Stamp and decorate the 5 ¼” w x h” w Basic White for the inside and attach with Stampin’ Seal.
- Decorate your envelope.
- How cute?! Who will you send it to?
Shoping List
")

$9.50


 Designer Series Paper")
 Sheer Ribbon")

$7.00

$35.00
Recommended Stamper’s Toolkit ❤
Product List
$12.00

$7.00

$4.25

$5.75

$5.50

$11.00

$26.00

$7.00

$6.50

$11.00

$20.00

$11.00

$80.75

$128.00


$16.00

$13.00


