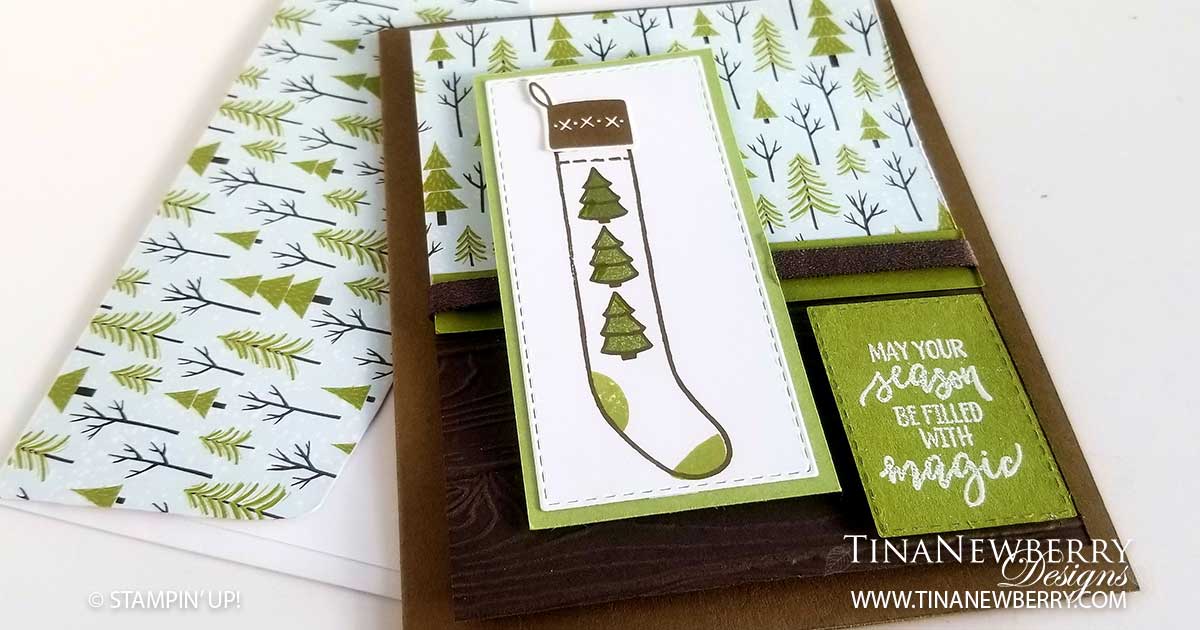
I really wanted to use this stocking stamp, but I was on the struggle bus with it. I looked and looked at ideas and didn’t like any of them. Then I noticed the little trees on it matched the little trees on the Trimming the Town patterned paper and that’s when it all started to come together. It reminds me of a cabin in the woods. Super cute!
Full list of supplies needed, listed below. A die cutting machine is needed for this card.
Card Base: Soft Suede Cardstock 8 1/2 h” x 5 1/2″ w folded to 5 1/2″ h x 4 1/4″ w.
Background-Top: Trimming the Town DSP 5 1/4″ h x 4″ w
Background-Bottom: Early Espresso Cardstock 2 1/2″ h x 4″ w with the Pinewood Planks Embossing Folder
Background Strip: Pear Pizzaz Cardstock 1/2″ h x 4″ w
Ribbon: 1/4″ Early Espresso Faux Suede Trim 5″
Stocking Matte: Pear Pizzaz Cardstock 3 7/8″ h x 1 7/8″ w
Stocking Layer: Whisper White Cardstock 3 5/8″ h x 1 5/8″ w (optional) trimmed with the Stitched Rectangle Dies
Sentiment Layer: Old Olive Cardstock 1 3/4″ h x 1 1/4″ w (optional) trimmed with the Stitched Rectangle Dies
- Affix all stamps to Acrylic Blocks.
- Fold the Card Base in half using a Bone Folder to sharpen the crease.
- Attach the Background-Bottom to the Background-Top with Stampin’ Seal.
- Add the Background Strip with Stampin’ Seal.
- Use Tear & Tape to add the Ribbon across the Background Strip
- Attach the Background with Stampin’ Dimensionals.
- Stamp the Stocking in Early Espresso, the Toe and Heal with Pear Pizzaz and the Pine Trees in Old Olive ink.
- On the Stocking Layer, stamp the Stocking Top in Early Espresso ink, trim with Paper Snips and attach to the Stocking Layer with Stampin’ Seal.
- Attach the Stocking Layer to the Stocking Matte with Stampin’ Seal and attach the Stocking Layer with Stampin’ Dimensionals.
- Stamp the Sentiment in Versamark Ink and Heat Emboss with White Embossing Powder. Attach the Sentiment with Stampin’ Dimensionals.
- Decorate the Inside Layer and attach.
- Decorate the envelope.
- Love it! Who will you send it to?
Shopping List
Recommended Stamper’s Toolkit ❤
Product List


