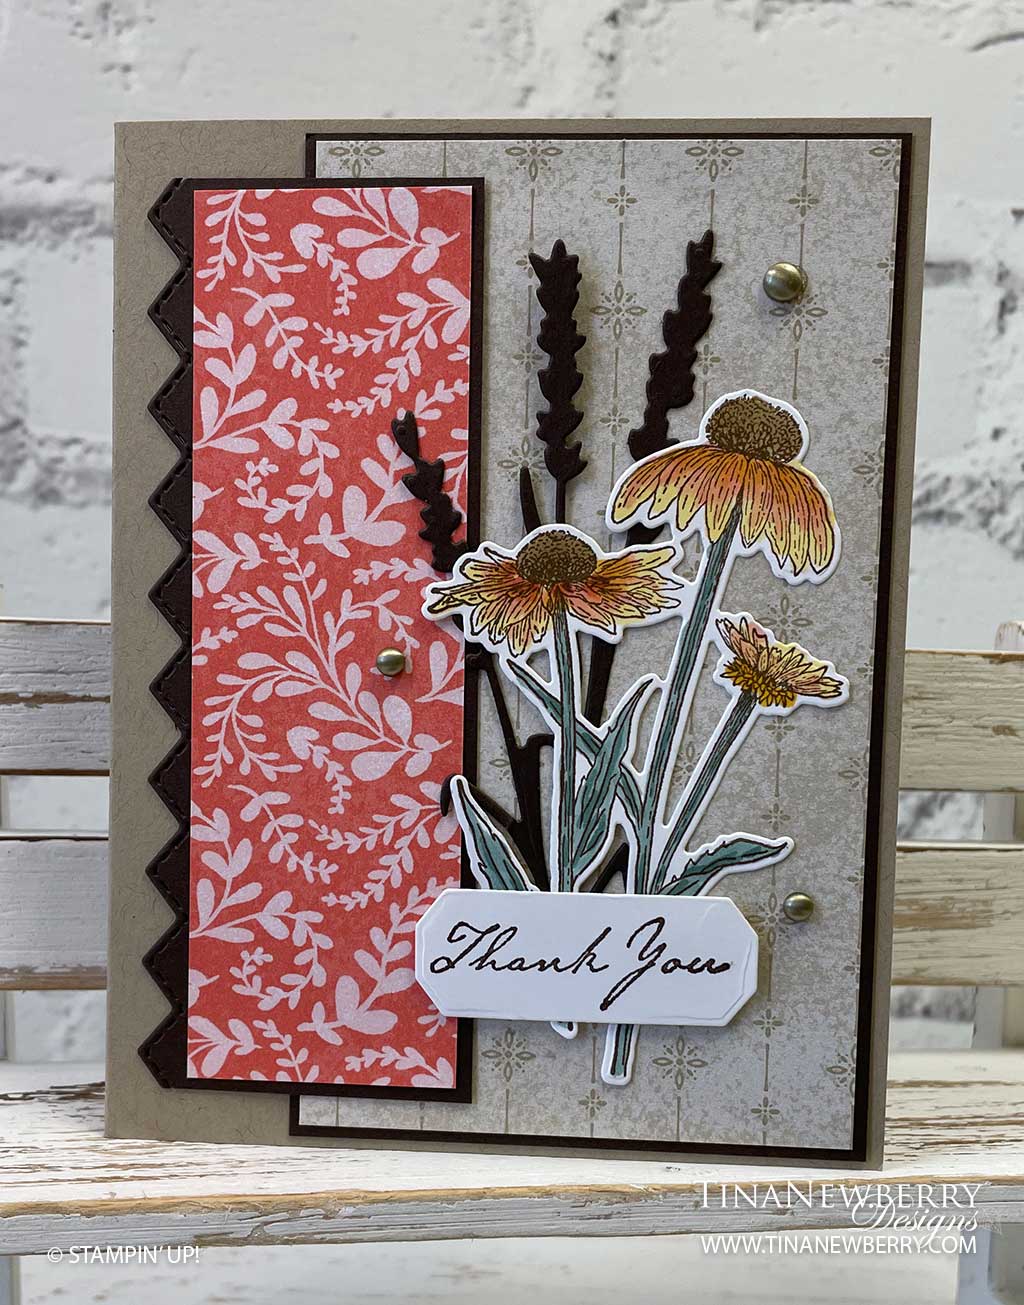
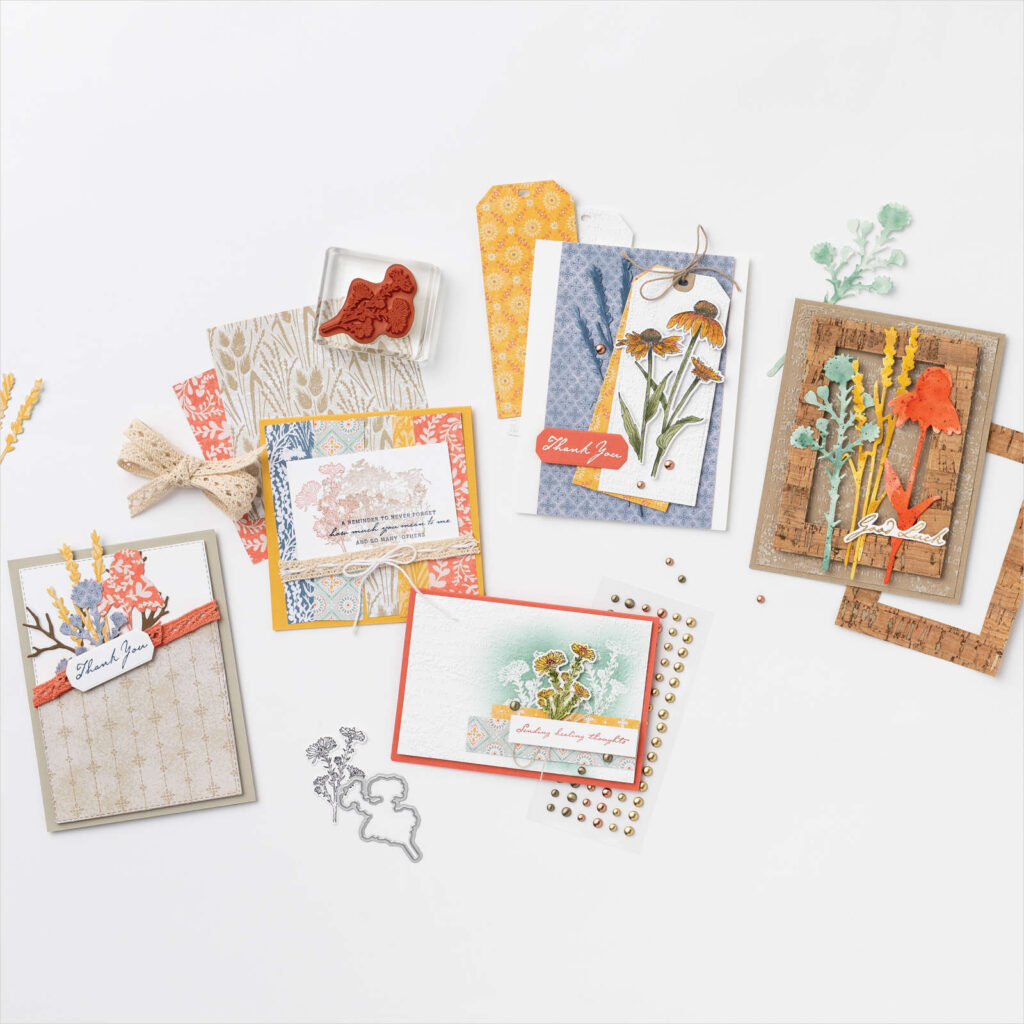
Such an elegant fall card with lots of layers showcasing the beautiful Harvest Meadow Designer Series Paper and setting off the black-eyed Susan. Are they not the iconic fall flower?
Measurements
Full list of supplies needed, listed below. A die cutting machine is needed for this card.
Card Base: Crumb Cake Cardstock 5 1/2″ h x 8 1/2″ w folded to 5 1/2″ h x 4 1/4″ w
Background Matte: Early Espresso Cardstock 5 1/8″ h x 3 1/8″ w
Background: Harvest Meadow Designer Series Paper 5 1/4″ h x 3″ w
Zig Zag Layer: Early Espresso Cardstock 4 7/8″ h x 1 7/8″ w
Calypso Coral Layer: Harvest Meadow Designer Series Paper 4 3/4″ w x 1 1/2″ w
Sentiment Layer: Basic White Cardstock scrap
Flowers: Basic White Cardstock scrap
Inside Layer: Basic White Cardstock 5 1/4″ h x 4″ w
Let’s Create
- Affix all stamps to Acrylic Blocks.
- Fold the Card Base in half using a Bone Folder to sharpen the crease.
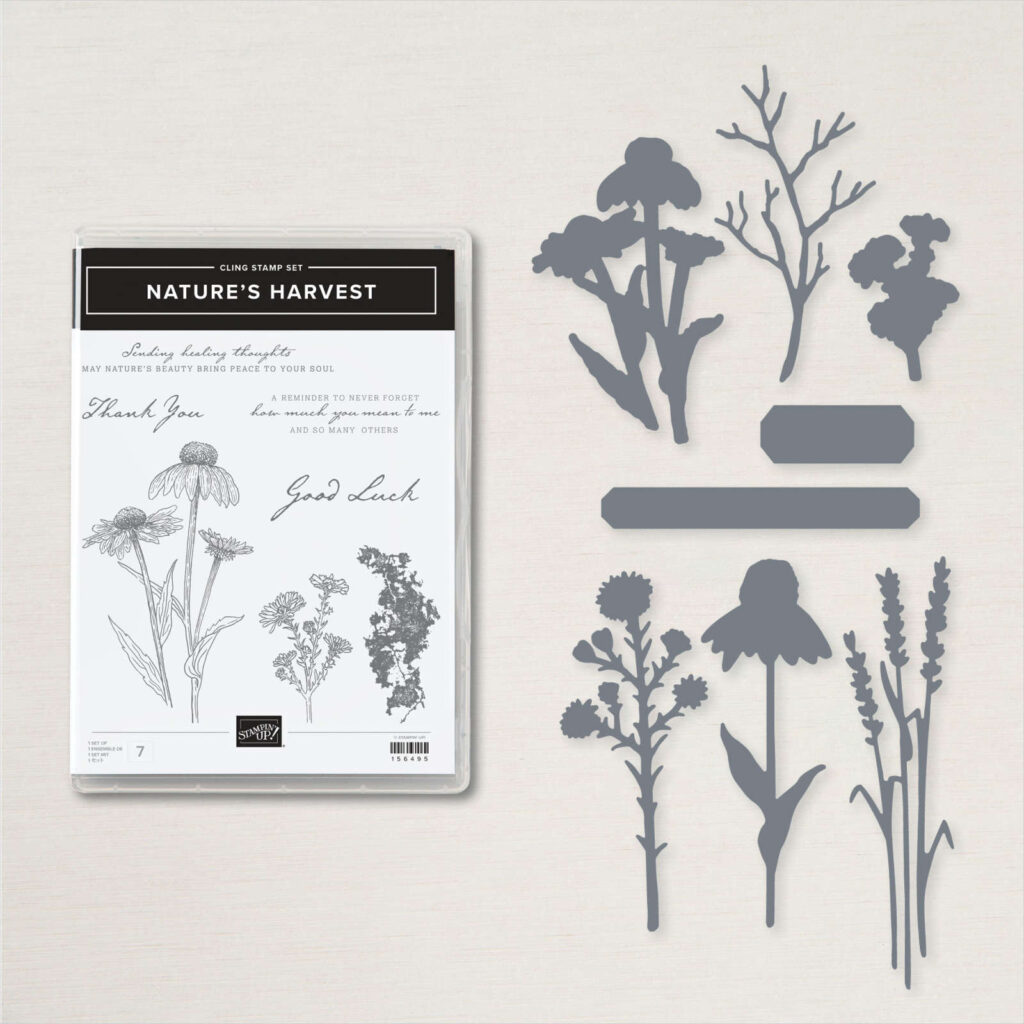
- Using Early Espresso ink pad, stamp the flowers on Basic White Cardstock scrap. Color with Stampin’ Blends and Die cut.
- Die cut the long edge of the 5 ⅛” x 3” Early Espresso using the zig zag border die.
- Die cut the Early Espresso sprig in the center of the Early Espresso 4 ½” x 2” cardstock.
- Stamp the Sentiment using Early Espresso Ink onto Basic White cardstock and die cut using the small frame die.
- Adhere the DSP panels to their coordinating Early Espresso pieces, covering the hole you made from the die cut sprig.
- Attach the matted DSP layers.
- Use Mini Glue Dots and Multipurpose Glue to attach the Early Espresso die cut stems and then the Stamped and colored flowers to the card front.
- Adhere the Sentiment towards the lower part of the card over the stems using Stampin’ Dimensionals.
- Sprinkle on the Brushed Metallic Gold Dots.
- Stamp and decorate the inside and attach with Stampin’ Seal.
- Decorate your envelope.
- Lovely! Who will you send it to?
Shopping List
Stamper’s Toolkit
You will also need adhesive, acrylic blocks, scissors and other basic PaperCrafting items from the Stamper’s Toolkit


