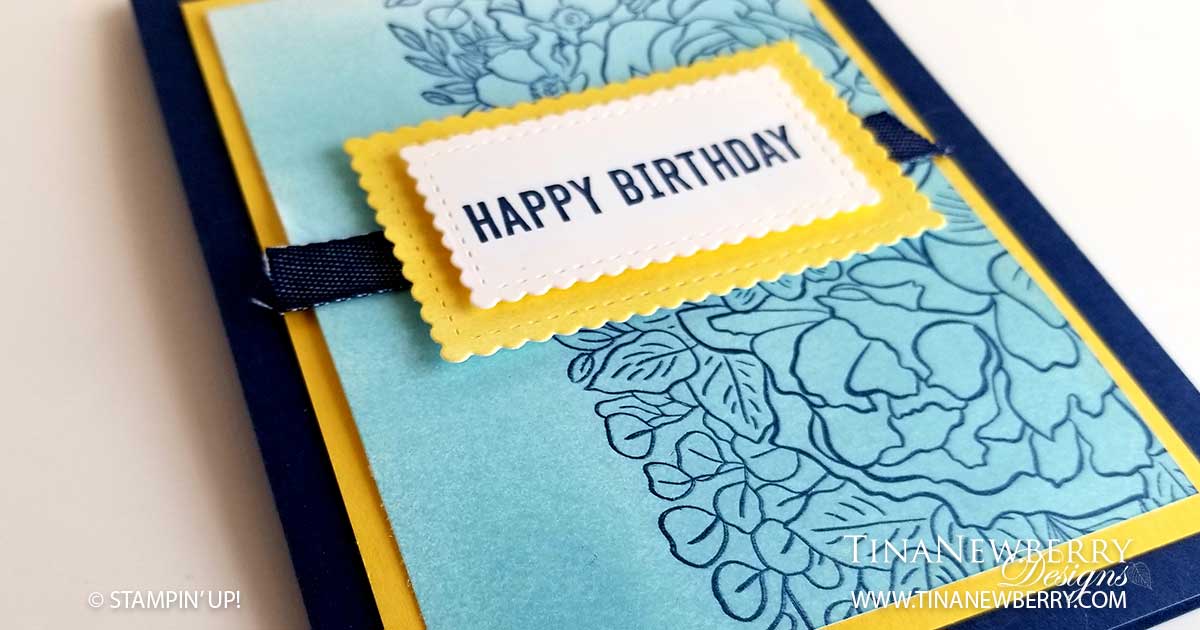
I love how the yellow really pops on this card! I was inspired by a demo Anne Marie Hile did of the Artistry Blossoms Designer Series paper from the 2020-2021 Annual Catalog coming out in June. Again, honestly I was not interested in this paper until I saw a card like this with it. This simple birthday card with subtle details, makes a statement! I mimicked the new DSP by using a brayer to create an ombre effect on whisper white cardstock with the Balmy Blue stamp pad. I then also created a fading ombre effect with the Daffodil Delight stamp pad to use as a layer behind the sentiment. The Breathtaking Bouquet Background added just enough interest to the background layer.
Cutting Dimensions
Full list of supplies needed, listed below. You will need a Die Cutting Machine for this project.
Card Base: Night of Navy Cardstock 8 1/2 h” x 5 1/2″ w folded to 4 1/4″ w x 5 1/2″ h
Background Matte: Daffodil Delight 5″ h x 3 3/4″ w
Background: Whisper White 4 3/4″ h x 3 1/2″ w
Sentiment Background: Whisper White Cardstock cut with 1 5/8″ h x 2 5/8″ w Stitched So Sweetly Die
Sentiment Layer: Whisper White Cardstock cut with 1 1/8″ h x 2 1/8″ w Stitched So Sweetly Die
Ribbon: 4″ Denim Ribbon
Instructions
- Affix all stamps to Acrylic Blocks.
- Fold the Card Base in half using a Bone Folder to sharpen the crease.
- Use Snail Adhesive to adhere the Background Matte to the Card Base.
- Brayer the Balmy Blue ink onto the Whisper White Background layer to make the ombre effect.
- Stamp the Breathtaking Background Stamp onto the Background layer using Night of Navy Ink.
- Use Snail Adhesive to adhere the Background Layer to the Background Matte.
- Apply a layer of Tear & Tape across the middle of the Background layer and lay down the Denim Ribbon
- Stamp Sentiment on Sentiment layer using Night of Navy Ink.
- Brayer the Daffodil Delight ink onto the Whisper White Sentiment Background layer to make the ombre effect.
- Use Dimensionals to adhere the Sentiment to the Sentiment Background layer and the Sentiment Background layer to the Background layer.
- That’s it! Time to send it to someone to make their day!
Product List


 Denim Ribbon")


Recommended Stamper’s Tool Kit


Design inspired by Anne Marie Hile.