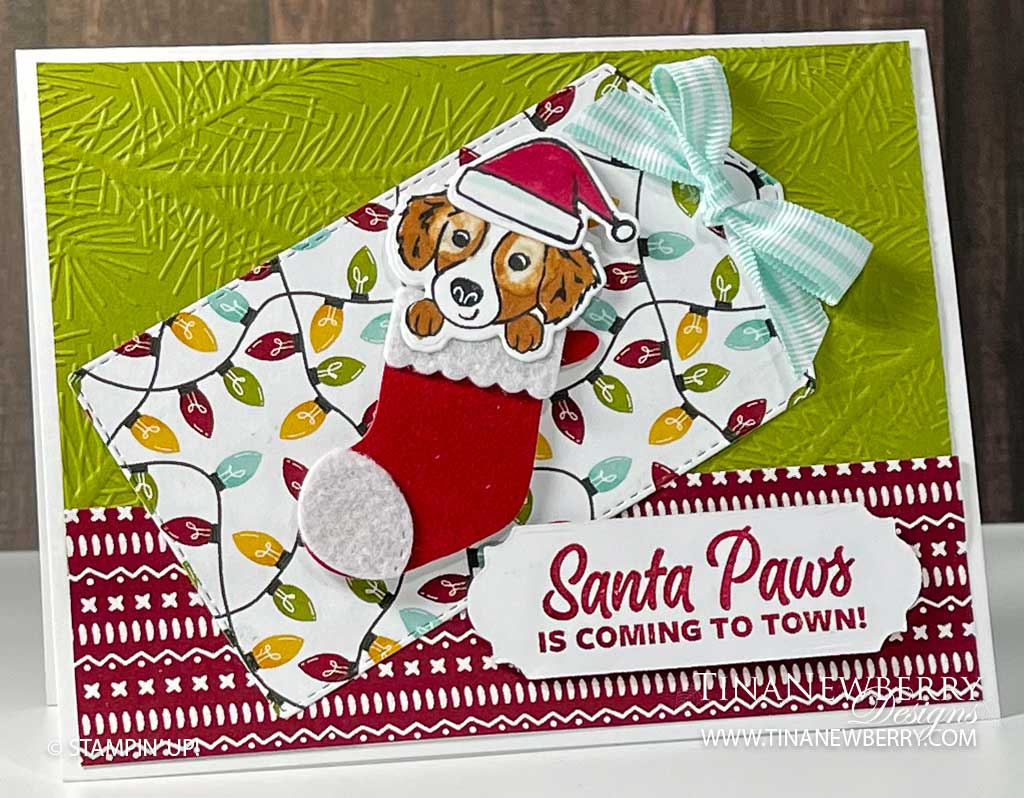
Inspired by a card swap, this fetive tag card sure brings the fun! I just love the sweet pup on the front and the designer series paper with all the lights on it!
Measurements
Full list of supplies needed, listed below. A die cutting machine is needed for this card.
Basic White Thick Cardstock Card Base: 8 ½ h” x 5 ½ w”, scored and folded on the long side at 4 ¼” h
Old Olive Cardstock: 2 ½” x 5 ¼”
Sweet Stockings Designer Series Paper:
- 2” h x 5 ¼” w
- scrap for tag
Jolly Felt: scrap for stocking
Red Velvet: scrap for stocking
Basic White Cardstock:
- 4″ h x 5 1/4″ w (inside layer)
- scrap for puppy
- scrap for tag
Let’s Create
- Affix all stamps to Acrylic Blocks.
- Fold the Card Base in half using a Bone Folder to sharpen the crease.
- RUn Old Olive through Stampin’ Cut & Emboss machine with the Wintry 3D (pine needles) Embossing Folder.
- Adhere Old Olive panel to card base with Multipurpose Liquid Glue or Stampin’ Seal.
- Align and adhere 2” h x 5 ¼” w DSP to card base with Multipurpose Liquid Glue or Stampin’ Seal.
- Die-cut
- Large tag from 2” x 5 ¼” DSP
- Stocking from Red Velvet scrap
- Stocking trim and toe accents from Felt scraps
- Sentiment label from Basic White Cardstock scrap
- Stamp sentiment in Cherry Cobbler on Basic White Sentiment Label.
- Assemble stocking by gluing felt trim and felt toe to velvet stocking.
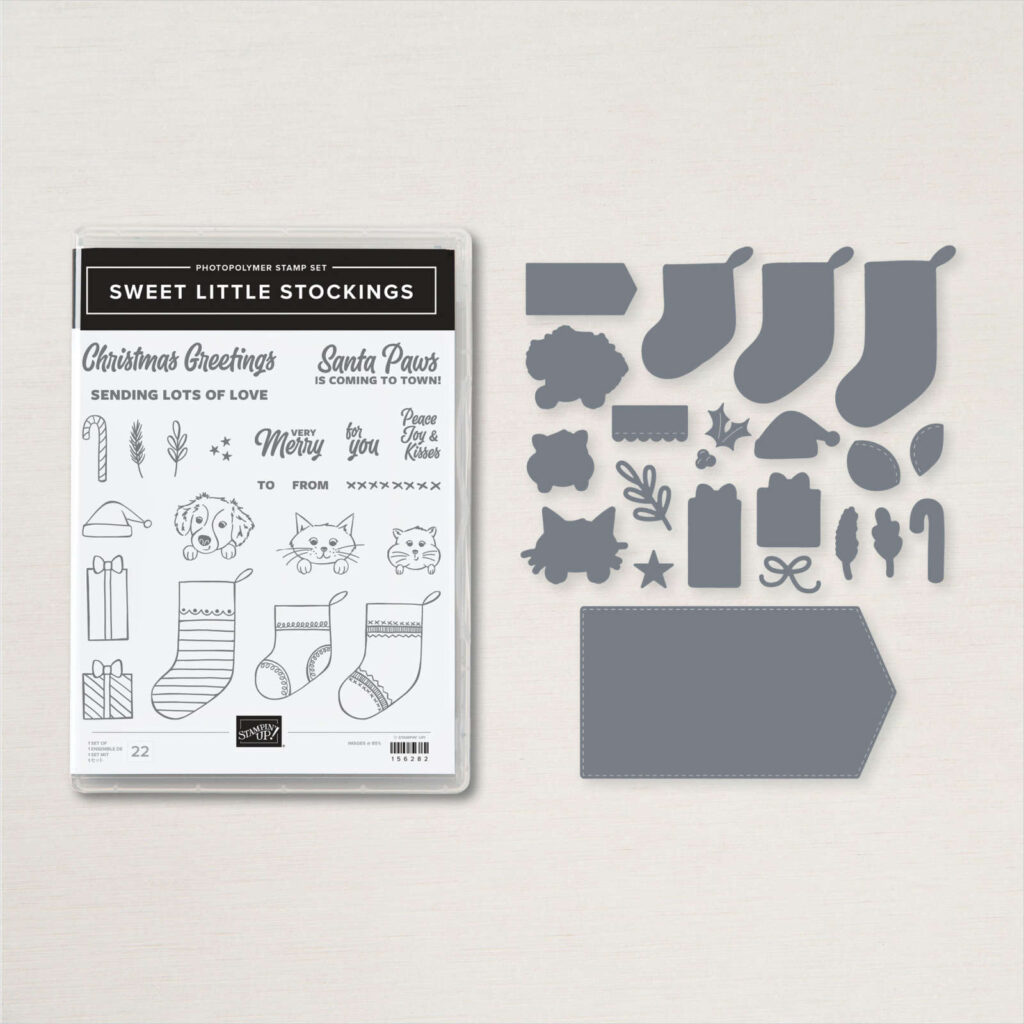
- Stamp puppy on scrap piece of Basic White Cardstock. Stamp hat on scrap. Color with Stampin’ Blends. Die cut with coordinating Sweet Stockings dies.
- Adhere tag on an angle to the card front with Multipurpose Liquid Glue or Stampin’ Seal.
- Adhere stocking with glue. Adhere puppy face with Stampin’ Dimensionals. Glue the Santa cap with a light touch of glue on the forehead.
- Adhere sentiment with Stampin’ Dimensionals.
- Tie a nice bow from Pool Party Striped ribbon and adhere with Mini-Glue Dots.
- Sprinkle on some Decorative Matte Dots (optional).
- Stamp and decorate the inside and attach with Stampin’ Seal.
- Decorate your envelope.
- So cute! Who will you send it to?
Shopping List
Stamper’s Toolkit
You will also need adhesive, acrylic blocks, scissors and other basic PaperCrafting items from the Stamper’s Toolkit


