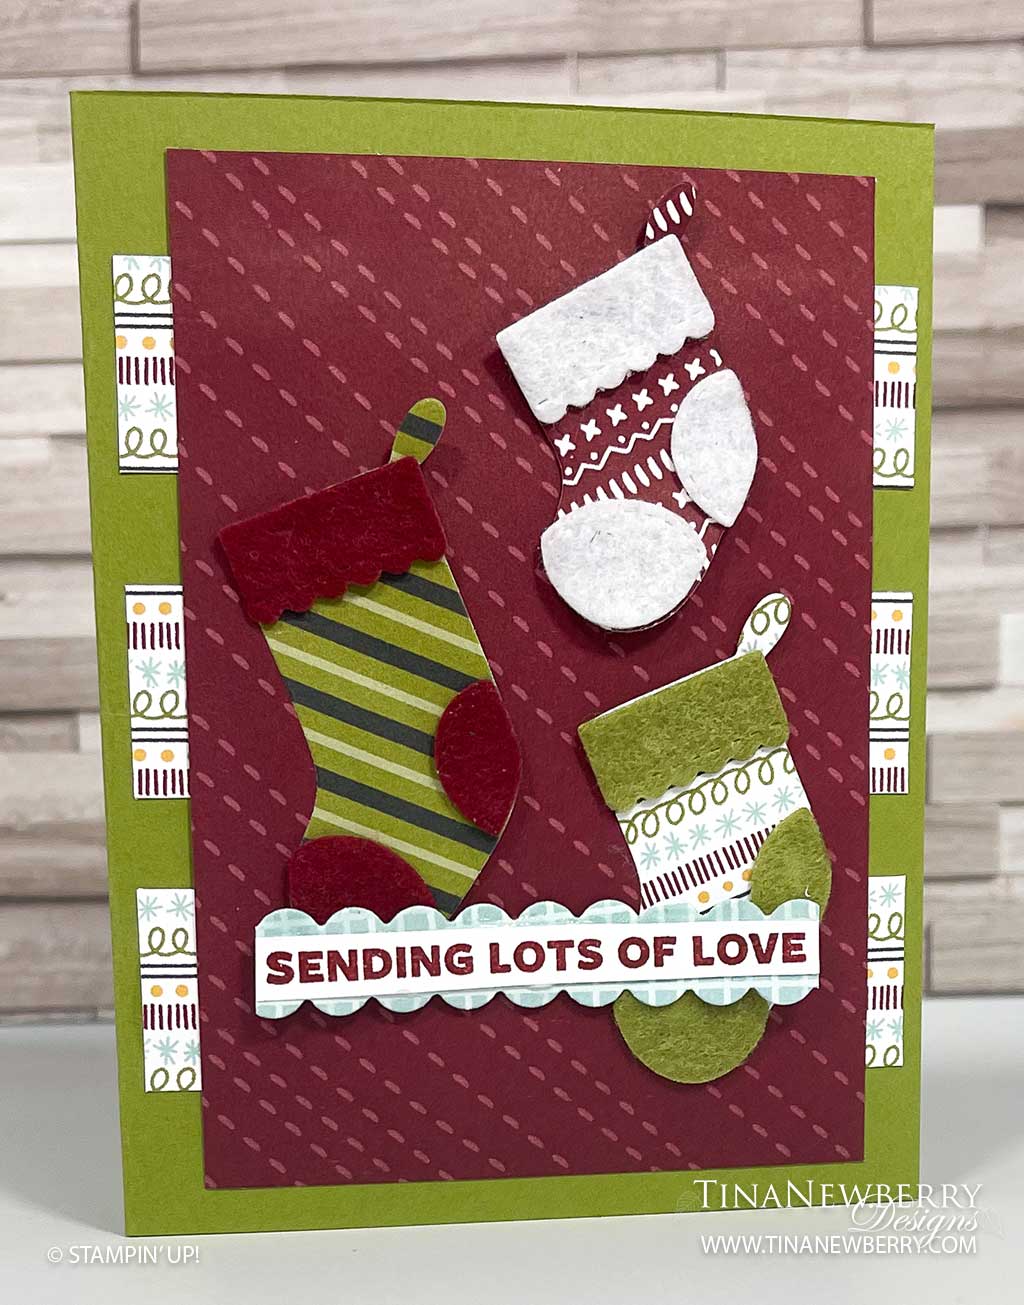
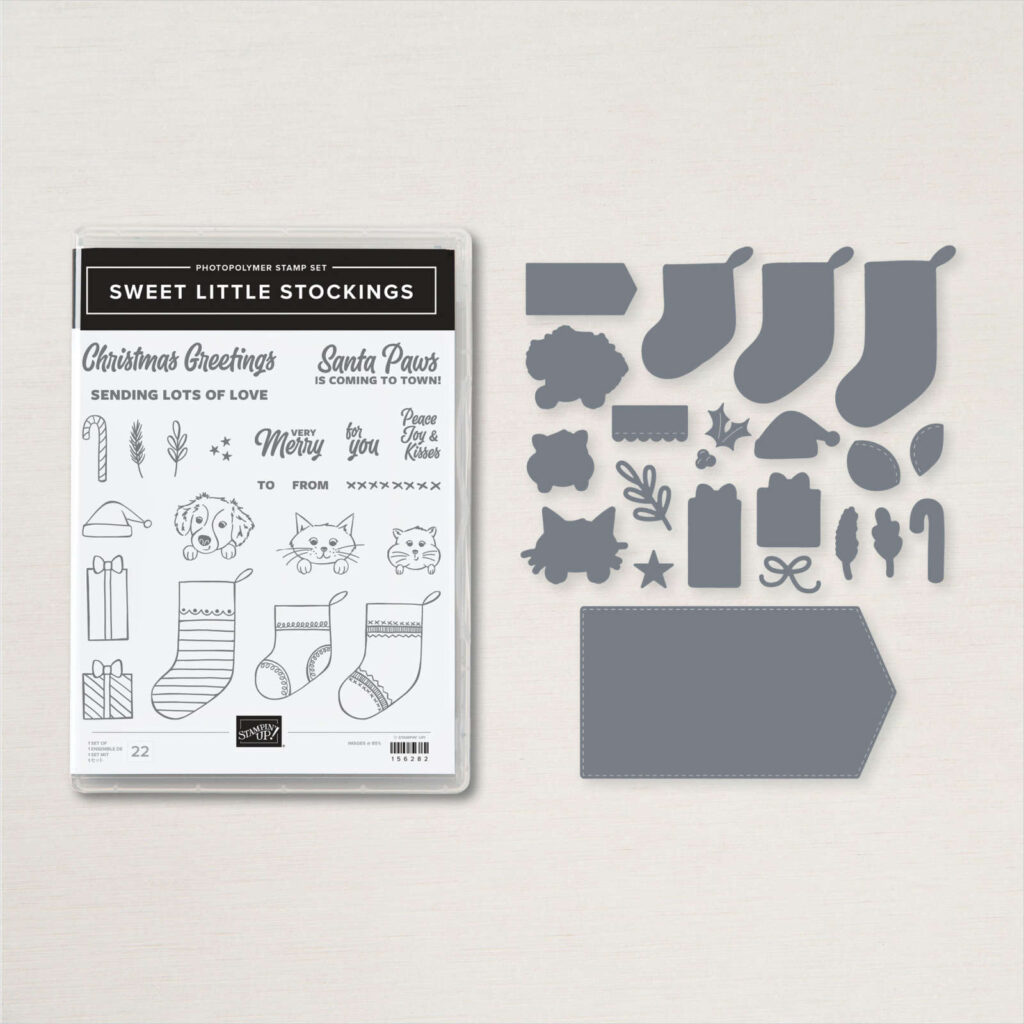
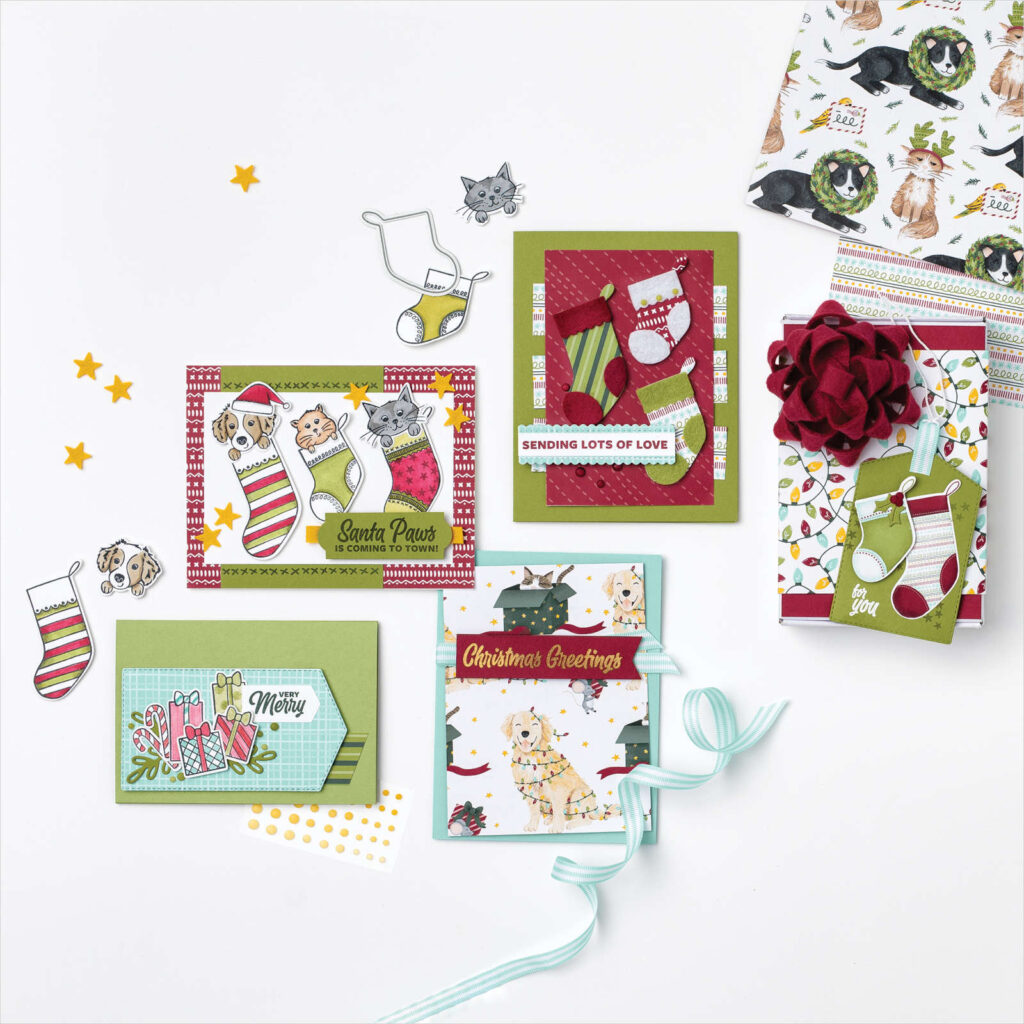
When a card in the catalog is so cute you just HAVE to create it yourself. Feel free to CASE (copy and share everything) the Catalog, when you feel inspired. Aren’t these little stockings the cutest?
Measurements
Full list of supplies needed, listed below. A die cutting machine is needed for this card.
Old Olive Card Base: 8 ½” w x 5 ½” h, scored on the long side at 4 ¼”
Sweet Stockings Designer Series Paper (DSP):
- 1” h x 4” w strip (3)
- 5” h x 3 ⅓” w
- 2” x 4” crap (3 – for the stockings)
Jolly Felt: scraps coordinating with DSP for stocking
Basic White
- 1/4″ h x 2 7/8” w
- 5″ h x 4 1/4″ w (inside)
Let’s Create
- Affix all stamps to Acrylic Blocks.
- Fold the Card Base in half using a Bone Folder to sharpen the crease.
- Cut Old Olive card base at 8 ½” x 5 ½”. Score at 4 ¼” and fold in half.
- Cut three pieces of (Designer Series Paper) DSP to 1” x 4”. Adhere with glue down the center of the card front, evenly spaced.
- Cut a piece of matching DSP to 3 ½” x 5” and attach with glue to center of card front.
- Cut 2″ strips of each of the DSP patterns that you intend to use for the stockings and the border.
- Die-cut a large, medium, and small stocking from DSP. Die-cut two scalloped borders from Pool Party paper.
- Die-cut three sets of stocking trim from white, cherry and olive felt scraps.
- Adhere felt trim to stockings with glue. Adhere stockings to card front with glue.
- Stamp sentiment on Basic White strip that measures 2 7/8″ x 1/4″. Adhere scalloped borders to sentiment with glue.
- Adhere sentiment panel to card front with Stampin’ Dimensionals.
- Optionally sprinkle on some Matte Dots. (I just realized that I forgot to add mine but they would be so super cute and they would add just the perfect finishing touch!)
- Stamp and decorate the inside and attach with Stampin’ Seal.
- Decorate your envelope.
- Adorbs! Now send it to someone special.
Shopping List
Stamper’s Toolkit
You will also need adhesive, acrylic blocks, scissors and other basic PaperCrafting items from the Stamper’s Toolkit


