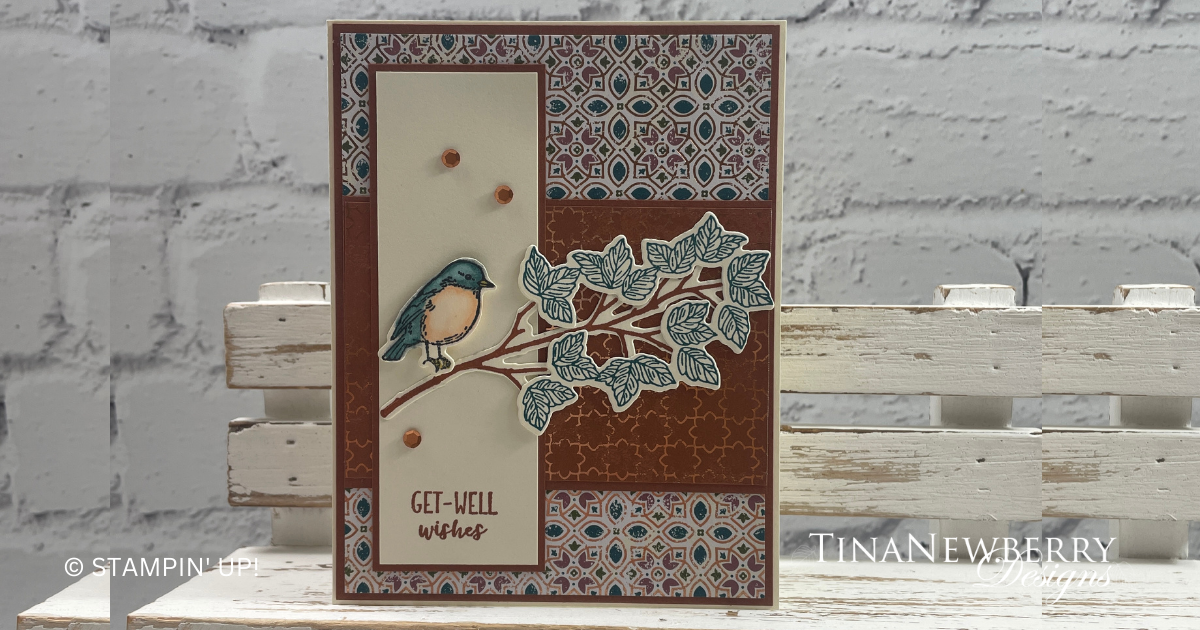
Send sweet get well wishes while showing off your pretty patterned paper with this simple stamping design.

Measurements
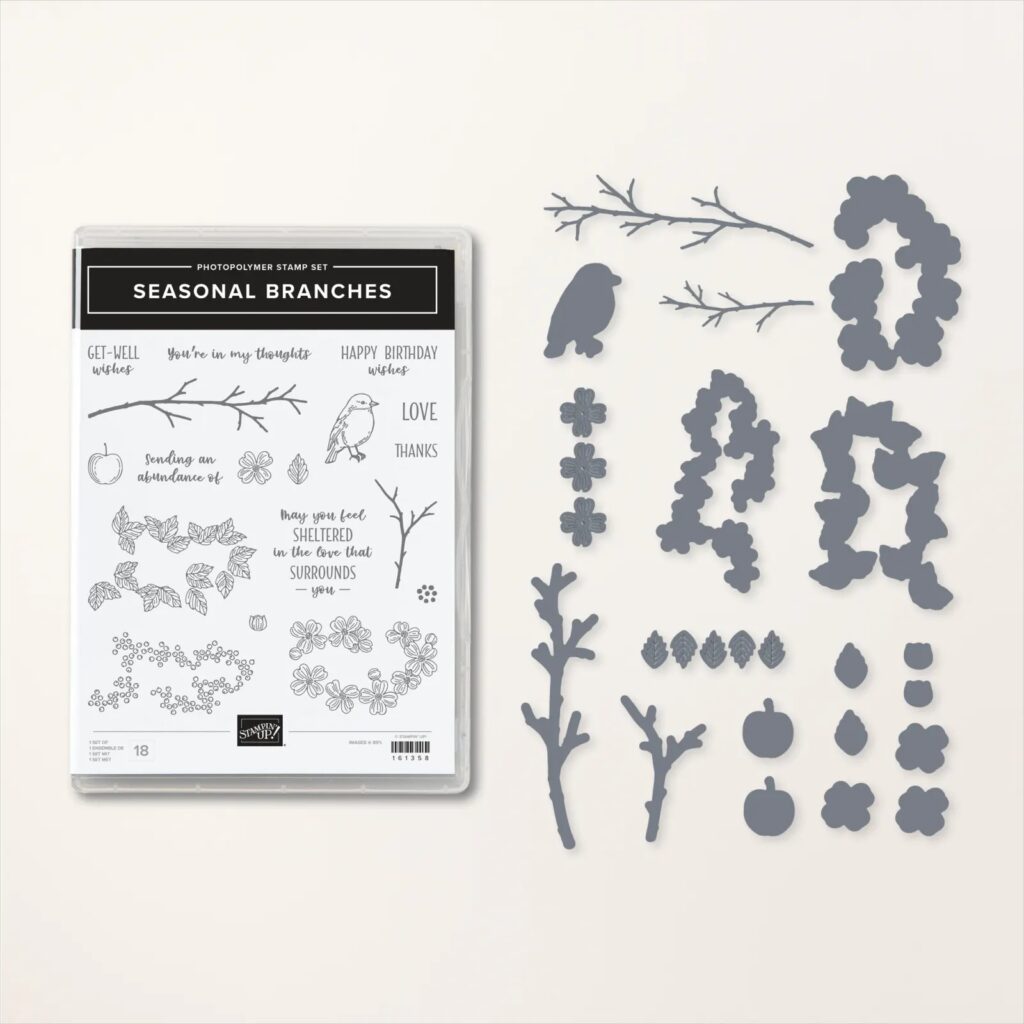
Full list of supplies needed, listed below. A die cutting machine is needed for this card.
MEASUREMENTS
Very Vanilla
- 5 ½” x 8 ½” scored and folded on the long-side at 4 ¼”
- 4 ⅝” x 1 ½”
- 4 ¼” x 3” (for stamping and die cutting bird, branches and leaves)
Copper Clay
- 4 ⅛” x 5 ⅜”
- 5 x ⅝”
- 4” x 2 ½”
All About Autumn Designer Series Paper
- 5 ¼” x 4” (Pretty Peacock/Copper Clay/Gold Print)
- 4 x 2 ⅝” (Copper Clay/Gold Print)
Let’s Create
- Affix all stamps to Acrylic Blocks.
- Fold the Card Base in half using a Bone Folder to sharpen the crease.
- Using the 4 ¼” x 3” Very Vanilla piece of cardstock, stamp the branch with Copper Clay ink pad, the “bunch” of leaves with Pretty Peacock ink pad, and the bird with Black Memento ink pad. Color the bird using Stampin’ Blends – Pretty Peacock, Petal Pink and Daffodil Delight. Using the coordinating dies from the Seasonal Branches die set, die cut each of these images.
- Using Copper Clay ink, stamp “Get-Well wishes” sentiment to the lower edge of the 4 ⅝” x 1 ½” piece of Very Vanilla cardstock.
- CARD ASSEMBLY: Adhere the stamped 4 ⅝” x 1 ½” Very Vanilla piece of cardstock to the coordinating Copper Clay mat. Adhere the 5 ¼” x 4” Designer Series Paper to the 5 ⅜” x 4 ⅛” Copper Clay panel, and adhere these layers to the folded card. Adhere the 4” x 2 ½” Copper Clay Designer Series Paper to the Copper Clay coordinating cardstock mat and adhere these layers to the card approximately an inch from the bottom.
- Adhere the stamped Very Vanilla layer to its coordinating Copper Clay mat and adhere these layers to the card towards the left side. Adhere the branch to the card. Position the leaves lining them up with the branches and tape down. Using Stampin’ Dimensionals, adhere the bird to the branch.
- Randomly place 3 Neutrals Adhesive Backed sequins to the card.
- Be sure to decorate the inside of the card and your envelope before sending a beautiful “Get Well” wish to someone special.
Shopping List
Recommended Stamper’s Toolkit ❤
Product List


