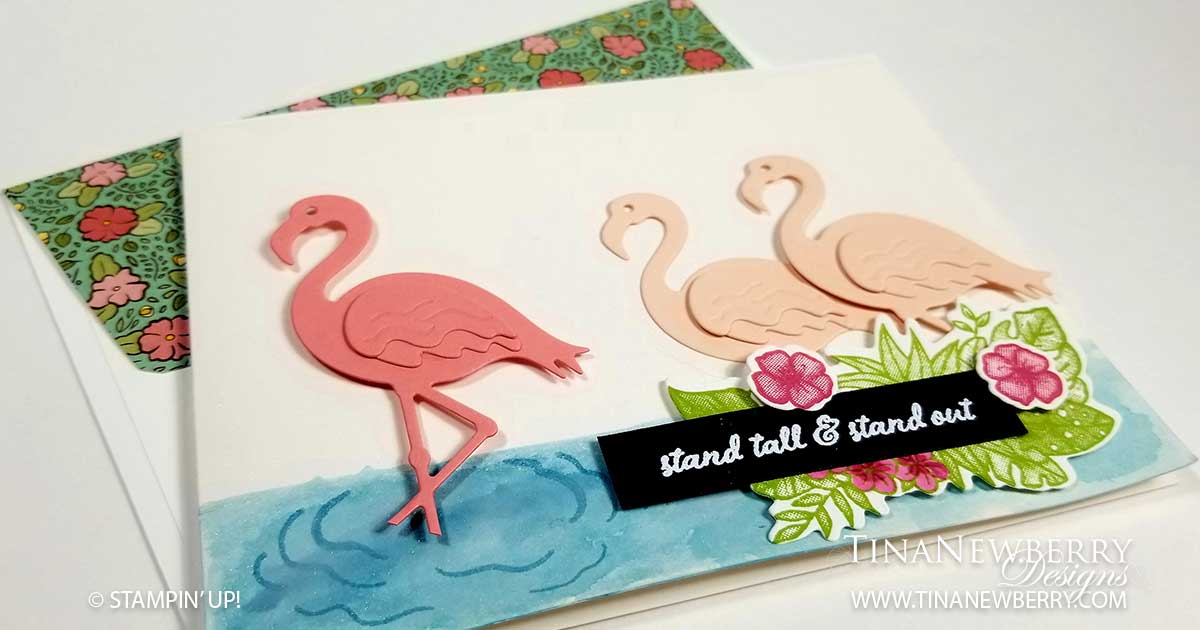
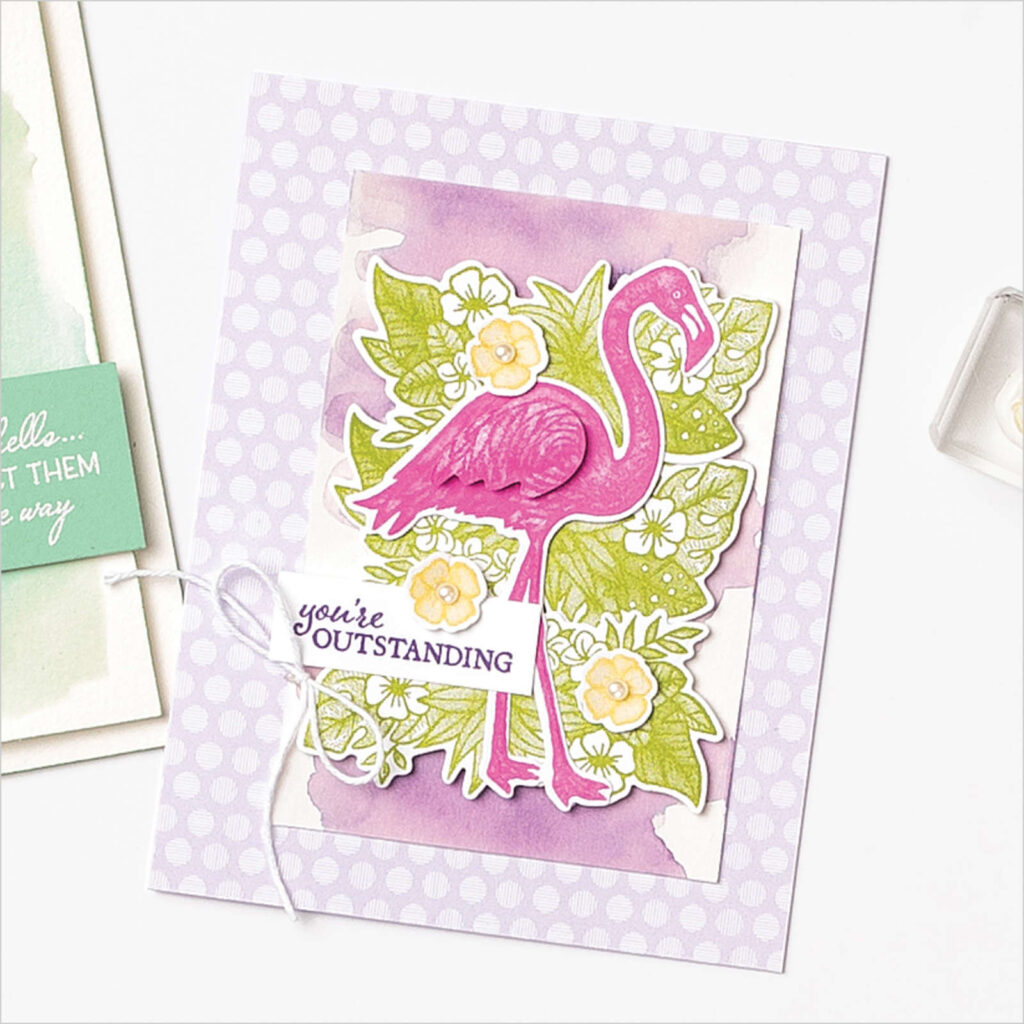
Stand tall & stand out! I love this sentiment! Such a fun color combination for these beautiful birds! The flamingo dies make is so easy to build a flamingo – or 3- in any color(s) you like. For this one I knew I wanted one to stand out in Flirty Flamingo, so I made the other two out of Petal Pink. This is another #simplestamping project using just stamps, ink and paper.
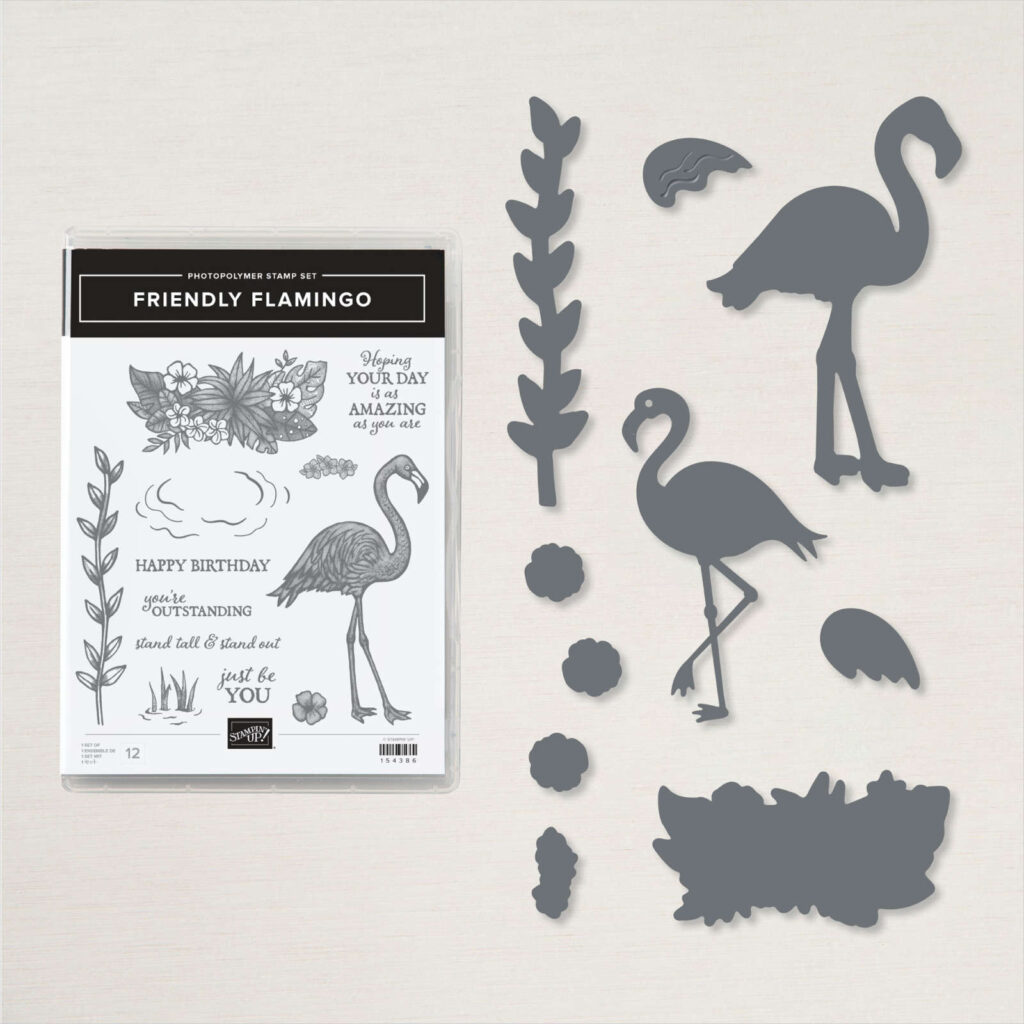
Full list of supplies needed, listed below. A die cutting machine is needed for this card.
Card Base: Shimmery White Cardstock 8 1/2 h” x 5 1/2″ w folded to 4 1/4″ h x 5 1/2″ w.
Sentiment Layer: Basic Black Cardstock 1/2″ h x 2 1/2″ w
Inside Background: Petal Pink Cardstock 3 3/4″ h x 5″ w
Inside Layer: 3 1/2″ h x 4 3/4″ w
- Affix all stamps to Acrylic Blocks.
- Fold the Card Base in half using a Bone Folder to sharpen the crease.
- To make the water:
- Place a piece of scrap cardstock along the horizon line.
- Press an acrylic block onto the Balmy Blue Ink Pad to lift some color off.
- Fill a Water Painter with water and then squeeze the barrel over the block to add a few drops of water to the ink.
- Dip the brush tip of the Water Painter Painter into the water and swirl to combine with the ink.
- Apply watercolor to the Background below the horizon line.
- Allow to dry
- Die Cut and assemble one Flirty Flamingo and two Petal Pink Flamingoes.
- Stamp the Foliage in Granny Apple Green on scrap Basic White Cardstock and color with the Granny Apple Green and Melon Mambo Stampin’ Blend markers and die cut.
- Stamp two flowers in Melon Mambo ink and color with the Melon Mambo Stampin’ Blend markers and die cut.
- Attach the Flirty Flamingo with Stampin’ Dimensionals – I trimmed her feet b/c she’s standing in the water.
- Attach one Petal Pink Flamingo with Stampin’ Seal and the other with Stampin’ Dimensionals. I trimmed their feet too so they would be shorter.
- Attach the Foliage and Flowers with Stampin’ Dimensionals.
- Stamp the Sentiment on the Sentiment Layer with Versamark ink, sprinkle with White Stampin’ Emboss Powder and Heat Emboss to set. Then attach with Stampin’ Dimensionals.
- Decorate the Inside Layer and attach.
- Decorate the envelope.
- So cute! Now send it to someone special.
Shopping List


")
Stamper’s Toolkit
You will also need adhesive, acrylic blocks, scissors and other basic PaperCrafting items from the Stamper’s Toolkit


