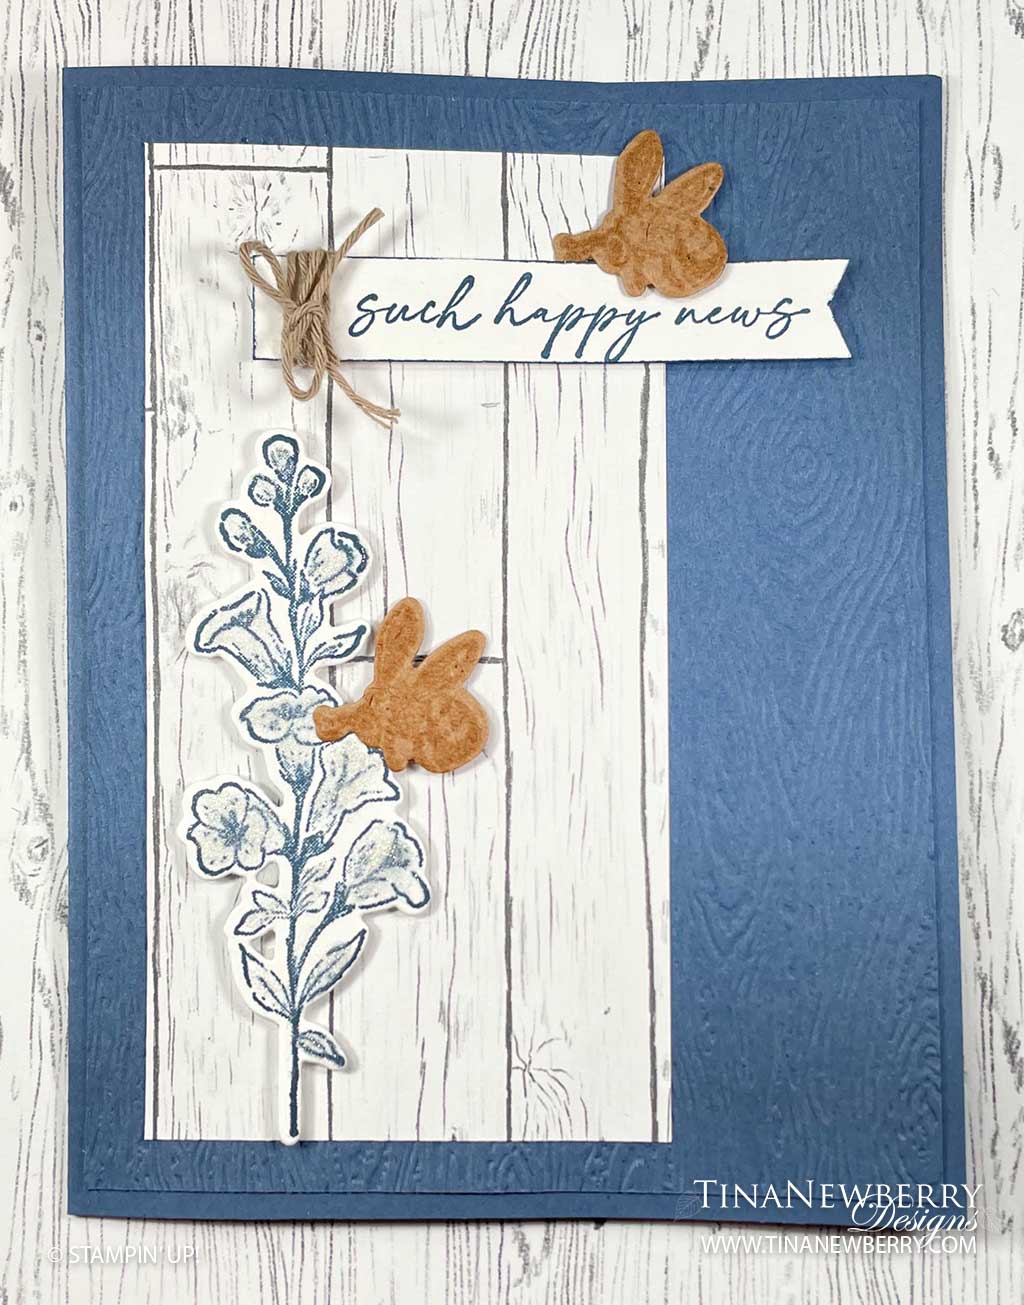
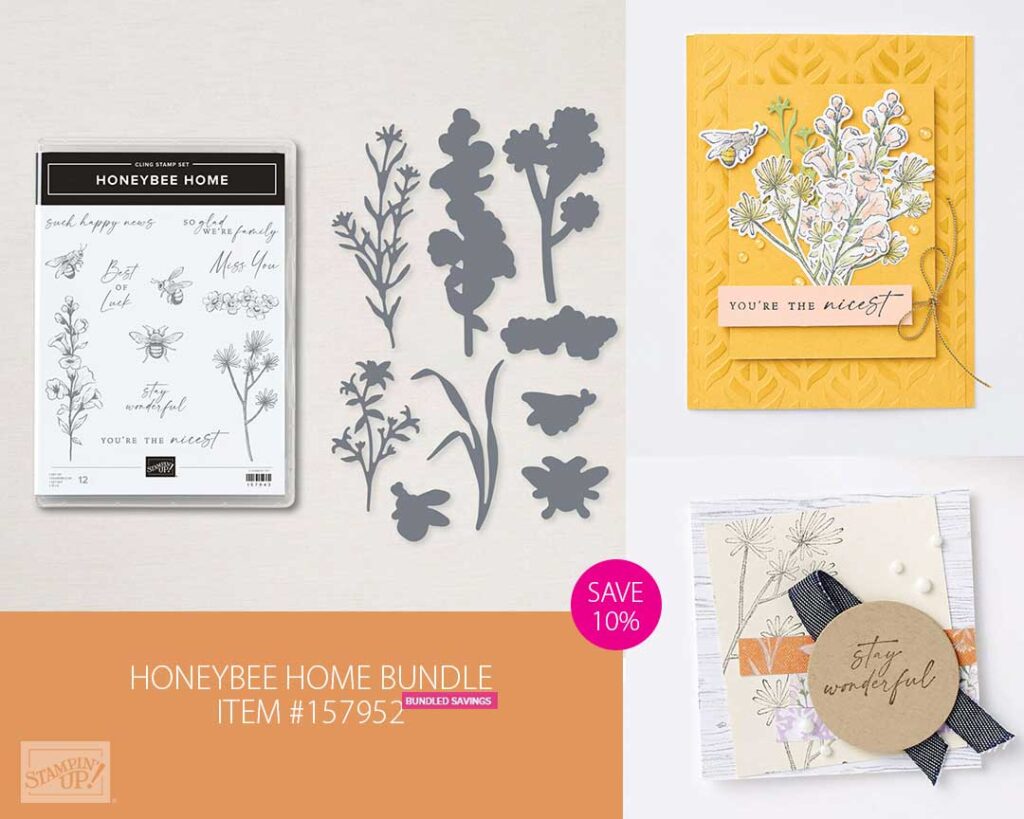
Bees stamped from the Stampin’ Up! Honeybee Home Stamp set on kraft paper and die cut out with the Honerybee Blooms dies add some fun color to lovely white woodgrain paper from Stampin’ Up! Heart & Home Designer Series Paper on this uplifting card.
Measurements
Full list of supplies needed, listed below. A die cutting machine is needed for this card.
Misty Moonlight Cardstock:
- 5 ½” h x 8 ½” w folded to 5 ½” h x 4 ¼” w
- 5 ¼” h x 4” w
Home and Heart Designer Series Paper: 5″ h x 2″ w
Basic White Cardstock:
- ½” h x 4” w for sentiment
- 5 ¼” h x 4” w for inside
- scrap for flower
Kraft paper: scrap for bees
Let’s Create
- Affix all stamps to Acrylic Blocks.
- Fold the Card Base in half using a Bone Folder to sharpen the crease.
- Emboss the Misty Moonlight card stock layer with the Timber Embossing Folder.
- Adhere to the card base with Stampin’ Seal.
- Adhere the Home and Heart DSP layer onto the card front with Stampin’ Seal.
- Use the Misty Moonlight Classic Stamp Pad to stamp the flowers image on a scrap of Basic White card stock.
- Die cut the flowers image.
- Adhere with Stampin’ Dimensionals to the card front.
- Stamp the bees image with Cinnamon Cider onto the Kraft paper.
- Die cut the bees.
- Stamp the sentiment with Misty Moonlight Stampin’ Pad on the Basic White layer.
- Use the Banners Pick A Punch to punch the right side end of the sentiment layer.
- Wrap the Baker’s Twine around the left side of the sentiment layer, tie a bow. Trim the ends.
- Adhere the sentiment banner with Stampin’ Dimensionals to the card front.
- Adhere the 2 bees with Stampin’ Dimensionals onto the card front.
- Stamp and decorate the inside and attach with Stampin’ Seal.
- Decorate your envelope.
- Make someone’s day with this uplifting card. Send it today.
Recommended Stamper’s Toolkit ❤
Product List


