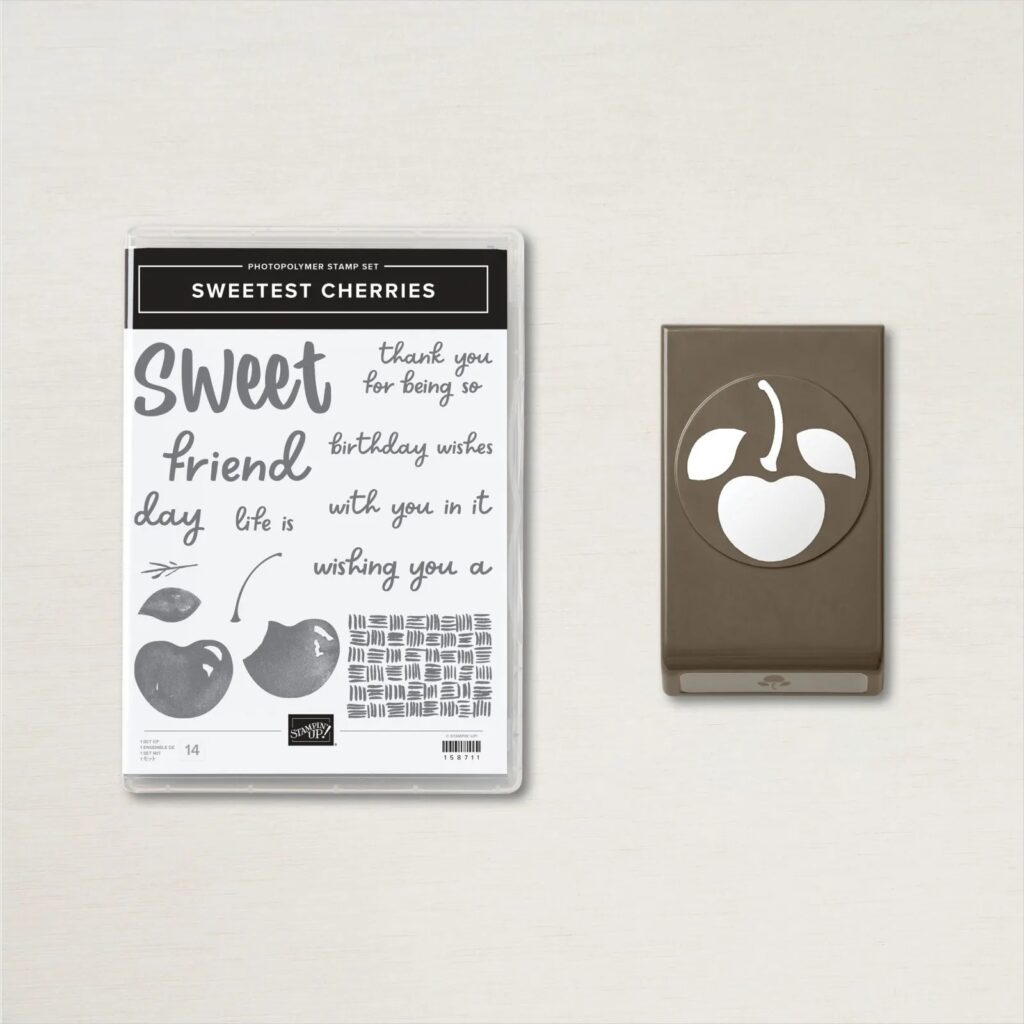
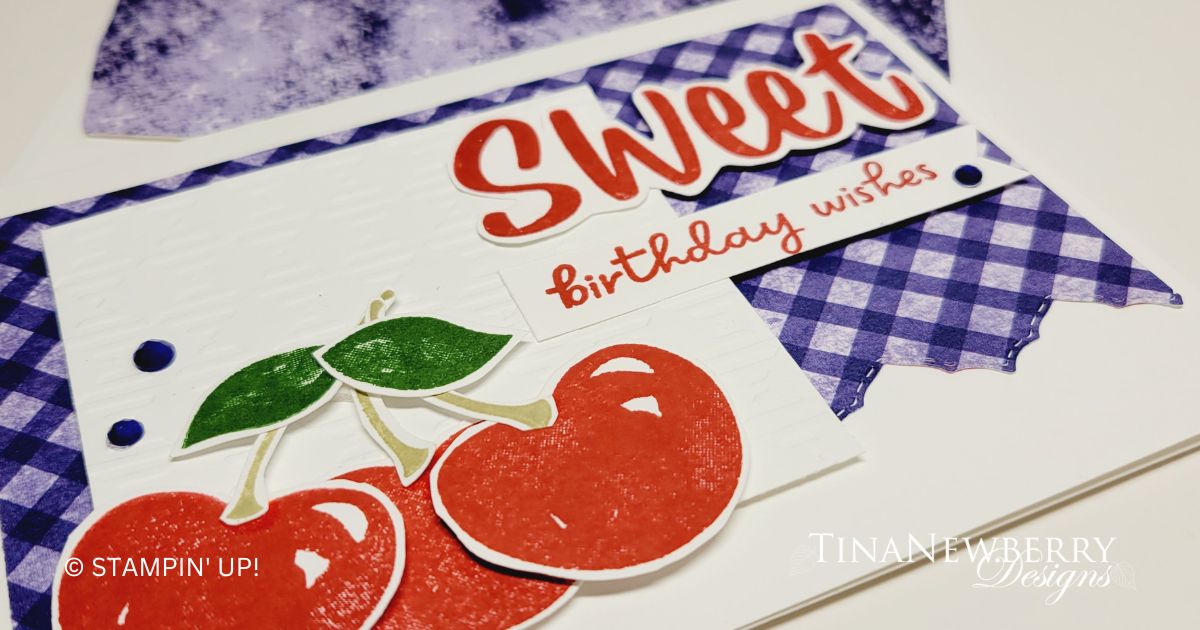
The big SWEET in the Sweetest Cherries Bundle can be combined with the variety of words and phrases to create any number of cards and the cherries are so fun! Design inspired by Peggy Noe.

Measurements
Full list of supplies needed, listed below. A die cutting machine is needed for this card.
Basic White Thick Cardstock: 5 1/2″ w x 8 1/2″ h folded to 5 1/2″ w x 4 1/4″ h Card Base
Basic White Cardstock:
- 3″ h x 3″ w
- Scrap for tag, cherries and sweet
Tea Boutique Designer Series Paper (DSP): 3 1/2″ h x 5 1/4″ w
Let’s Create
- Affix all stamps to Acrylic Blocks.
- Fold the Card Base in half using a Bone Folder to sharpen the crease.
- Run the DSP through the Stampin’ Cut & Embossing machine with the Basic Borders Dies. Attach to the front of the card with Stampin’ Seal.
- Run the 3″ square Basic White Cardstock through the Stampin’ Cut & Embossing machine with the Gingham Embossing Folder and attach with Stampin’ Dimensionals.
- On the scrap Basic White Cardstock, stamp the Sweet, sentiment, and Cherries in Real Red ink, the Stems in Crumb Cake and the Leaves in Garden Green.
- Use the Cherries Builder Punch to punch the Cherries, Leaves and Stems. Use Mini Glue Dots, Multipurpose Glue and Stampin’ Dimensionals to assemble the Cherries. Attach with Stampin’ Dimensionals and Stampin’ Seal.
- Use Paper Snips to trim out the Sweet.
- Use your trimmer to cut the Sentiment down to a small rectangle, then use Paper Snips to flag one end.
- Attach the Sweet and sentiment with Stampin’ Dimensionals and Stampin’ Seal.
- Sprinkle on the Solid Faceted Gems.
- Stamp and decorate the inside and attach with Stampin’ Seal.
- Decorate your envelope.
- So cute! Now send it to someone special.
Shopping List
Recommended Stamper’s Toolkit ❤
Product List


