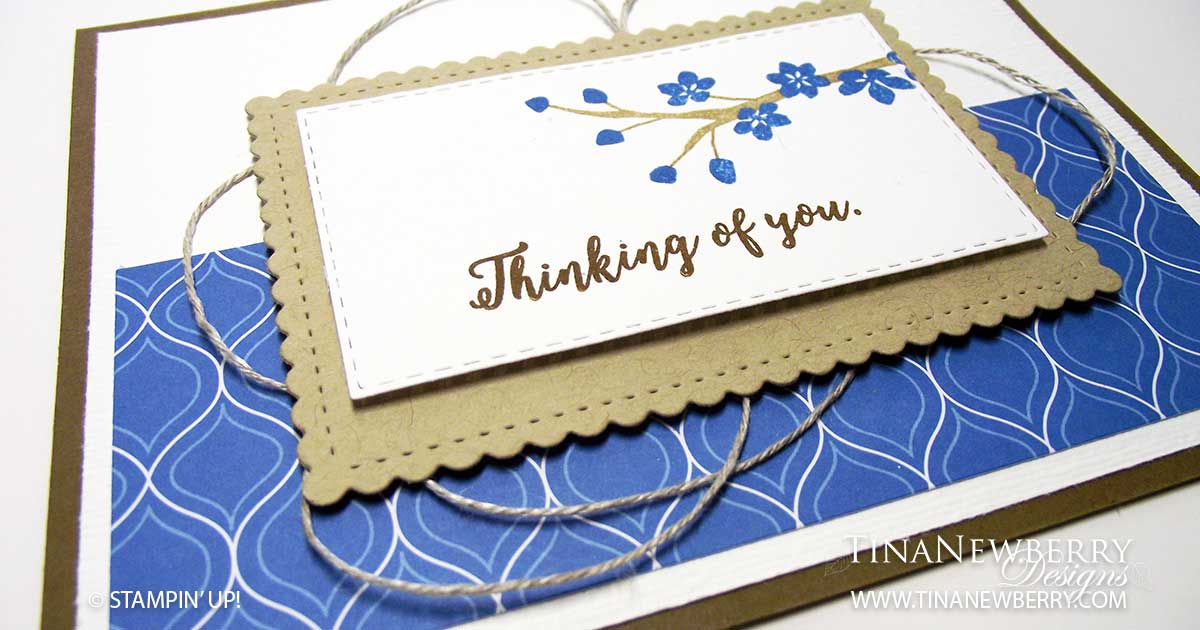
When I first started thinking about this card,I knew I wanted to use Pacific Point. I wasn’t sure the lighter Crumb Cake was enough so I cautiously added the Soft Suede and Early Espresso. I’m quite happy with the results! I’m not so good at adding lots of little repeating stamps. For some reason I can’t repeat ink consistently and all the images come out looking different. But with this stamp set, the flowers and buds are one stamp and the branch is another making it so easy to create a consistent image. And the branch stamp even has cut outs so you can fit the flowers in right where they go. No guess work! And the result is a beautifully put together flowering branch. I’m sad to see this set on the retiring list. I have used it here and there over the last few years and have really enjoyed the results. Look for this set and coordinating dies on sale in my retiring section after June 3rd.
Cutting Dimensions
This project uses a Die Cutting Machine. Full list of supplies needed, listed below.
Card Base: Soft Suede Cardstock 8 1/2 h” x 5 1/2″ w folded to 4 1/4″ h x 5 1/2″ w
Background: Whisper White 4″ h x 5 1/4″ w
Pattern Layer: Pacific Point Designer Series Paper 2″ h x 5″ w
Instructions
- Affix all stamps to Acrylic Blocks
- Fold the Card Base in half using a Bone Folder to sharpen the crease
- Emboss the Background with the Subtle Embossing Folder
- Use Snail Adhesive to affix the Background to the Card Base
- Use Snail Adhesive to affix the Pattern Layer to the bottom of the Background Layer
- Die cut the Stitched so Sweetly Rectangle from Crumb Cake Cardstock
- Die cut a coordinating Stitched Rectangle from Whisper White Cardstock
- On the Stitched Rectangle, stamp the sentiment in Early Espresso ink then stamp the branch in Crumb Cake Ink and the flowers in Pacific Point Ink
- Use Snail Adhesive to affix the Stitched Rectangle to the Stitched So Sweetly rectangle
- Use Mini Glue Dots to affix looped Linen Thread to the back of the Stitched So Sweetly Rectangle
- Use Dimensionals to affix the Stitched So Sweetly Rectangle to the Background and Pattern Layer as shown
- That’s it! Send it to someone today
Product List
Recommended Stamper’s Tool Kit
Design inspired by Ronda Wade.


