I admit I exit summer kicking and screaming a little – hence I live in Florida – but by August I am ready for rich fall colors, especially deep yellows and oranges.
Measurements
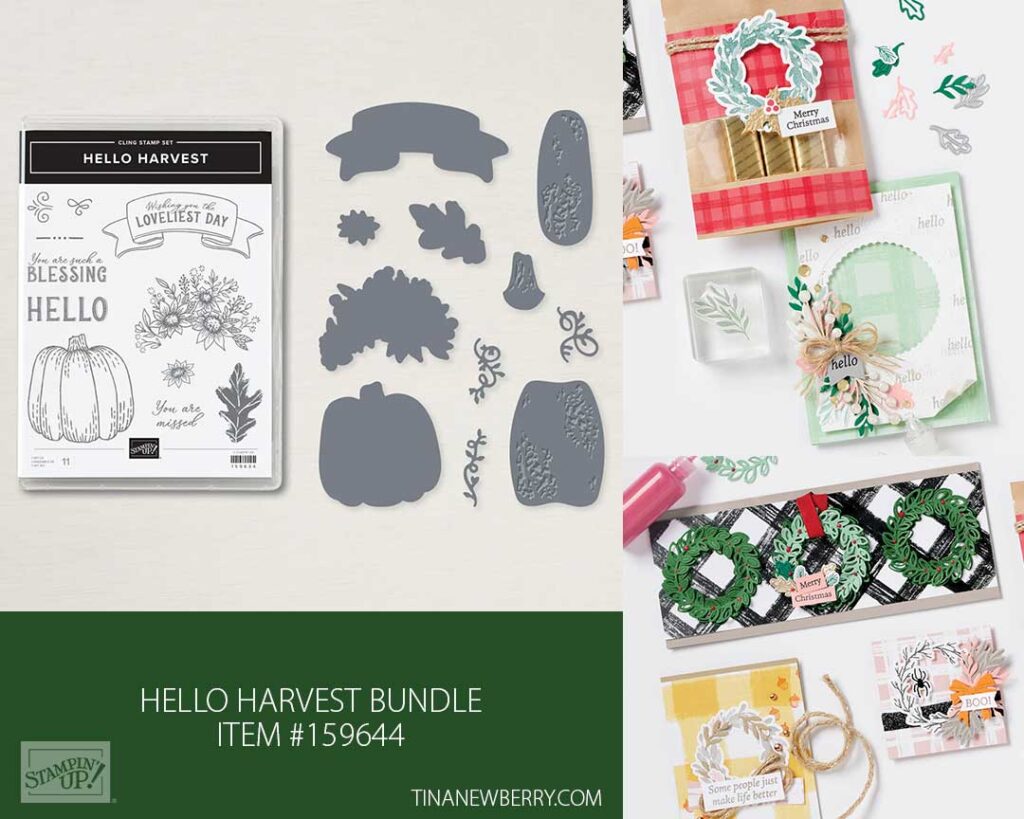
Full list of supplies needed, listed below. A die cutting machine is needed for this card.
Basic White Cardstock:
- 5 ½” w x 8 ½” h scored and folded on the long-side at 4 ¼”
- 2” w x 2” h (for stamping flowers and die cutting)
Basic Black Cardstock:
- 5 ⅜” w x 4 ⅛” h
- 1 ½” h x 5 ¼” w (for die cutting zig zag border)
Early Espresso Cardstock:
- 1 ½” x 1 scrap (For die cutting pumpkin stems)
Cajun Craze Cardstock:
- 7” x 2 ¾” scrap (For die cutting pumpkins)
Mossy Meadow Cardstock:
- 1 ½” x 2 scrap (For die cutting pumpkin vines)
Rustic Harvest Designer Series Paper:
- 5 ¼” w x 4” h (Crushed Curry Print)
- 5 ¼” w x ¾” h (Black & White Stripe Print)
Let’s Create
- Affix all stamps to Acrylic Blocks.
- Fold the Card Base in half using a Bone Folder to sharpen the crease.
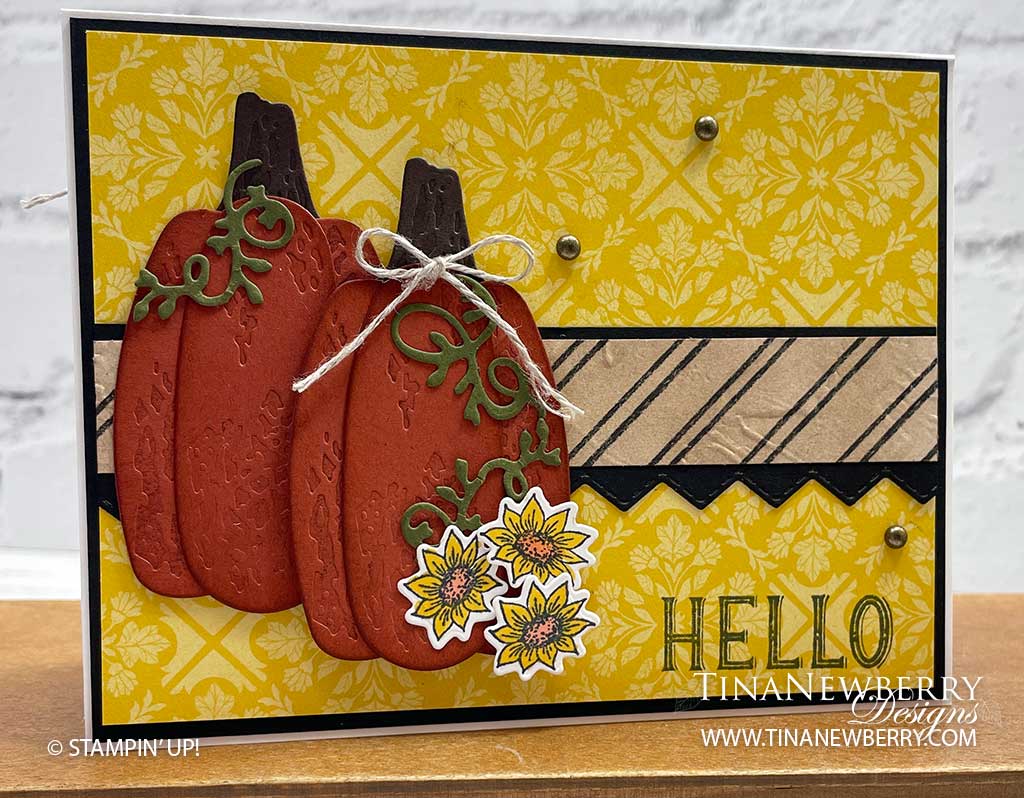
- Stamp the “Hello” sentiment using Black Memento ink to the lower right corner of the Crushed Curry DSP and attach this layer to the 5 ⅜” x 4 ⅛” Basic Black cardstock. Attach to the folded Basic White Cardbase.
- Using the Zig Zag Die from the Basic Borders Die Set, die cut the 1 ½” x 5 ¼” Basic Black cardstock.
- Using a Blending Brush with Crumb Cake Ink Pad, brush color onto the Black & White Stripe DSP. Then run through the Stamp & Emboss Machine using the Painted Texture 3D Embossing Folder to add just a bit of texture. Attach this piece to the die cut border strip. You may need to trim the border a bit to create an even mat. Attach this strip to the card.
- Create pumpkins: Using both of the textured pumpkins and Cajun Craze Cardstock, color directly onto the raised part of the pumpkin dies with the Soft Suede light Stampin’ Blend. Then run through the Stampin’ Cut & Emboss Machine. Do this with each die two times in order to make 2 pumpkins. Die cut stems using Early Espresso Cardstock and several of the Pumpkin vine curlies using Mossy Meadow Cardstock. Sponge the edges of each pumpkin using Cajun Craze ink pad. Attach the skinnier pumpkin layer to the top of the larger pumpkin layer on both pumpkins. Attach the Early Espresso Stems onto the backs of each pumpkin. Attach the Mossy Meadow curlies to the pumpkins.
- Adhere the first pumpkin toward the left side of the card using Stampin’ Seal Adhesive. Using Stampin’ Dimensionals adhere the 2nd pumpkin a little lower than the first one off setting it to the left, but overlapping just a bit.
- Using the Black Memento Ink Pad stamp 3 small flowers onto the 2” x 2” Basic White cardstock. Color using Stampin’ Blends and die cut using the coordinating die from Rustic Pumpkin Die Set. Adhere these flowers to the lower edge of the pumpkin popping 2 of the flowers with Stampin’ Dimensionals.
- Tie a small bow with Linen Thread and attach to the top pumpkin using a mini glue dot.
- Place 3 Rustic Metallic Dots randomly on the card.
- Stamp and decorate the inside of your card and the envelope.
- Send it off to say Hello!
Shopping List
")


 Designer Series Paper")


$5.00


$29.00


$12.50
Recommended Stamper’s Toolkit ❤
Product List
$12.00

$7.00

$4.25

$5.75

$5.50

$11.00

$26.00

$7.00

$6.50

$11.00

$20.00

$11.00

$80.75

$128.00

$16.00

$13.00


