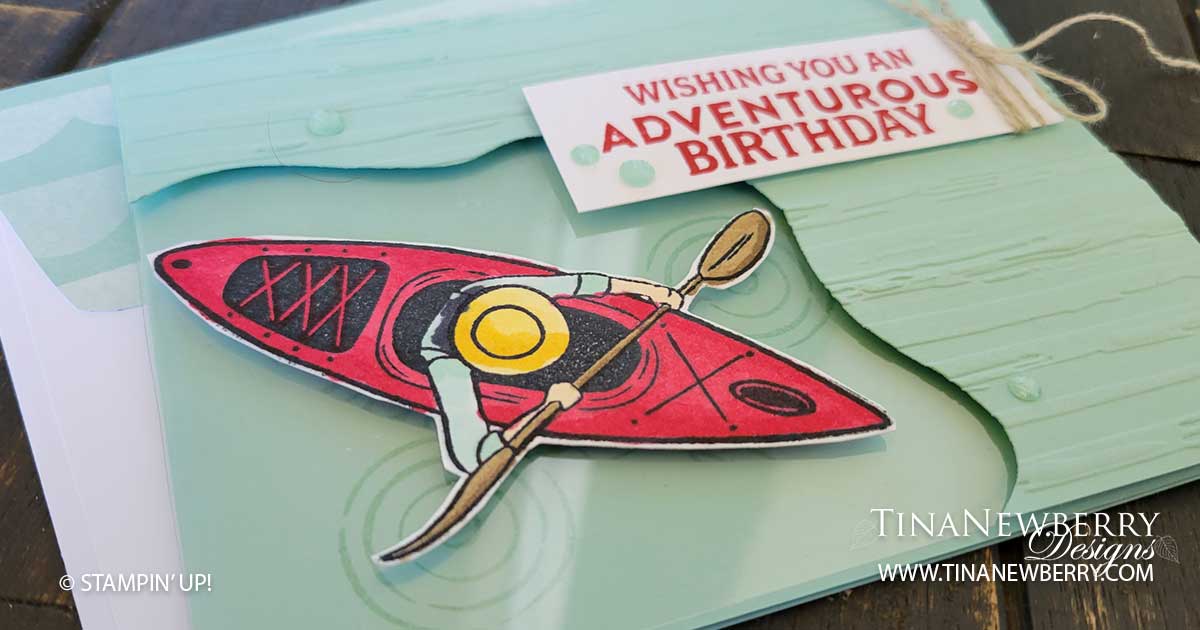
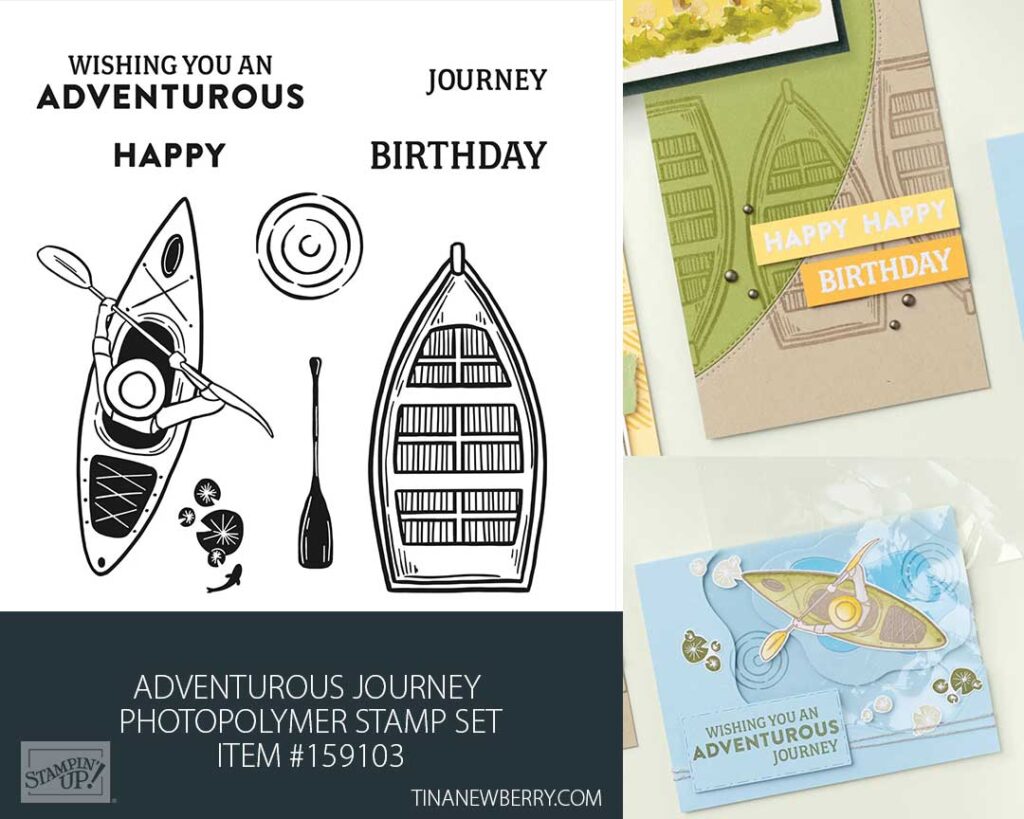
My good friend is an avid kayaker and paddle boarder and I just knew I had to make a card for her birthday. When a card by Tami White, I couldn’t wait to adapt it for my friend. I love how Tami used Window Sheets to create water and the Diorama Dies for the waters edge is brilliant. I can’t wait to send this card.
Measurements
Full list of supplies needed, listed below. A die cutting machine is needed for this card.
Coastal Cabana Cardstock:
- 5 1/2″ w x 8 1/2″ w folded to 5 1/2″ h x 4 1/4″ w for Card Base
- 5 1/2″ w x 4 1/4″ h
Basic White Cardstock:
- 1″ h x 3 1/6″ w
- 5 1/4″ w x 4″ h
Basic White Thick Cardstock: scrap for kayak
Window Sheets: 5 1/4″ w x 4″ h
Let’s Create
- Affix all stamps to Acrylic Blocks.
- Fold the Card Base in half using a Bone Folder to sharpen the crease.
- Run the 5 1/2″ w x 4 1/4″ h Coastal Cabana through the Stampin’ Cut & Emboss Machine with the Diorama Die. And then run it through with the Stripes Embossing Folder.
- Attach the Window Sheet to the back of the die cut and embossed Coastal Cabana panel using Tear N’ Tape.
- On the Basic White Thick Cardstock, stamp the kayak image with Tuxedo Black ink and color. I used:
- Real Red Light and Dark for the kayak
- Balmy Blue Light and Dark for the shirt
- Soft Suede Light and Dark for the Oar
- Daffodil Delight Light and Dark for the Hat.
- With Basic Black Dark, I added hair.
- Use Paper Snips to cut out the kayak and Stampin’ Dimensionals to attach the kayak to the Window Sheet.
- Arrange the Window Sheet layer on top of the Card Base and use a pencil to make a light mark on the card front below the oars.
- Remove the Window Sheet Layer and use Coastal Cabana Ink to stamp ripples where you marked on the card front.
- Attach the Window Sheet layer to the card front using Stampin’ Dimensionals.
- To the left of the 1″ h x 3 1/6″ w Basic White layer, stamp your sentiment in Real Red.
- Wrap some Linen Thread around the right side of the sentiment tag and tie a bow.
- Attach the sentiment with Stampin’ Dimensionals, being careful to avoid Dimensionals over the Window Sheet.
- Sprinkle on some Fine Sparkle Adhesive Gems.
- Stamp and decorate the inside and attach with Stampin’ Seal.
- Decorate your envelope.
- So adventurous! Now put it in the mail.
Shopping List
")


$5.00


$29.00

Recommended Stamper’s Toolkit ❤
Product List
$12.00

$7.00

$4.25

$5.75

$5.50

$11.00

$26.00

$7.00

$6.50

$11.00

$20.00

$11.00

$80.75

$128.00


$16.00

$13.00


