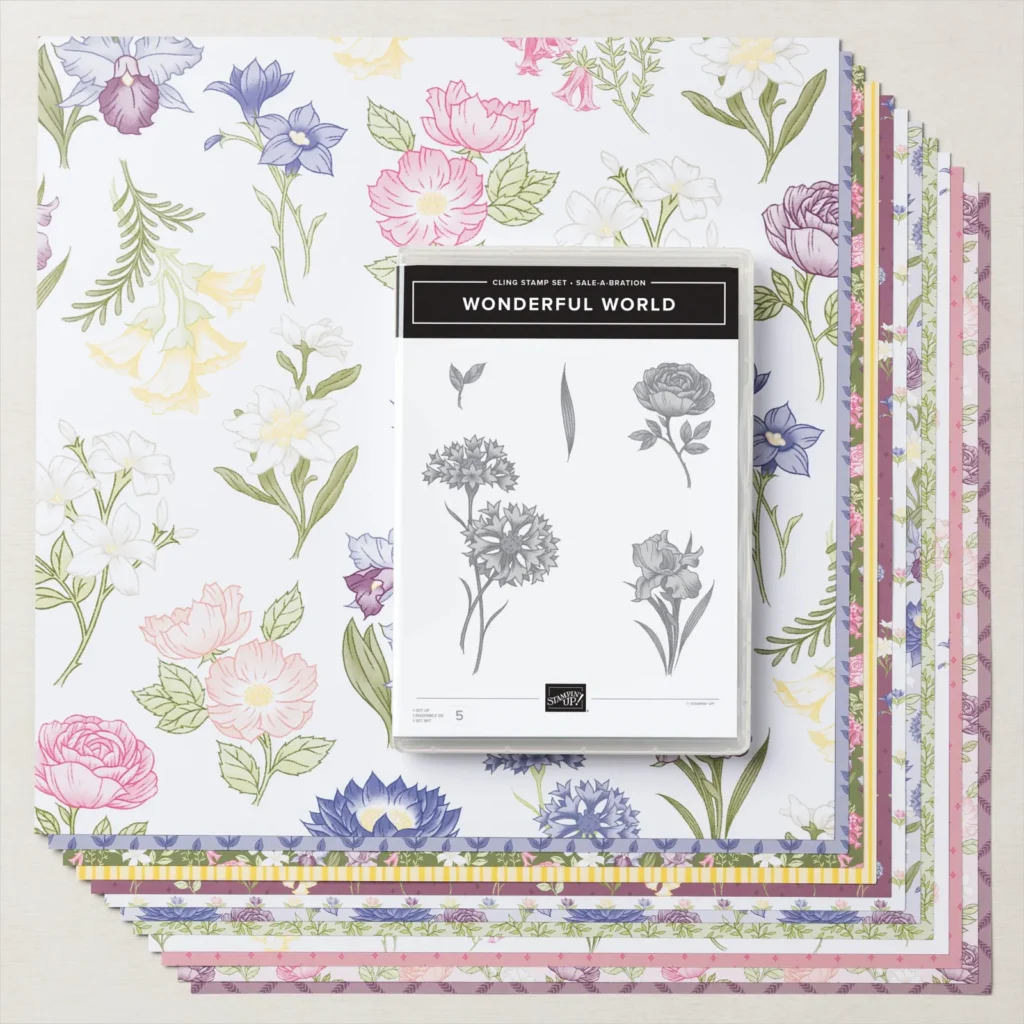
Choose the Wonderful World Bundle for free with your $100 order during Sale-A-Bration. For every $50 and $100 you spend, you’ll earn an exclusive Sale-A-Bration item for free! Depending on the amount you spend, you’ll be able to mix and match the Sale-A-Bration items you earn. We have a stunning variety of stamp sets and Designer Series Paper for you to choose from—take a look! Now through 31 August.
Measurements
Full list of supplies needed, listed below. A die cutting machine is needed for this card.
Basic White Thick Cardstock: 4 ¼” h x 11” w folded to 4 1/4″ h x 5 1/2″ w for Card Base
Pear Pizzazz Cardstock: 5 1/4″ h x 4″ w
Wonderful World Designer Series Paper: 3 ¾” h x 5” w
Basic White Cardstock: scrap for stamped flower
Let’s Create
- Affix all stamps to Acrylic Blocks.
- Fold the Card Base in half using a Bone Folder to sharpen the crease.
- Use the Pear Pizzazz 5 1/4″ w x 4″ w layer and punch a label from the middle with the Lasting Label Punch.
- Place the Pear Pizzazz label into the Strips 3D Embossing folder and run it through the Stampin’ Cut and Emboss Machine.
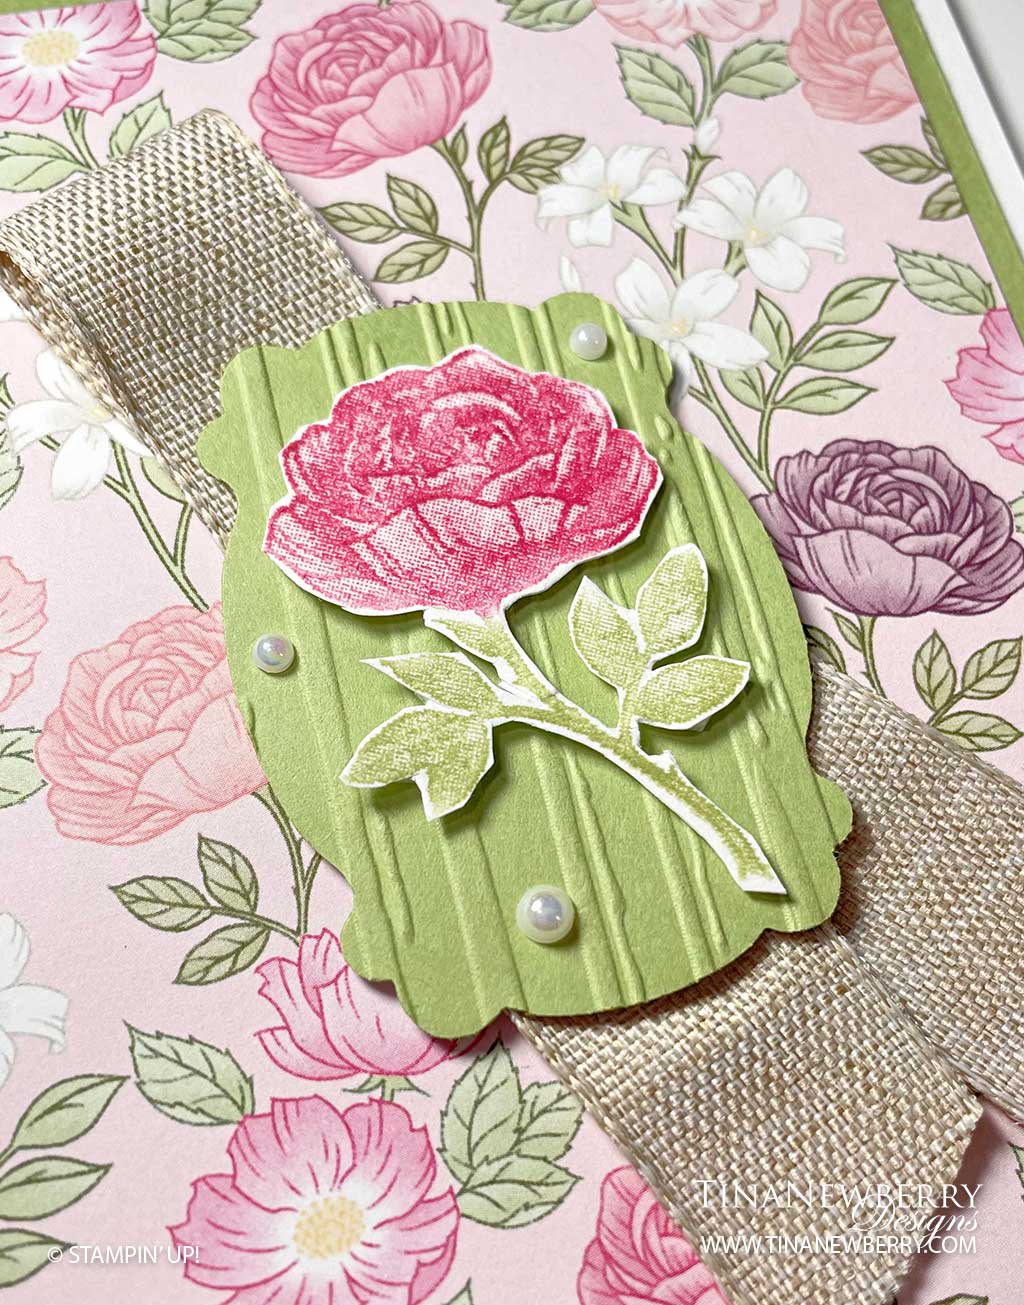
- Place the Rose stamp image onto a clear block. Color the rose with a Melon Mambo Stampin’ Write Marker and the stem and petals with a Pear Pizzazz Stampin’ Write Marker. Breath heavily “huff” onto the colored stamp image to hydrate with your breath and stamp onto a scrap of Basic White cardstock.
- Use Paper Snips to cut out around the rose image.
- Use Mini Dimensionals to adhere the rose to the Stripes Embossed Pear Pizzazz label.
- Stamp the sentiment with Pear Pizzazz Stampin’ Pad onto the interior of the card.
- Adhere the Pear Pizzazz cardstock layer onto the front of the Basic White Thick card base.
- Adhere the Wonderful World Designer Series Paper layer onto the Pear Pizzazz card front, covering the hole you punched.
- Fold a length of Natural Finish Ribbon and adhere it with Mini Glue Dots to the backside of the embossed label. Mini Glue Dots will also be helpful between the ribbon layers. Trim the ribbon tails as you prefer.
- Use Dimensionals to adhere the label onto the card front.
- Sprinkle on some Irridescent Pearls.
- To decorate your envelope, adhere a 4 ⅝” h x 1” w strip of the same Wonderful World Designer Series Paper onto the envelope front.
- So cute! Now send it to someone special.
Shopping List
")
")


 Ribbon")


$19.00
Recommended Stamper’s Toolkit ❤
Product List
$12.00

$7.00

$4.25

$5.75

$5.50

$11.00

$26.00

$7.00

$6.50

$11.00

$20.00

$11.00

$80.75

$128.00


$16.00

$13.00


