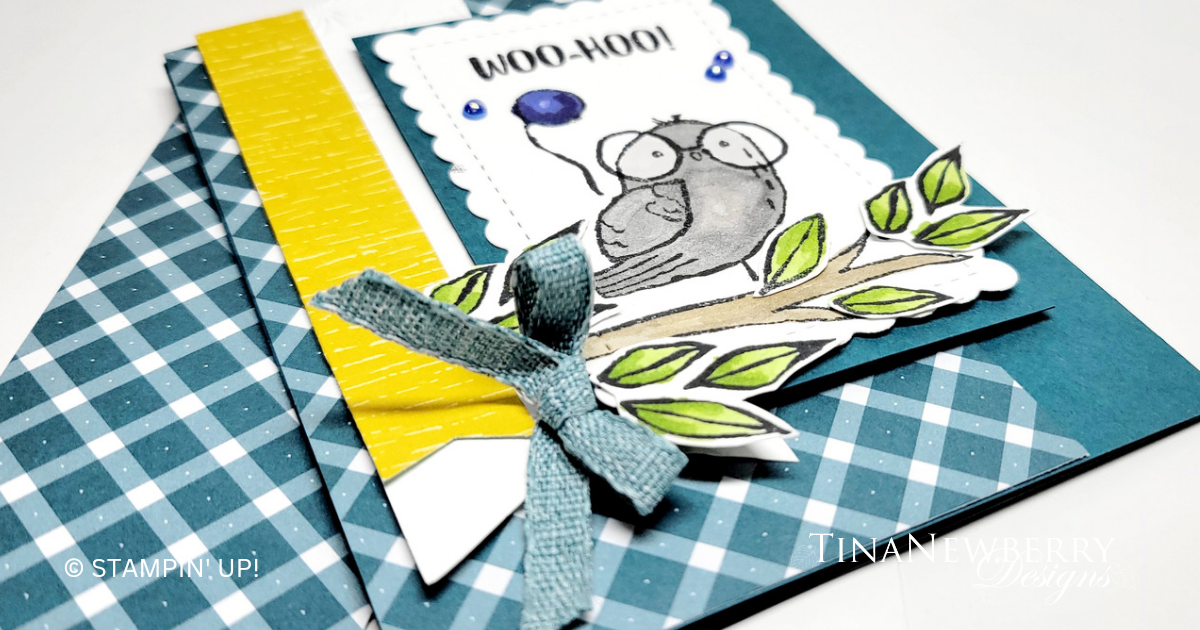
Woo-hoo! I say that all the time!! This sentiment from the Charming Sentiments stamp set makes me so happy! And it’s perfect for this super cute bird.

Measurements
Full list of supplies needed, listed below. A die cutting machine is needed for this card.
Pretty Peacock Cardstock:
- 5 1/2″ h x 8 1/2″ w scored and folder on the long-side at 4 1/4″
- 4″ h x 3″ w
Basic White Cardstock:
- 5 1/4″ h x 4″ w
- 5″ h x 1 3/4″ w
- 4″ h x 3″ w
- scrap for leaves
Glorious Gingham Designer Series Paper (DSP): 5 1/2″ h x 3 1/4″ w
Inked Botanicals Designer Series Paper (DSP): 4 1/4″ h x 3/4″ w
Let’s Create
- Affix all stamps to Acrylic Blocks.
- Fold the Card Base in half using a Bone Folder to sharpen the crease.
- Attach the 5 1/2″ h x 3 1/4″ w Glorious Gingham to the card base with Stampin’ Seal.
- Run the 5″ h x 1 3/4″ w Basic White cardstock through the Stampin’ Cut & Emboss machine with the Leaf Fall 3D Embossing Folder. Use Paper Snips to flag the end. Attach with Stampin’ Seal.
- Use Paper Snips to flag the end of the Inked Botanicals DSP. Attach with Stampin’ Seal.
- Stamp the branch on the 4″ h x 3″ w Basic White Cardstock with Tuxedo Black Memento Ink and color with Crumb Cake Stampin’ Blends. Stamp the Bird and color with Smoky Slate Stampin’ Blends. Stamp the monacle as a balloon and color with Blueberry Bushel Stampin’ Blends. Die cut the Basic White with the Scalloped Contours die.
- Attach the scalloped Basic White to the 4″ h x 3″ w Pretty Peacock with Stampin’ Seal and then attach to the card base with Stampin’ Dimensionals.
- Stamp some leaves on Basic White scrap, color with Granny Apple Green Stampin’ Blends. Use Paper Snips to fussy cut. Attach with Stampin’ Dimensionals and Mini Glue Dots.
- Add a little Lost Lagoon bow.
- Sprinkle on the gems.
- Stamp and decorate the 5 1/4″ h x 4″ w Basic White cardstock for the inside and attach with Stampin’ Seal.
- Decorate your envelope.
- So cute! Whooo needs a little celebration?
Shopping List
Recommended Stamper’s Toolkit ❤
Product List


