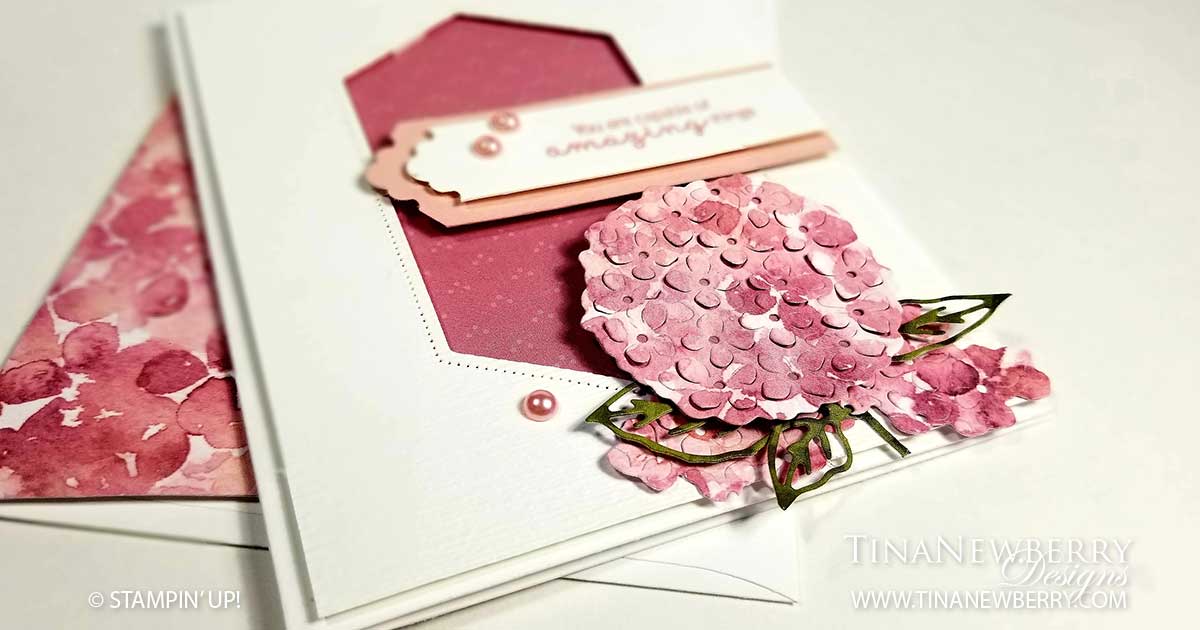
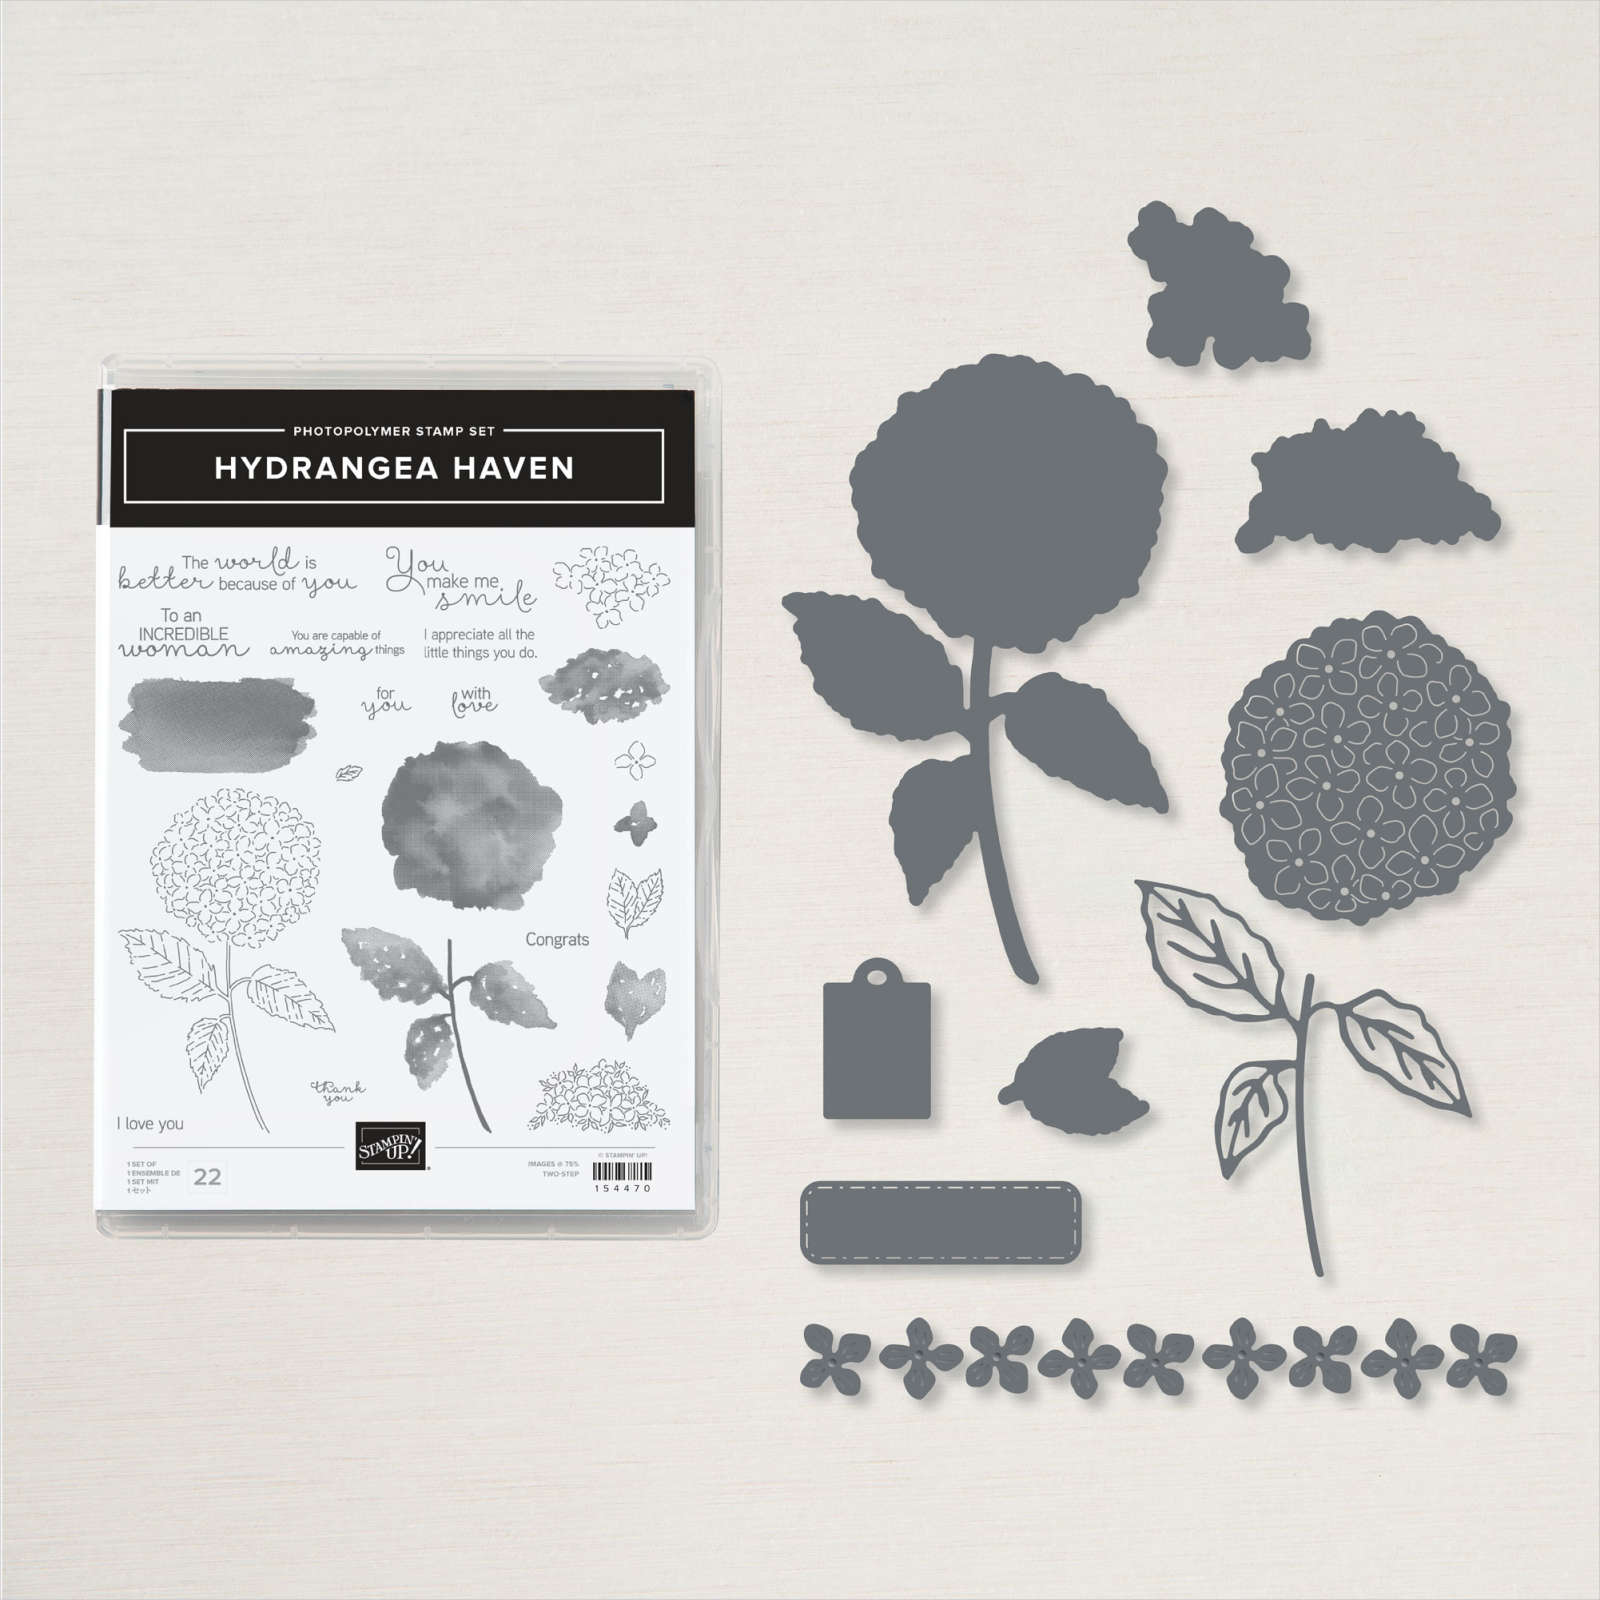
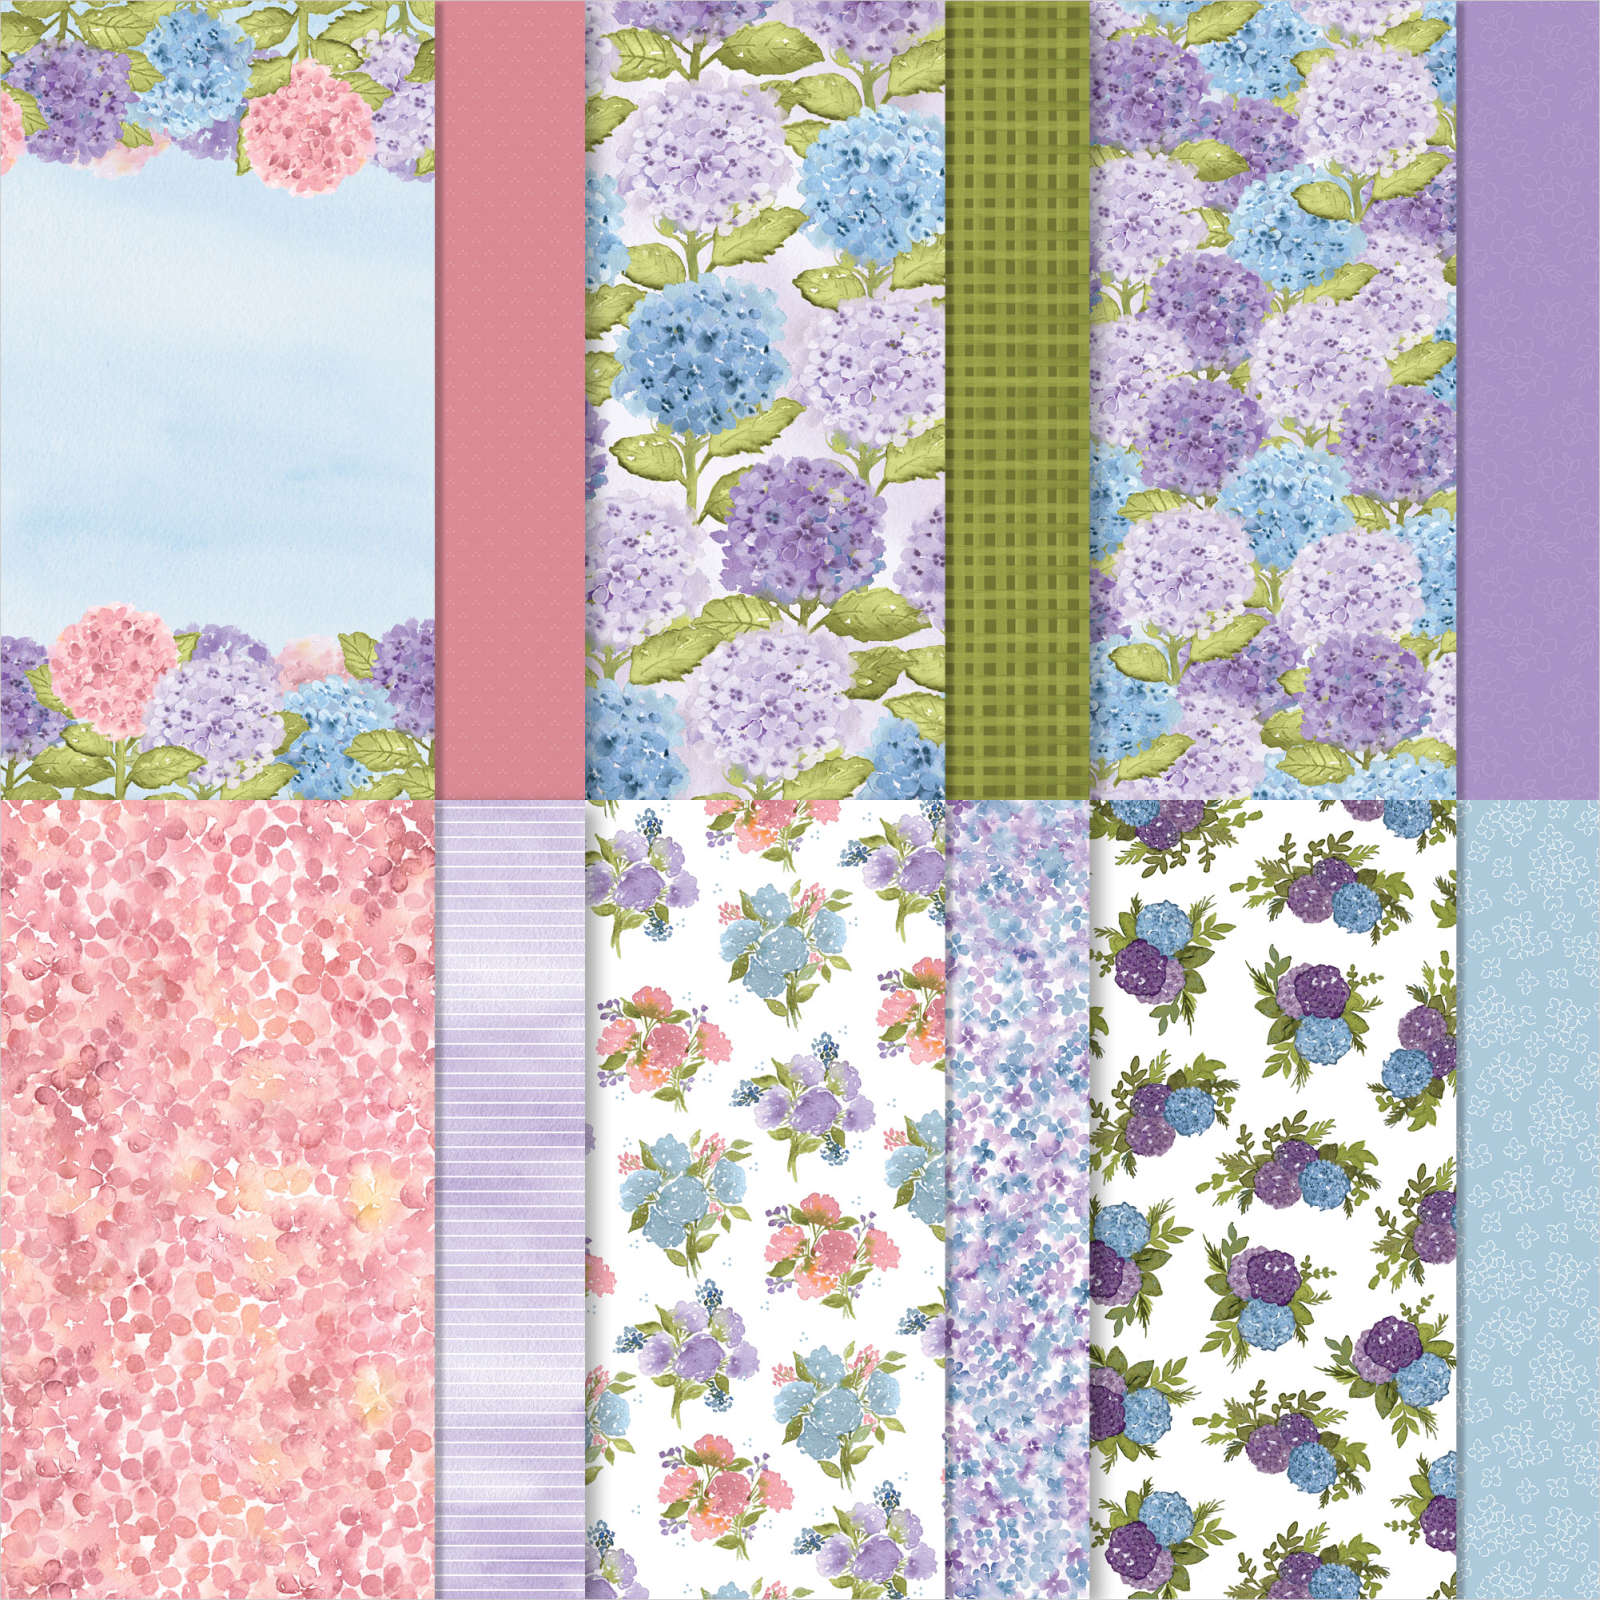
Hydrangeas are one of my favorite flowers! I had one little bush at our house in New Hampshire. It made me happy to look at it each on my way in and out of the house each day. The Periwinkle blue are my favorite color, but this Rococo Rose version created from the Designer Series Paper in the Hydrangea Hill Product Suite is quite pretty too. I love the big Hydrangea Die! Sadly the Nested Labels Dies are retiring, as well as the Subtle Embossing Folder, so I was happy to put them to work on this pretty card, along with the Lovely Labels Pick a Punch.
Full list of supplies needed, listed below. A die cutting machine is needed for this card.
Card Base: Basic White Thick Cardstock 5 1/2″ h x 8 1/2″ w folded to 5 1/2″ h x 4 1/4″ w .
Background: Basic White Cardstock 5 1/4″ h x 4″ w
Inset Background: Hydrangea Hill Designer Series Paper 3 1/4″ h x 2 1/2″ w
Sentiment Matte: Rococo Rose Cardstock 1″ h x 3 1/2″ w
Sentiment Layer: Basic White Cardstock 3/4″ h x 3″ w
Inside Layer: Basic White Cardstock 5 1/4″ h x 4″ w
- Affix all stamps to Acrylic Blocks.
- Fold the Card Base in half using a Bone Folder to sharpen the crease.
- Die Cut the Nested Layer from the Background and then run through with the Subtle Embossing Folder.
- Attach the Inset Layer behind the Background Layer with Stampin’ Dimensionals.
- Die Cut the three Hydrangeas and Leaves, from the Designer Series Paper.
- Attach small flowers and leaves to the Background.
- Attach the large Hydrangea with Stampin’ Dimensionals.
- Trim the left ends of the Sentiment and Sentiment Matte with the Lovely Labels Pick a Punch and the right ends with the Paper Trimmer, to desired width.
- Stamp the Sentiment in Rococo Rose Ink and attach to Sentiment Matte with Dimensionals.
- If you’re Sentiment Matte doesn’t span the width of the Nested Label Die Cut out, use two Stampin’ Dimensionals on the left side of the Sentiment and one on the right.
- If it does span the width, you can use one Dimensional for both the left and right sides.
- Add Pastel Pearls
- Decorate the Inside Layer and attach.
- Decorate the envelope.
- Lovely! Now send it to someone special.
Shopping List


Stamper’s Toolkit
You will also need adhesive, acrylic blocks, scissors and other basic PaperCrafting items from the Stamper’s Toolkit


")


