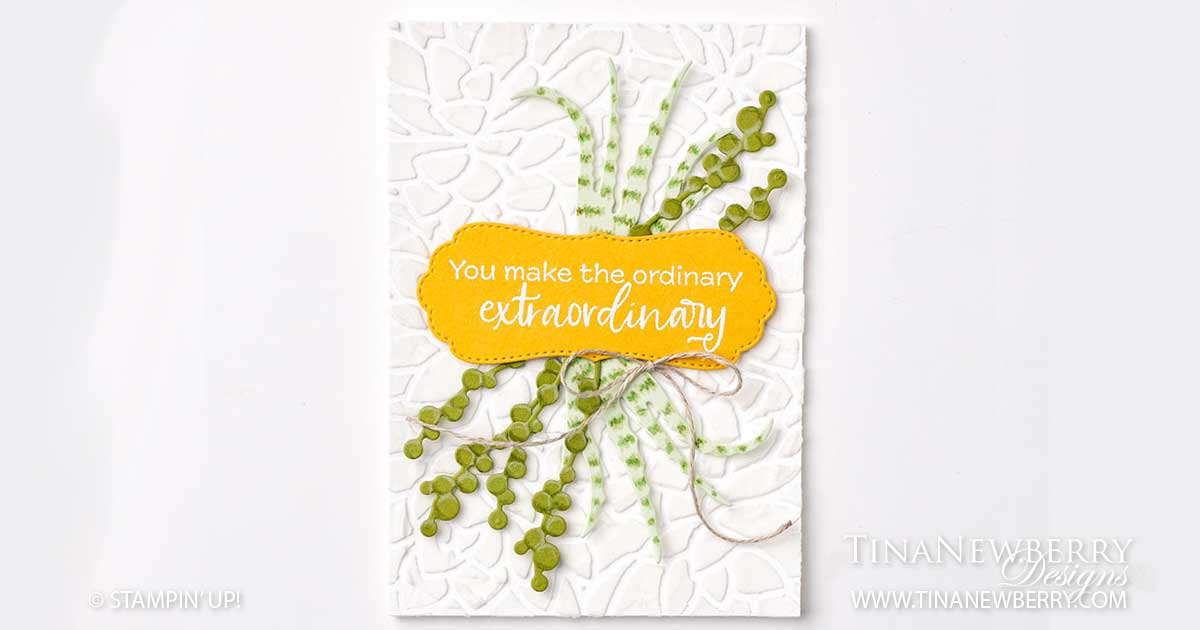
Another one of my favorite white on white cards! And I just love this sentiment! Use the large card base die with some embossing paste to make an interesting 3-D textured background for this simple, elegant card.
Measurements
Full list of supplies needed, listed below. A die cutting machine is needed for this card.
Card Base: Basic White Thick Cardstock 5 1/2″ h x 8 1/2″ w folded to 5 1/2″ h x 4 1/4″ w
Background Mask: Basic White Thick Cardstock scrap die cut to 5 1/2″ h x 4 1/4″ w
Textured Background: Basic White Thick Cardstock scrap trimmed to 5 1/2″ h x 4 1/4″ w
Decorative Succulents: Soft Sea Foam and Old Olive Cardstock scraps
Sentiment Layer: Bumble Bee Cardstock scrap
Let’s Create
- Affix all stamps to Acrylic Blocks.
- Fold the Card Base in half using a Bone Folder to sharpen the crease.
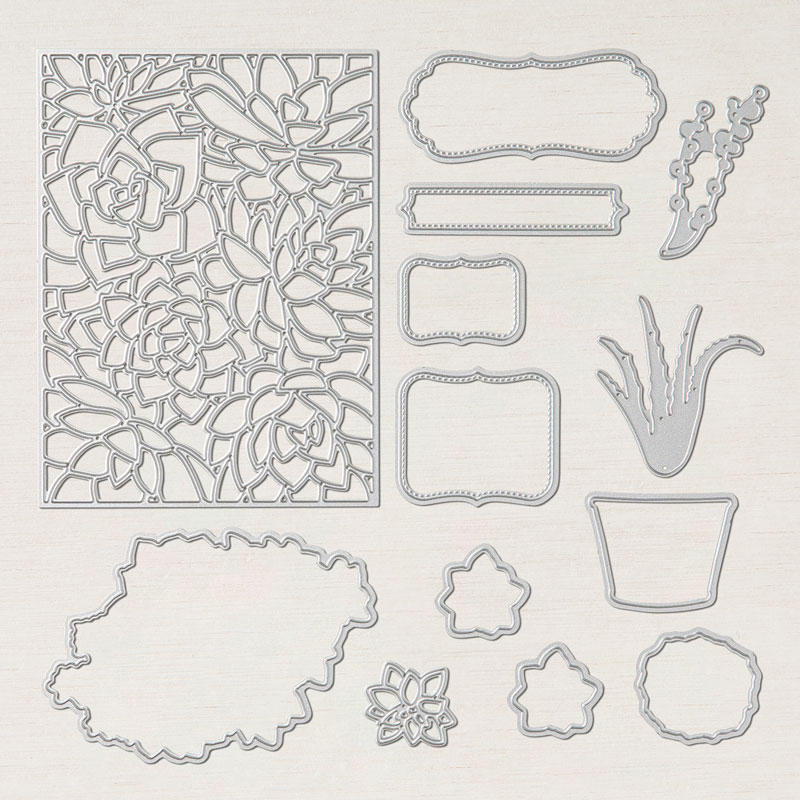
- Run the Background Mask through the Stampin’ Cut & Emboss machine with the Card Base Die. This will be used as your Mask to create your Textured Background.
- To make the Textured Background:
- Protect your work surface.
- Place your Textured Background layer onto the center of your work surface.
- Lay the Background Mask over top, lining up the edges. Use sticky notes to hold in place, if needed.
- Use a plastic knife to scoop some Embossing Paste over top of the Background Mask.
- Spread is out over the Background Mask with the straight edge of the knife, being careful to fill in the holes,
- Hold the knife parallel to the Background Mask, scrape off excess and return to Embossing Paste pot.
- Gently remove the Background Mask and allow the Textured Background to dry. You can use a Heat Tool on low setting to speed up the process.
- To make the Embossed Sentiment:
- If you have an Embossing Buddy or cornstarch pouch, pounce it over your Bumble Bee Cardstock to release the surface static.
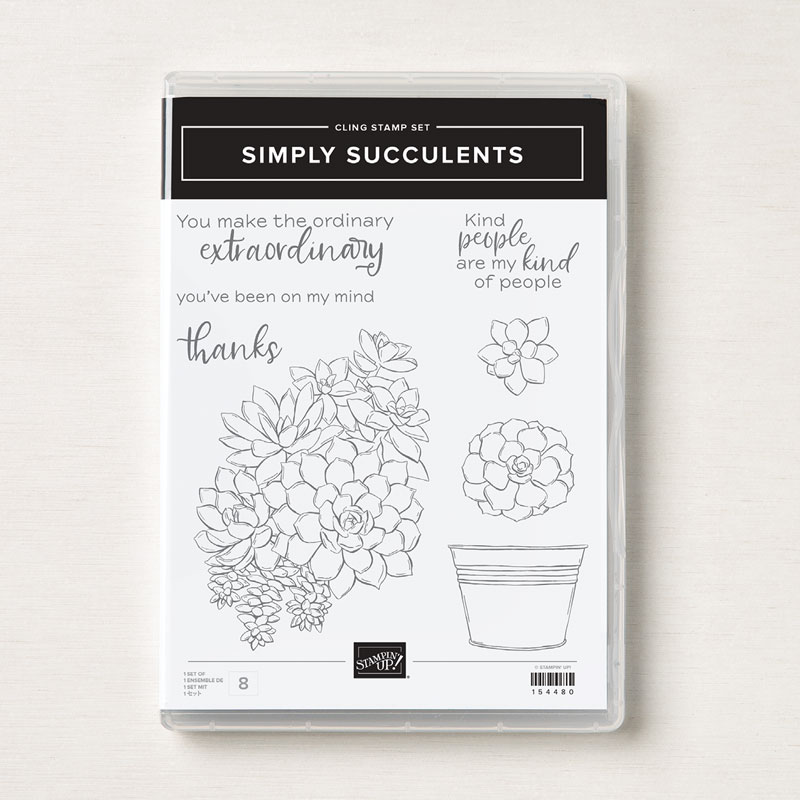
- Use Versamark Ink to stamp your sentiment on the Bumble Bee Cardstock
- Sprinkle with White Embossing Powder
- Use a Heat Tool on the high setting to heat set the Sentiment.
- Die cut with the pretty stitched label die
- To make the Succulents:
- Die cut the 2 pointy Succulents from Soft Sea Foam Cardstock and 3 bubbly Succulents from Old Olive Cardstock scraps
- Use Old Olive and Garden Green Watercolor pencils to add texture to the Die Cut Succulents
- Once dry, use Stampin’ Dimensionals to attach the Textured Background to the Card Base.
- Use Mini Glue Dots to attach the Succulents to the back of your sentiment.
- Use lots of Stampin’ Dimensionals to attach the Sentiment to the Textured Background.
- Tie a bow with Linen Thread and attach with Mini Glue Dots
- Simple and elegant! Love it! Who will you send it to?
Shopping List


Stamper’s Toolkit
You will also need adhesive, acrylic blocks, scissors and other basic PaperCrafting items from the Stamper’s Toolkit


")

