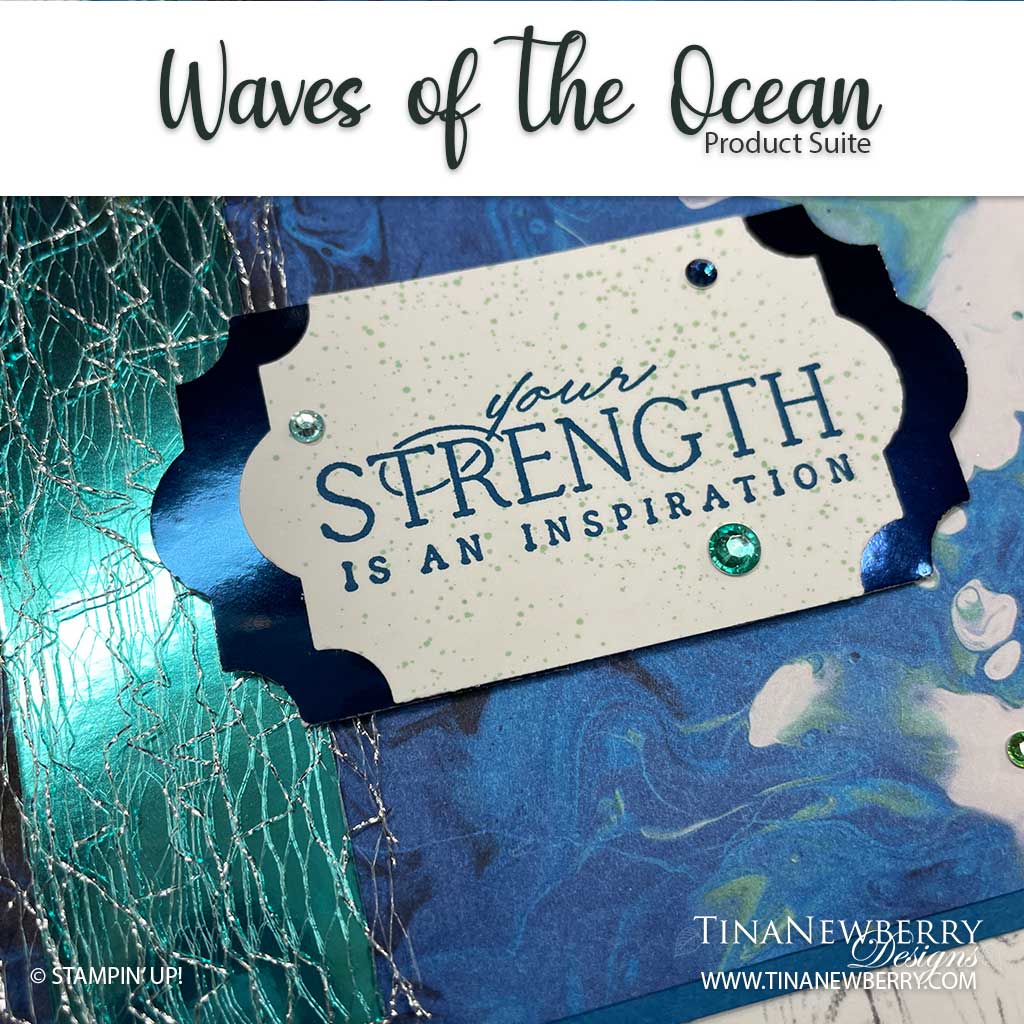
Ooh this whole product suite it just beautiful and I am particularly obsessed with the Waves of the Ocean Designer Series Paper and the Waves Dies. Make this beautiful card in minutes.


Measurements
Full list of supplies needed, listed below.
Pacific Point Cardstock: 4 ¼” h x 11” w folded to 4 1/4″ h x 5 1/2″ w
Waves of the Ocean DSP: 4″ h x 5 1/4″ w
Blue Foils Specialty Paper:
- 4” h x 1” w
- scrap
Basic White Cardstock:
- 4″ h x 5 1/4″ w
- scrap
Let’s Create
- Affix all stamps to Acrylic Blocks.
- Fold the Pacific Point Cardstock in half using a Bone Folder to sharpen the crease. This is the Card Base.
- Adhere the Blue Foils Specialty Paper 4” h x 1” w piece onto the Waves of the Ocean DSP layer.
- Wrap the Metallic Mesh Ribbon over the foil layer and adhere onto the back side of the Waves of the Ocean DSP with Tear & Tape or Stampin’ Seal+.
- Use Stampin’ Dimensionals to adhere the layers onto the front of the card base.
- Stamp the sentiment with Night of Navy Stampin’ Pad onto the scrap of Basic White card stock.
- Punch around the sentiment with the Everyday Label Punch.
- Splatter the Pool Party Stampin’ Blends over the sentiment. Tap the brush tip end of the Pool Party Stampin’ Blend firmly against a clear block to get the splatter effect.
- Punch the Blue Foils label with the Everyday Label Punch, cut it in half.
- Adhere the Foil Label halves behind the sentiment Label with Stampin’ Seal.
- Use Dimensionals to adhere the sentiment layer labels onto the card front.
- Embellish the card front with Rhinestone Waves Basic Jewels.
- Decorate the envelope flap with Waves of the Ocean designer series paper.
- Stamp and decorate the 4″ h x 5 1/4″ w Basic White for the inside and attach with Stampin’ Seal.
- So cute! Now send it to someone special.
Shopping List
Recommended Stamper’s Toolkit ❤
Product List


