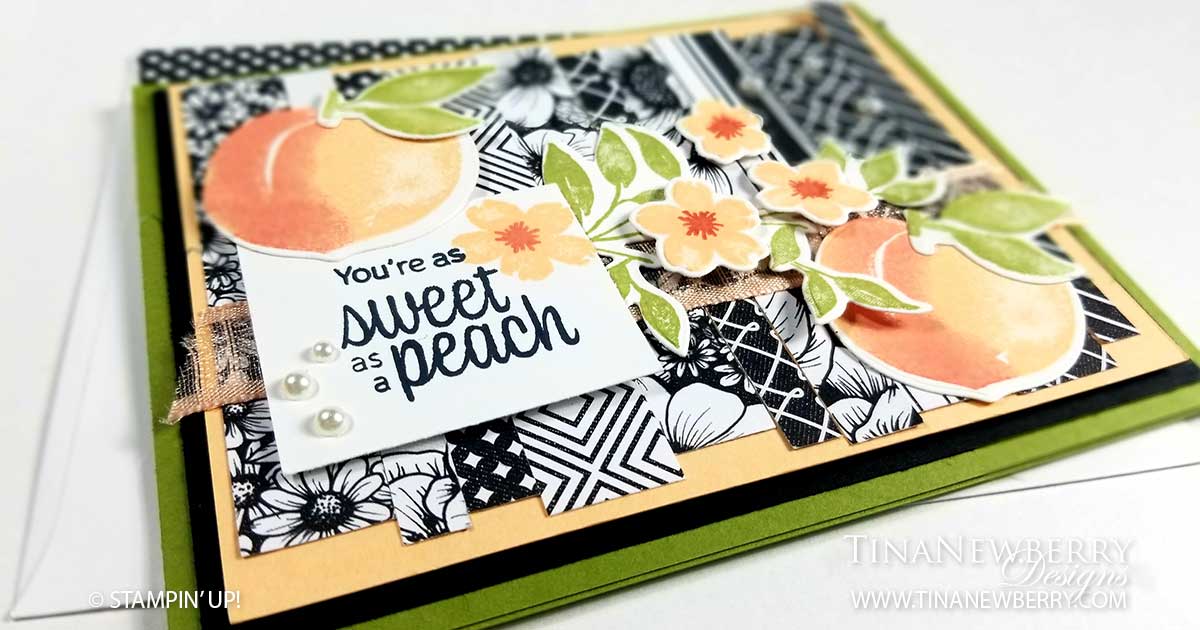
I have really been digging seeing black & white with a pop of color. I couldn’t wait to use up the last of my True Love Designer Series Paper for this pretty Thank You Card. Little strips of the black & white paper accented with pops of Pale Papaya and of course, PEACHES! So fun!
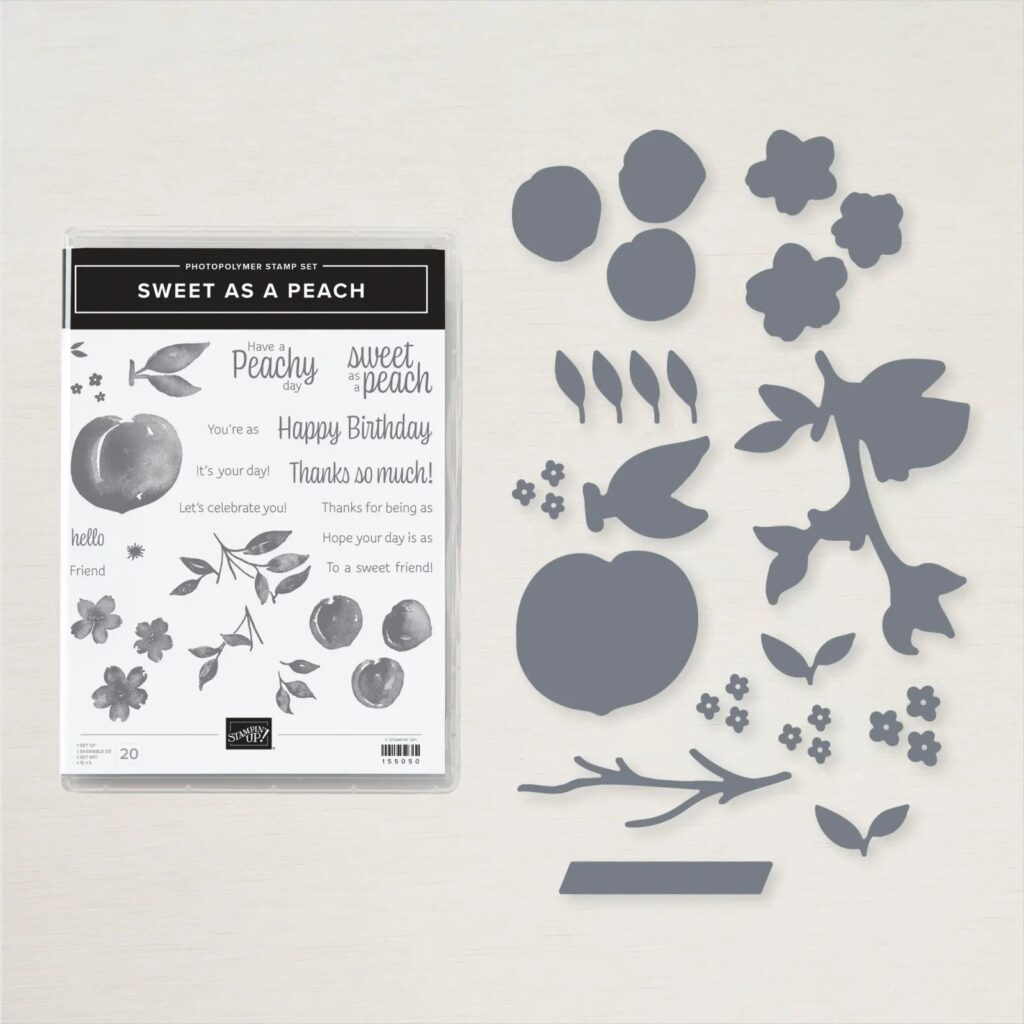
Save 10% on the Sweet As A Peach Bundle
Measurements
Full list of supplies needed, listed below. A die cutting machine is needed for this card.
Card Base: Pear Pizzaz 8 1/2″ h x 5 1/2″ w folded to 4 1/4″ h x 5 1/2″ w
Background: Black Cardstock 4″ h x 5 1/4″ w
Decorative Strips Matte: Pale Papaya Cardstock 3 3/4″h x 5″ w
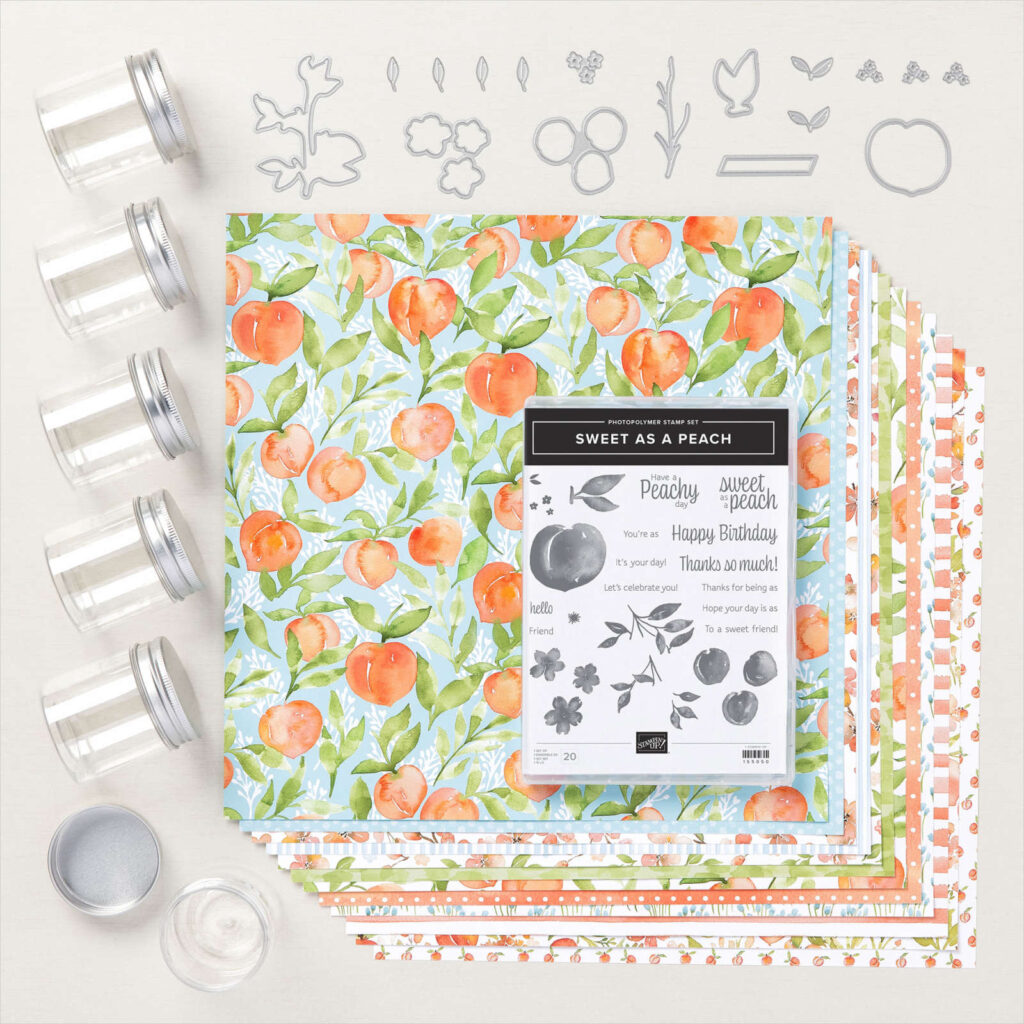
Decorative Strips: True Love Designer Series Paper scraps cut to approx 3 1/2″ h x various widths 1/4″ w to 1/2″ w
Sentiment Layer: Basic White Cardstock 1 1/2″ h x 1 3/4″ w
Inside Layer: Basic White Cardstock 4 1/4″ h x 5 1/2″ w
Let’s Create
- Affix all stamps to Acrylic Blocks.
- Fold the Card Base in half using a Bone Folder to sharpen the crease.
- Use the adhesive of choice to attach the Basic Black Background.
- Create the Decorative Strips Layer
- First cut your strips. They should be about 3 1/2″ h x varying widths. I made about 12 and needed 10, but it depends on their width.
- Attach the strips to the Pale Papaya Decorative Strips Matte.
- Next on Basic White scrap Stamp:
- Two peaches in Pale Papaya ink, with Calypso Coral ink sponge daubed on 1/2.
- Three flowers (one stamp) in Pale Papaya ink with Calypso Coral centers.
- Two peach stems in Pear Pizzaz ink
- Leaves (one stamp) in Pear Pizzaz ink.
- Die cut the peaches, flowers, stems and leaves.
- Stamp your Sentiment on Basic White Scrap and cut to size.
- Use Tear & Tape to attach a piece of Ribbon to the Decorative Strips layer, and then arrange your Sentiment, peaches, flowers, stems and leaves. Once you have them where you want them, adhere to the page. I used a variety of Stampin’ Dimenionals and Stampin’ Seal+.
- Use Stampin’ Dimensionals to adhere the Decorative Strips Layer to the Basic Black Background.
- Sprinkle on some pearls!!
- Stamp and attach your Inside Layer.
- Decorate your envelope.
- LOVE!! Who will you send it to?
Shopping List
")


 Designer Series Paper")
 Organdy Striped Ribbon")

Stamper’s Toolkit
You will also need adhesive, acrylic blocks, scissors and other basic PaperCrafting items from the Stamper’s Toolkit


")


