
Wreaths bring happiness representing a circle of eternal life and this festive fall wreath is no exception. I love the multi-colored effect. Hard to believe it was made with just ink and one branch stamp!
Measurements
Full list of supplies needed, listed below. A die cutting machine is needed for this card.
Card Base: Very Vanilla Cardstock 5 1/2″ h x 8 1/2″ w scored at 4 1/4″ and folded to 5 1/2″ h x 4 1/4″ w
Background Matte: Early Espresso Cardstock 5 3/8″ h x 4 1/8″ w
Background: Very Vanilla Cardstock 5 1/4″ h x 4″ w
Decorative Background Layer: Harvest Meadow Designer Series Paper 2 ½ h x 3 ¾” w.
Wreath Layer Matte: Early Espresso Cardstock 3 ½” x 3 ½”
Wreath Layer: Very Vanilla Cardstock 3 ⅜” h x 3 ⅜” w
Sentiment Matte: Early Espresso scrap larger than 2 1/4″ h x 2 1/4″ w
Sentiment Layer: Very Vanilla scrap larger than 2 1/4″ h x 2 1/4″ w
Inside Layer: Very Vanilla Cardstock 5 1/4″ h x 4″ w
Let’s Create
- Affix all stamps to Acrylic Blocks.
- Fold the Card Base in half using a Bone Folder to sharpen the crease.
- Using the Meadow Moments Embossing Folder, emboss the Very Vanilla Background Layer at the top and attach with Stampin’ Seal.
- Attach the Harvest Meadows Decorative Background Layer using Stampin’ Seal+.
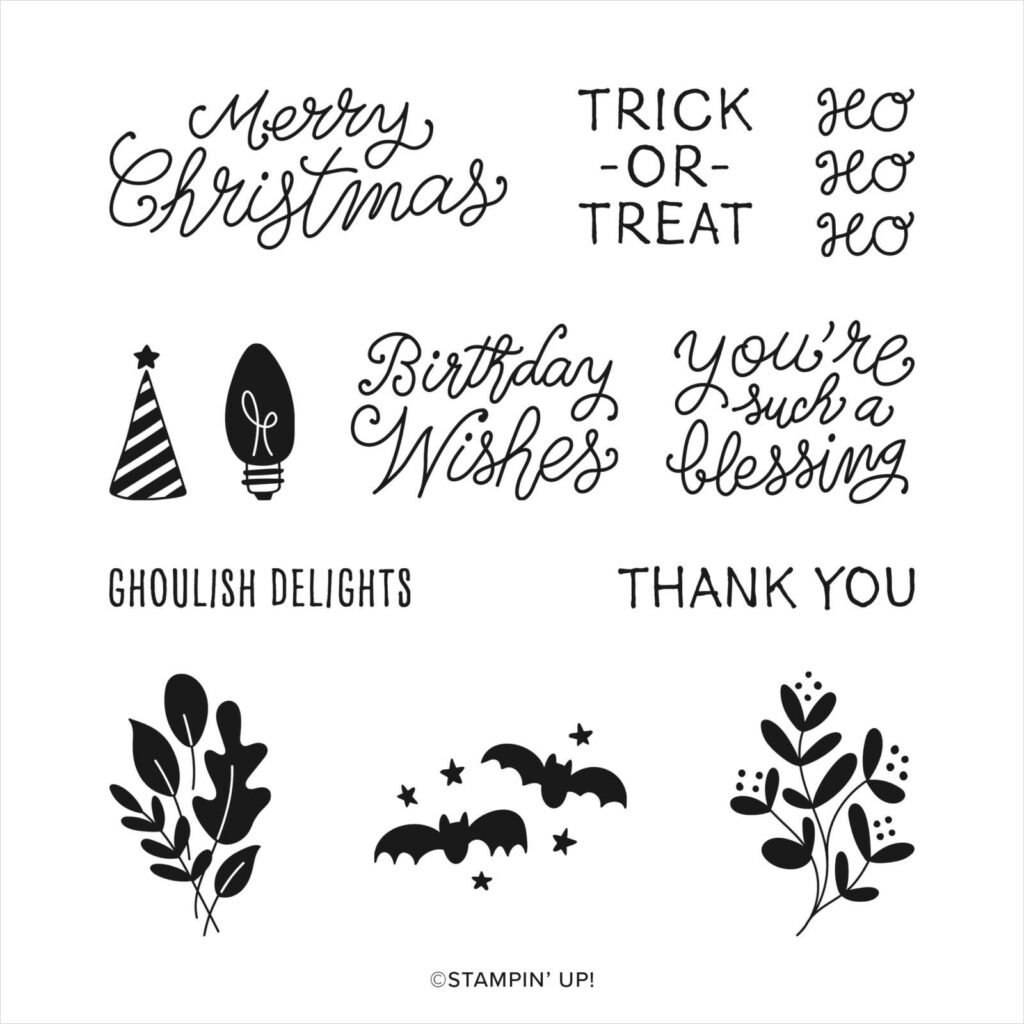
- On the Very Vanilla Wreath Layer, stamp the leaves several times in a circle pattern to form a wreath using Calypso Coral, Bumblebee and Old Olive Ink and adhere to the Early Espresso Wreathe Layer Matte.
- Attach the Wreath Layer Matte using Stampin’ Dimensionals
- Stamp the Sentiment in the center of the Vary Vanilla Sentiment Layer scrap using Early Espresso Ink. Die cut with the straight edged circle.
- Die cut the Scalloped Circle from the Early Espresso Sentiment Layer Matte scrap.
- Use Stampin’ Seal to adhere the Sentiment to the Sentiment matte and then attach using Stampin’ Dimensionals.
- Tie a small bow with the Early Espresso 1/4” Faux Suede Trim and adhere to the lower part of the sentiment with a Mini Glue Dot.
- Sprinkle on a trio of Genial Gems.
- Decorate the Inside Layer and attach.
- Decorate your envelope.
- How Pretty! Put it in the mail today.
Shopping List


 Designer Series Paper")

 Faux Suede Trim")


Stamper’s Toolkit
You will also need adhesive, acrylic blocks, scissors and other basic PaperCrafting items from the Stamper’s Toolkit


")


