I Miss Your Face

This sentiment just cracks me up. I miss your face! Ha! My friend Christine from New Hampshire says this when she calls me. She makes me laugh. Maybe I should send this to her. Hmm…

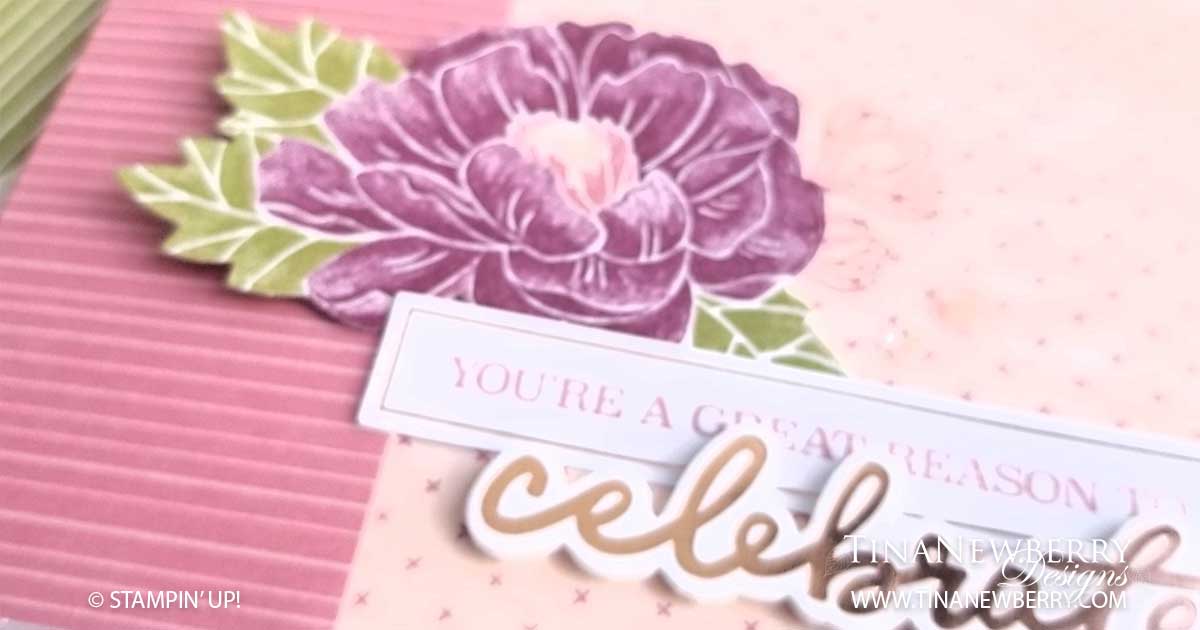
This card was one of a few projects that came out of a rare Friday craft-therapy session at the beginning of the Coronavirus Pandemic. My friend Kim and I had taken the day off to go to a stamping expo, but that got cancelled. We decided to turn lemons into lemonade with some much needed craft-therapy. We had so much fun!
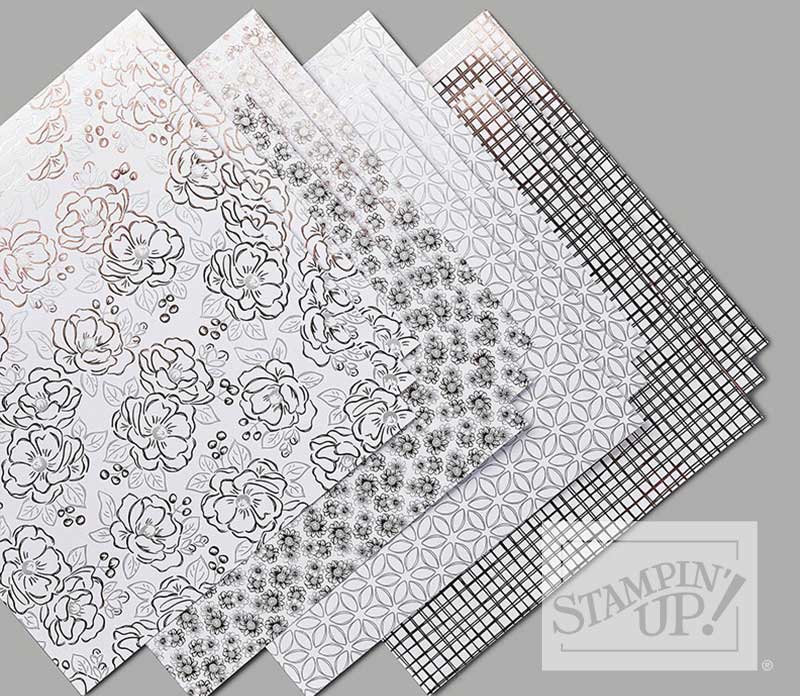
Flowering Foils Specialty Designer Series Paper

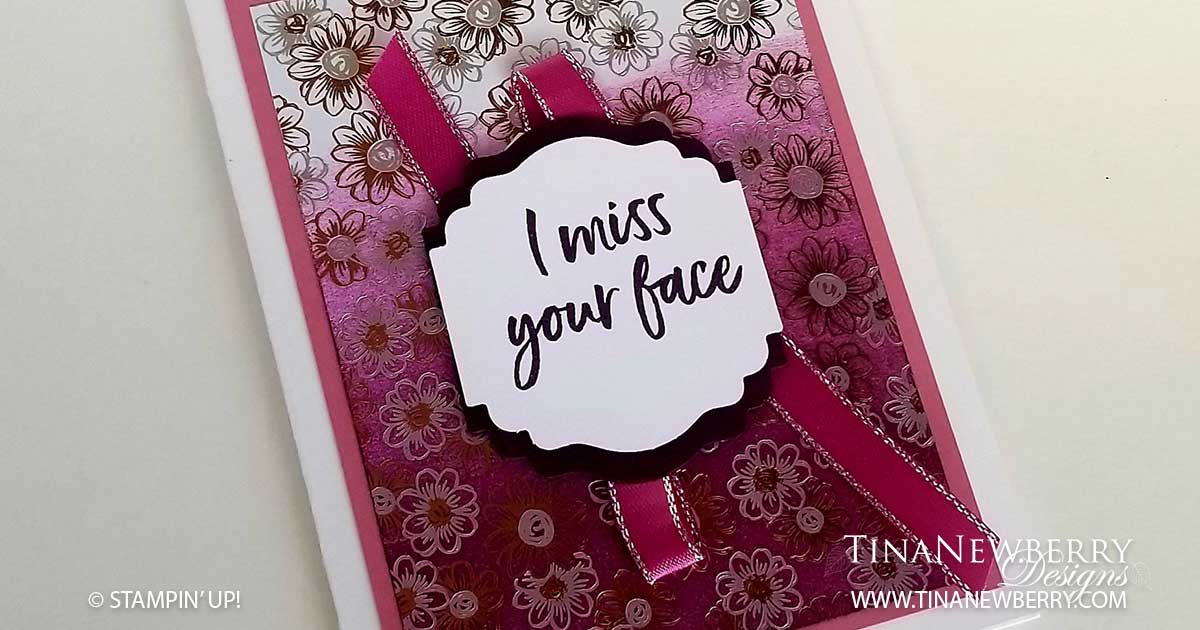
For this beautiful card, Kim first folded an 8.5″h x 5.5″w piece of Whisper White Thick Cardstock to make a 4.25″w x 5.5″h card base. She then used a brayer and the Rich Razzleberry stamp pad to create the ombre effect on a piece of Flowering Foils Designer Series Paper. This paper is a free Sale-a-bration item with purchases made through March 31st, but any foil or heat embossed paper will work create the same effect.

I then used the Label Me Lovely Punch to make a layer out of Blackberry Bliss and the Whisper White Sentiment layer. I used the Blackberry Bliss stamp pad for the ‘I miss your face’ sentiment.

Kim made a pretty layer from Rococco Rose for that gorgeous ombre background and then we started putting it all together. We used the Snail Adhesive for everything, except the sentiment layers, which we popped up with some Stampin’ Dimensionals. Super easy.

We dug into my stash for some retired Silver-edged Berry Burst ribbon to pull it all together, but the Silver Edge Metallic Ribbon would also look fabulous.

What a fun day we had!

How to Make the Ombre Effect

  1. Choose one ink pad. That’s it. Just one. Open it.
  2. Position your foil or embossed paper on a piece of scrap paper a few inches larger.
  3. Using the brayer like a paint roller, roll it on the stamp pad rolling in one direction until the whole brayer is coated with ink.
  4. Starting at the edge of the foil or embossed paper that you want to be darkest, roll the brayer back and forth the the width of the foil or embossed paper, slowly moving up the paper until the ink gets lighter. Stop an inch or so from the far edge.
  5. Repeat with the ink and brayer until you reach the desired look.

Cutting Dimensions

  • Card base: 8.5″h x 5.5″w piece of Whisper White Thick Cardstock folded to make a 4.25″w x 5.5″h
  • Roccoco Rose Layer: 5″h x 3.75″w
  • Flowering Foils Layer: 4.75″ h x 3.5″ w
  • Ribbon: Roughly six inches of your favorite ribbon

Products Used

Here’s a look at the products I used to make this card. Click the image and you will be taken to my online store.

A Simple, Thoughtful Thank You

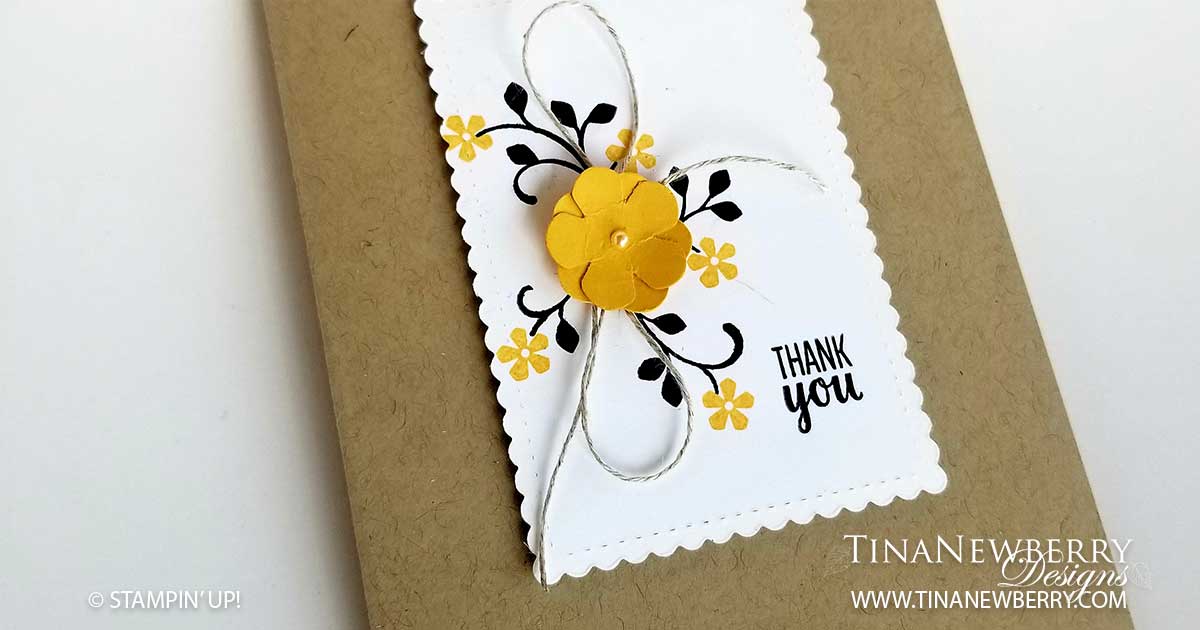
Isn’t this card simply stunning? I just LOVE the contrast of the Basic Black stems and leaves and the Crushed Curry flowers.  And it is SO easy to make. I’ve provided pictures, cutting dimensions and instructions below so you can make this card yourself.

Thoughtful Blooms is a free Sale-A-Bration Stamp Set and Punch both available for FREE with a qualifying order before March 31st.

The Thoughtful Blooms Photopolymer stamp set comes with 17 stamps! Stamps include three popular sentiments. Thank you, I’m amazed, but never surprised by your thoughtfulness and my favorite CongratYOUations. A-dorable.

The coordinating Small Bloom Punch is so versatile by itself or with the two coordinating flower stamps.

Ok Ok enough gushing about how much I love these Free products. Here’s the details.

I used a Crumb Cake cardstock base and a Stitched Rectangle Die  to create a Whisper White cardstock rectangle. Using Dimensionals, I popped the rectangle up a bit off the cardstock, but not before stamping the beautiful flower.

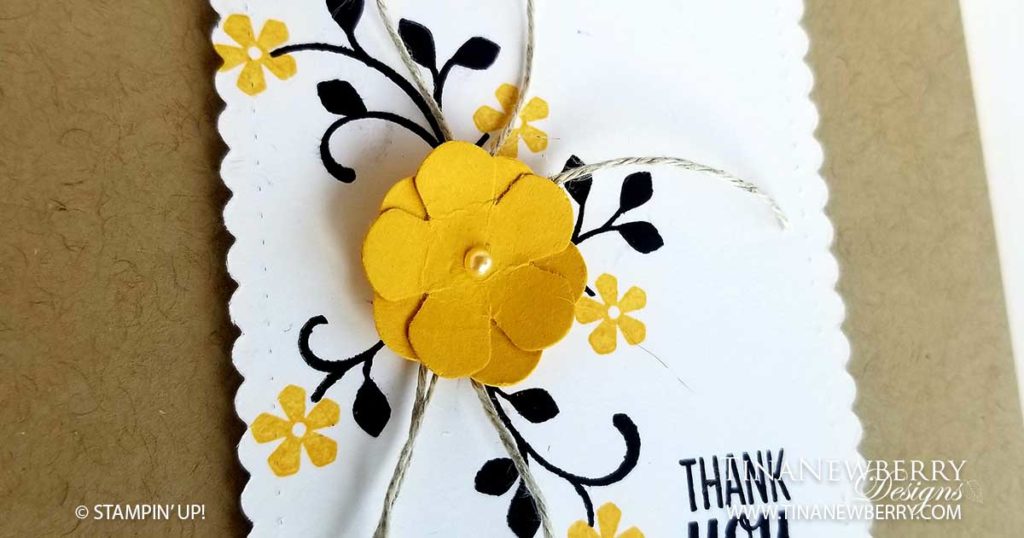
This flower looks so details and intricate doesn’t it? Seriously, TWO stamps. that’s it. One for the Basic Black stems and leaves and one for the cute little flowers in Crushed Curry. Another Basic Black Thank You and that’s it for the stamping.

Now on to the best part… punching out the flower. I used the Small Bloom punch to make two Crushed Curry flowers, which I alternated and secured with some adhesive, but only after I curled them a little.

Such vivid contrast!

My flower blossom curling technique is SUPER technical. Are you ready for this? I held one little blossom at a time in the palm of my hand, with my hand cupped a little. Then I used a super special tool… just kidding it was a Sharpie, and in a circular motion I pressed the Sharpie end into the center of the flower and just swirled it 5 or so times so the flower took the shape of my cupped hand and the edges were curved. I did this with both punched blossoms, adhered them together, added a super cute Basic Pearl and called it a day.

Before I added the flower to the card, I first used tied a bow – just a simple shoe string bow – with the Linen Thread and adhered it in the center of the stems and leaves. One or two glue dots later, I added that pretty little flower and that’s it. For real.

I mean seriously this is a 10 minute card. Super simple. Super cute. Don’t you just love it? I think I’m going to mail this off tomorrow. I have just the person in mind who needs to get this little cutie. What will you make today? #craft-therapy. Get some.

Cutting Dimensions

  • Crumb Cake Cardstock 8 1/2″ h x 5 1/2″ w folded in half to 4 1/4″ w x 5 1/2″ h
  • Whisper White Cardstock Stitched Rectangle Die 2 1/2″ w x 3 1/2″ h
  • So Saffron Cardstock Small Bloom Punch (2)

Products Used

Here’s a look at the products I used to make this card. Click the image and you will be taken to my online store.

Design inspired by Monika Davis

So Sentimental

I am one of those people who says it better in a card. I dunno. I just do. That’s why the So Sentimental stamp set from Stampin’ Up! is perfect for me. This set is pretty much all sentiments with 9 of the 11 covering a variety of occasions. There’s one for thank you, friendship, celebration, yummy treats, baby, to/from, for you, healing hugs and happy wishes.

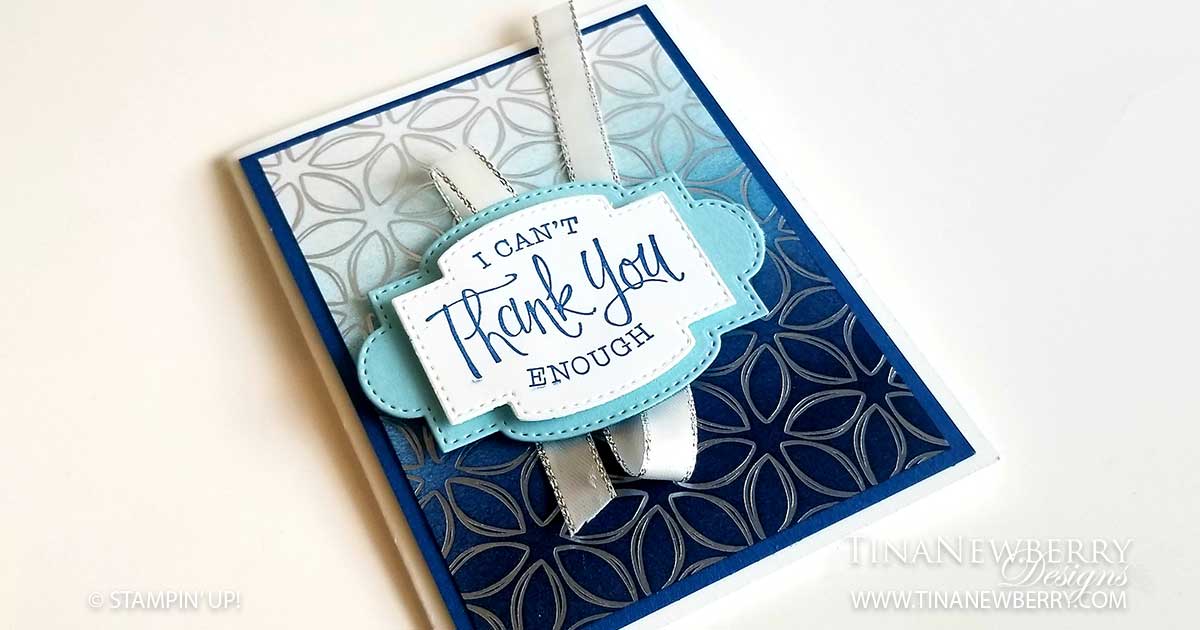
For this card, the I Can’t Thank You Enough was exactly what I wanted. Three blue hues – Balmy Blue, Blueberry Bushel and Night of Navy are gorgeous blended will with the Flowering Foils papers.  I used the brayers to layer on the color. The beautiful foil pattern resists the ink and shines through coupling nicely with the silver-edged ribbon. This was so much fun and pretty quick to make! I have never used the brayers before, so I watched some YouTube videos to learn some techniques.

I’m thankful for Linda Dalke, Stampin’ Up Independent Demonstrator from Australia for sharing her idea. It was perfection to me, so I copied it straight up. I will do this card again varying the colors and digging into another of those Flowering Foil papers and So Sentimental sayings.  So many designs to choose from and they are all gorgeous!

The So Sentimental Stamp Set and Stitched So Sweetly Dies are from the January – June Mini Catalog, while the Flowering Foils are available for free thru March 31 with a qualifying purchase. View these products thru my Stampin’ Up! website and sign up for my eNewsetter for tips, recipes and ideas delivered straight to your inbox.

One Last Go Around

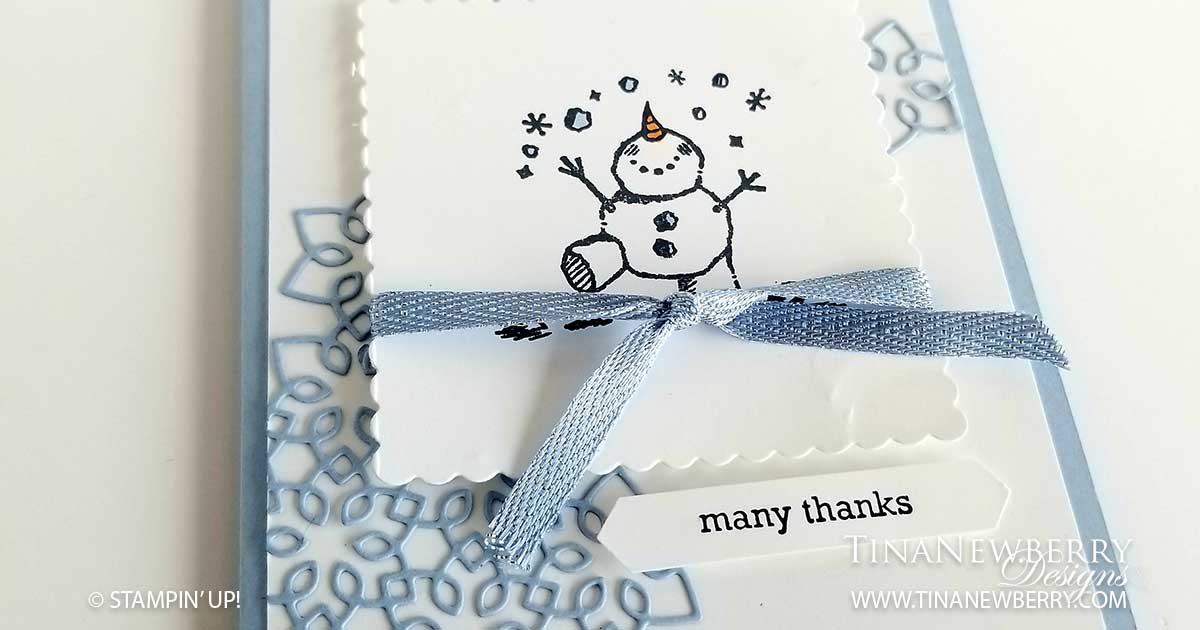
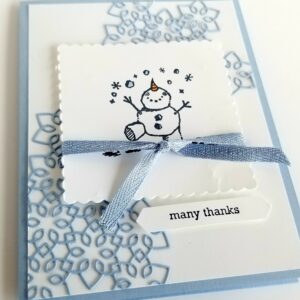
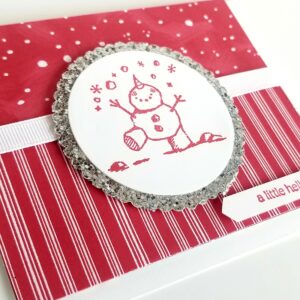
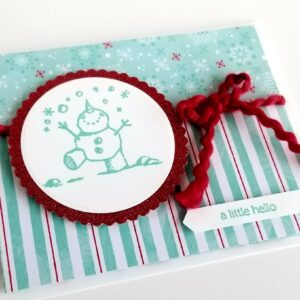
We changed the clocks this week. That’s a sure sign that spring is just around the corner. I heard birds singing before the sun came up. Another sign that spring is on the way. I live in Florida, we don’t get much winter, THANKFULLY, but I do love snowmen. I had to give these little cuties on more go around. I have been wanting to use the Christmas Layers Dies too, which are gorgeous in the Seaside Spray and look at that ribbon. So Shimmery. I also had a little more fun with the Let is Snow Specialty Designer Series Paper, so cute!

These cards were super fun to make on a day that started with a chilly 48 (yes I know I’m a wimp!).   Luckily all of these cute Snowman Season and the Christmas Layers Dies are still available through Stampin’ Up! Which means we’ll get at least one more winter to play with these guys.

Next I’m on to Easter and Spring and Mother’s Day.

Paper Crafting to Go (or Stay)

How many times are you wanting to craft, but you’re just not feeling creative or you don’t see yourself as creative EVER, but you like to craft (sort of how I feel about gardening, lots of energy no skill LOL)? Well Stampin’ Up has thought of that. Paper Pumpkin delivers an all-inclusive paper craft kit to your door every month! It’s like a little bit of Christmas surprise each month because even though they give you hints about what’s inside – like whether it’s cards, tags, small cards or treat bags – and a theme – like March’s Theme hint is ‘Think daffodils, raindrops, and a fresh spring vibe’ you never quite know what’s inside until you open the box! How fun is that?! And when you do open the box, EVERYTHING you need to make the project is right there, ready to go. Take it with you to do with friends or stay in and create in the comfort of your own home. Either way, Paper Pumpkin makes it easy to craft. The Subscription is just $22/month including shipping.

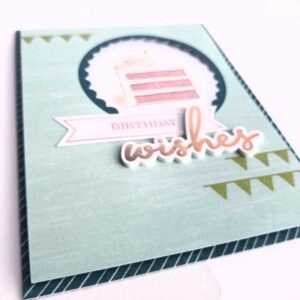
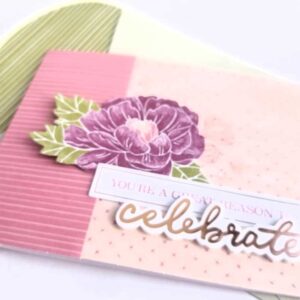
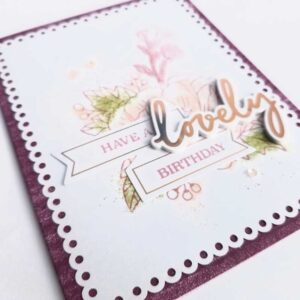
These pictures are from my February kit – Lovely Day.  I followed the instructions (I know, it was a struggle) for all of the cards, since this was my first kit as a subscriber. And I have to say, it was pretty easy! Kim, my friend and co-worker started on it at lunch one day. It was so much fun! Aren’t they cute? Next month I will make some of the beautiful alternatives I saw other ladies post on Pinterest. So cute!

Subscribe for Paper Pumpkin no later than March 10th and you will not only get the regular kit, but also to celebrate 7 years of PP, they’re sending you an extra stamp set in the March kit.

I will tell you I JUST recently signed up for Paper Pumpkin, well because mostly I wasn’t sure I’d like someone making all my crafting decisions for me and also because well what if I don’t like the month’s project!!? I was relieved to know that if the month’s hints don’t sound interesting to me (like Halloween Treat bags? I’m an empty nester! What ever would I do with those?!!) then I can just skip that month. So easy! And the two kits I’ve done, I have LOVED. The first kit I got when I became a Demonstrator. My friend Annette and I did it one night over drinks and we not only had fun doing it, but we split the project so we each got some to take home. So fun and lots of laughs. Sign up today and you’ll be crafting by mid-month!

March's Kit. Subscribe no later than March 10th.
March’s Kit. Subscribe no later than March 10th.