Techinque Focus: Reverse Tri-Fold Card

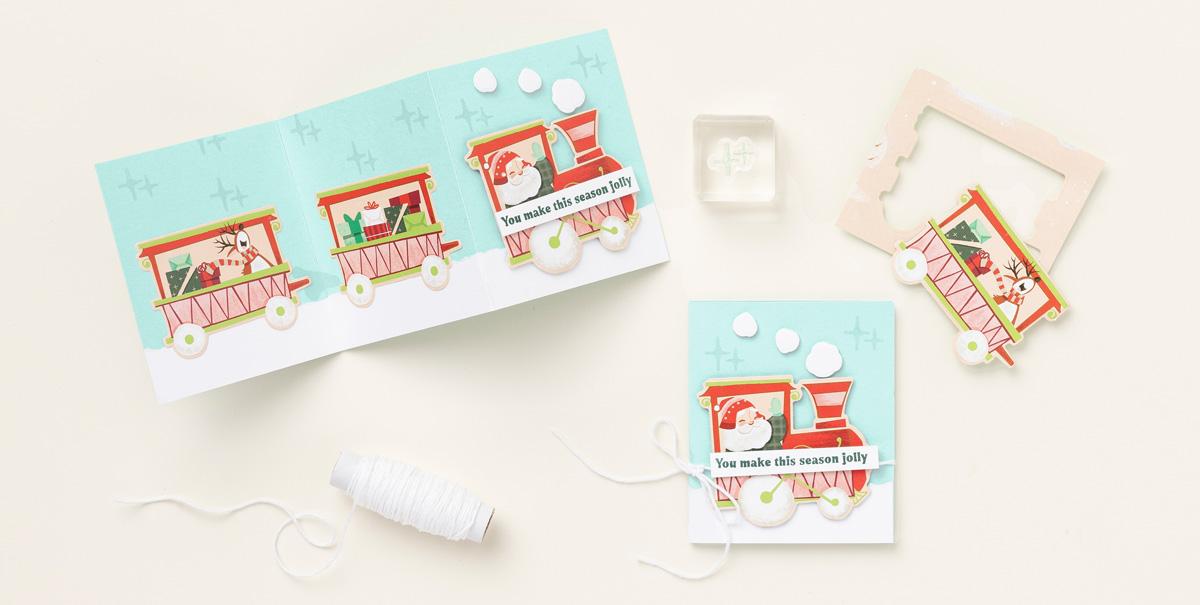
If you’ve seen our snowy and playful Santa Express Designer Series Paper, you may have already added it to your Christmas crafting shopping list. It may move to the top, however, after you check out this month’s technique focus: an adorable, tri-fold card showcasing our very jolly Santa Claus delivering Christmas cheer via the North Pole Express.

To make this clever, expandable card, cut Basic White and Pool Party Cardstock at 3-1/2″ x 9″ (8.9 x 22.9 cm). Tear and adhere the Basic White Cardstock to the Pool Party Cardstock, then score at 3″ (7.6 cm) and 6″ (15.2 cm). Die cut the train from the Designer Series Paper using the Santa’s Train Dies and adhere the pieces to the card front using Stampin’ Dimensionals to give the train engine and cars a little pop! Adhere the festive sentiment—stamped in Shaded Spruce ink on a strip of Basic White Cardstock—and you’re done! Tie up your card with some Linen Thread to keep it closed.

If you adore this card as much as we do, you may want to check out the Santa Express Suite Collection, which includes the Santa’s Delivery Stamp Set, Santa’s Train Dies, Santa Express Designer Series Paper, the Santa Express Memories & More Card Pack, 3/16″ (4. 8 mm) Iridescent Trim, and so much more! Happy festive stamping with Santa Express!

Shopping List

Spooky Treats Alternative #1

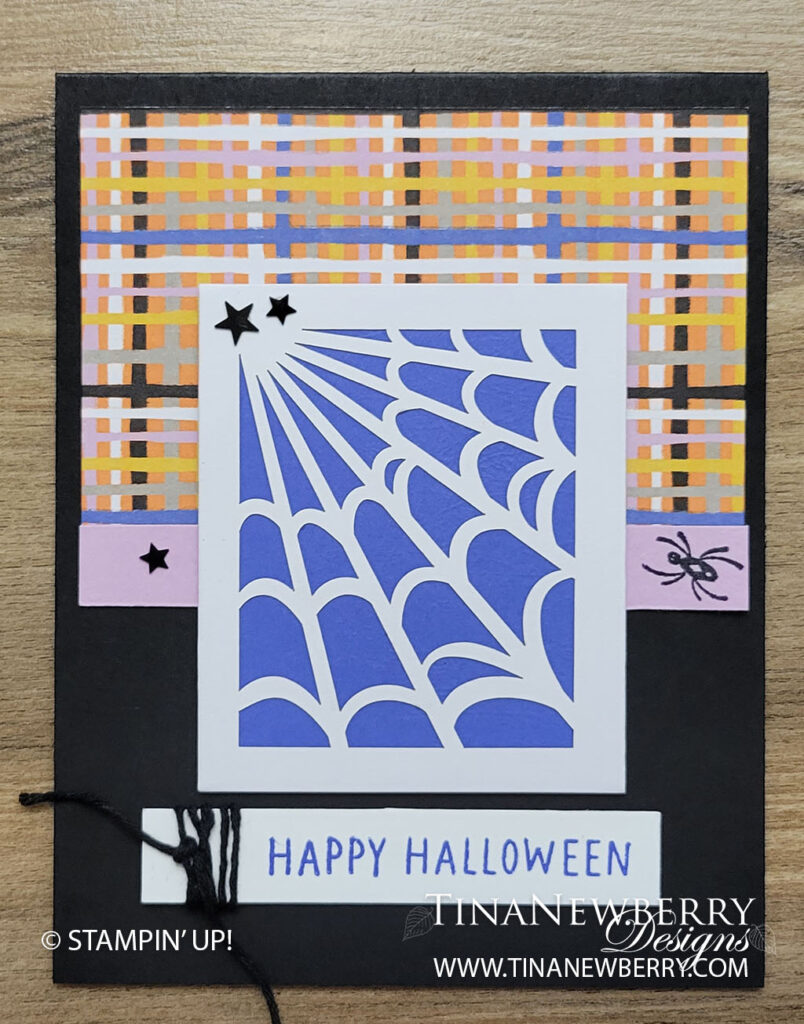
Use pieces from the kit to make a quick & easy Happy Halloween Card.

Peek-A-BOO! Don’t let Halloween creep up on you—get everything you need for cute spooky-themed crafts in our all-inclusive Spooky Treats kit. Time to put the TREAT in trick or treat! Check out next month’s Paper Pumpkin Kit.
Measurements

Full list of supplies needed, listed below. A die cutting machine is needed for this card.
Basic Black Cardstock: 11″ h x 4 1/4″ w scored and folded on the long-side at 5 1/2″ for Card Base

Fresh Freesia Cardstock: 1/2″ h x 4″ w

Orchid Oasis Cardstock: 3″ h x 2 1/2″ w (cut a smidge smaller)

Basic White Cardstock:

  • 1/2″ h x 3 1/8″ w
  • 5 1/2″ h x 4″ w for inside

Plaid Panel: 2 1/2″ h x 4″ w cut from treat box in Kit.

Let’s Create

  1. Affix all stamps to Acrylic Blocks.
  2. Fold the Card Base in half using a Bone Folder to sharpen the crease.
  3. Stamp a spider on the right edge of the Fresh Freesia layer.
  4. Attach the Fresh Freesia layer to th Plaid Panel with Stampin’ Seal. And then Attach to the Card Base with Stampin’ Seal.
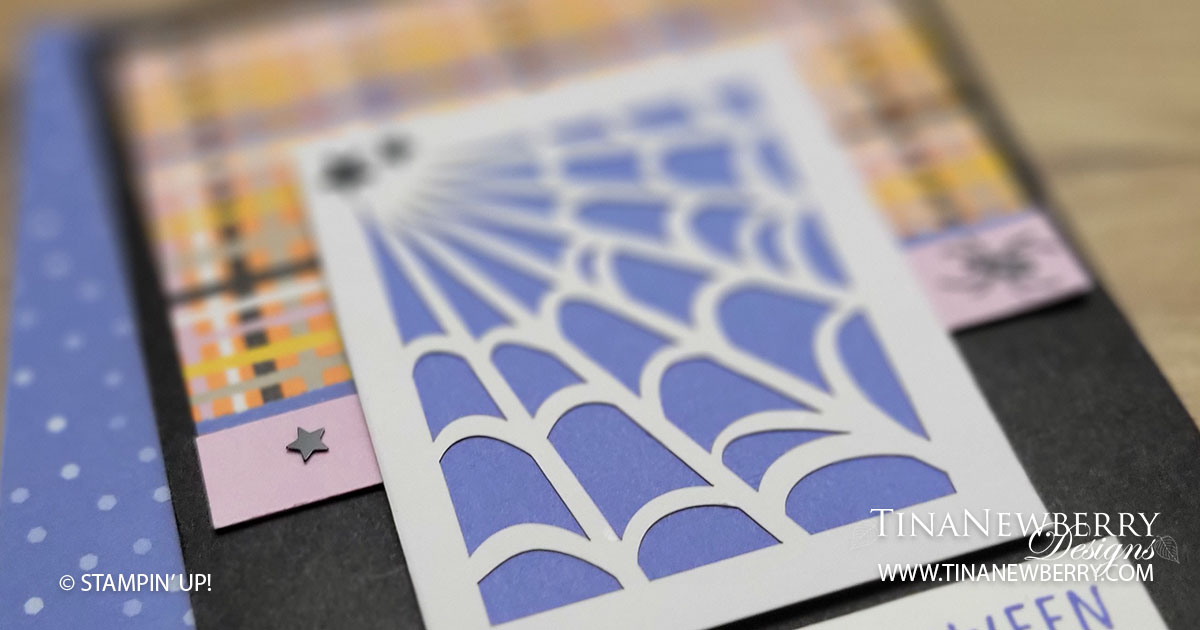
  5. Apply Stampin’ Seal around the backside of the web panel from the Spooky Treats kit and attach the Orchid Oasis panel behind the web. Attach to the card with Stampin’ Dimensionals.
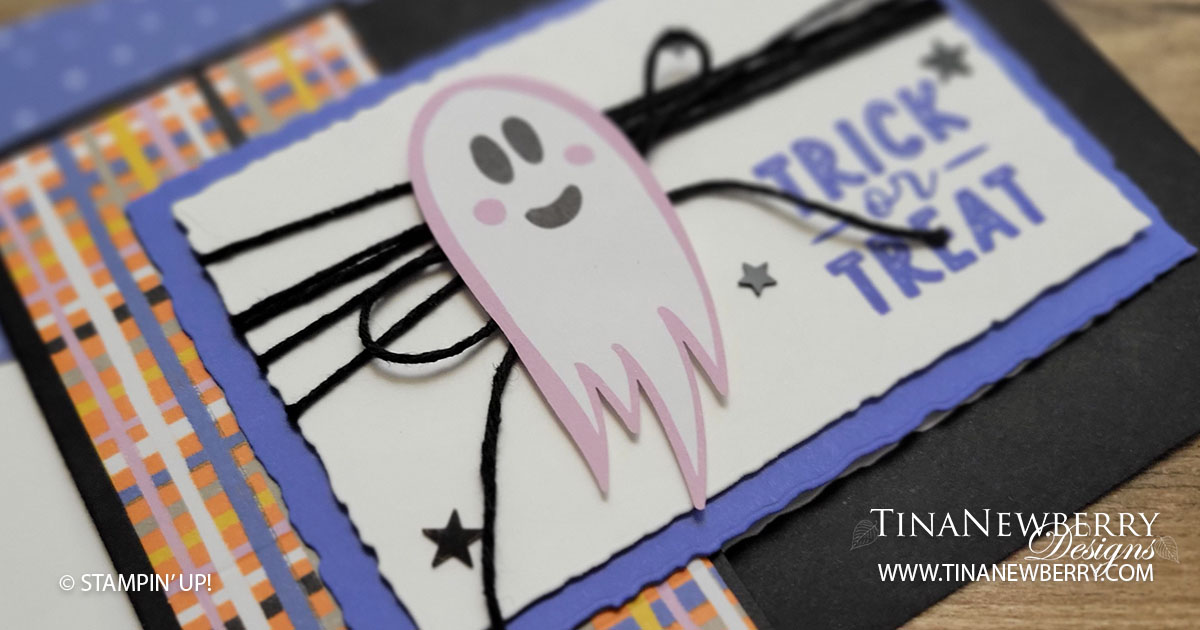
  6. Stamp sentiment on 1/2″ h x 3 1/8″ w Basic White Panel in Orchid Oasis ink. Wrap black twine around and tie a knot. Then attach to the card with Stampin’ Dimensionals.
  7. Sprinkle on the stars from the kit
  8. Stamp and decorate the inside and attach with Stampin’ Seal.
  9. Decorate your envelope.
  10. Happy Halloween! Boo! Who will you send it to?
Product List

Recommended Stamper’s Toolkit

Product List
Order online from the convenience of your own home or send me your order and I’ll take care of you. ❤ Either way, please use the host code ANTD9UHS. Order online AND, if your order is $50 or more using host code ANTD9UHS between now and the end of the month you’ll receive a free pack of embellishment as a THANK YOU gift from me. ❤ If your order is over $150, skip the host code, earn Stampin’ Rewards for free stuff yourself and I’ll still send you a free pack of embellishment as a THANK YOU gift from me. ❤