Sending You a Big Squeeze Handmade Card

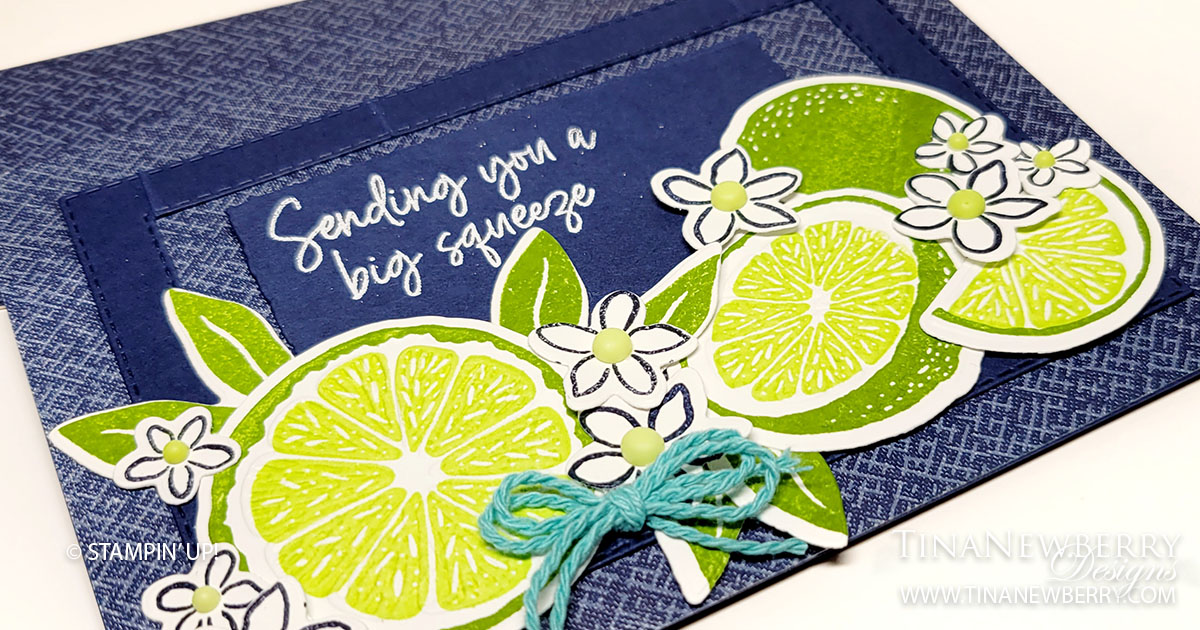
Such a stunning color combo with the bright green on navy blue. I use both Stiched Rectangle dies and Deckled Rectangle dies to create the frame background and sentiment and the Sweet Citrus dies show off the beautiful green limes.
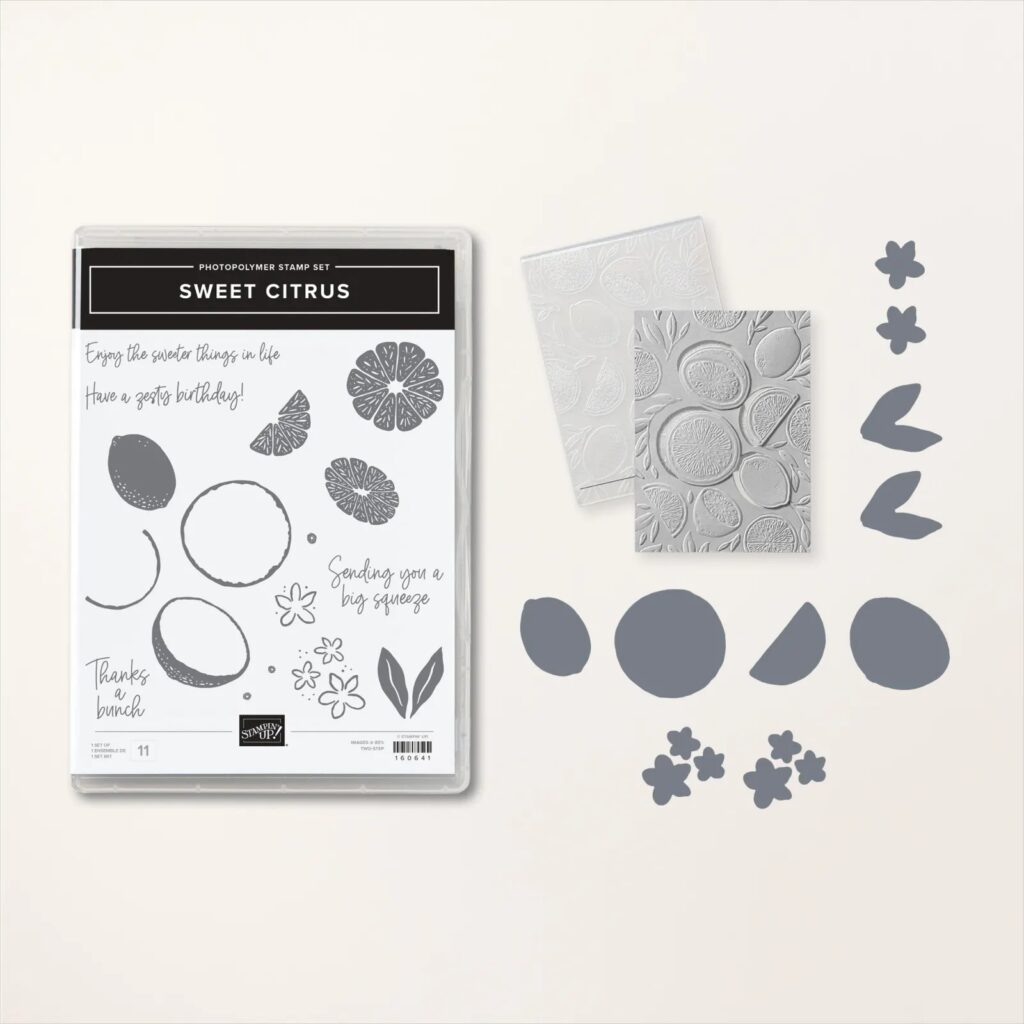
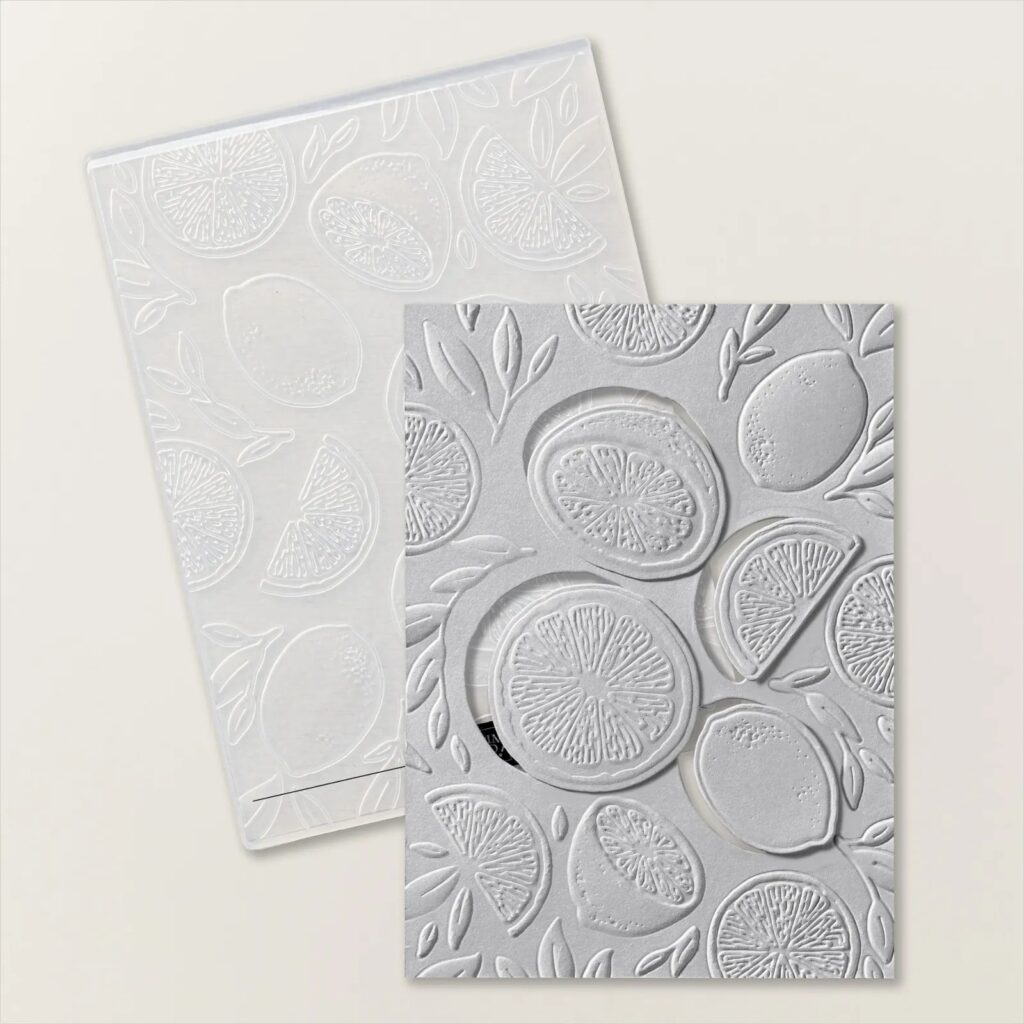
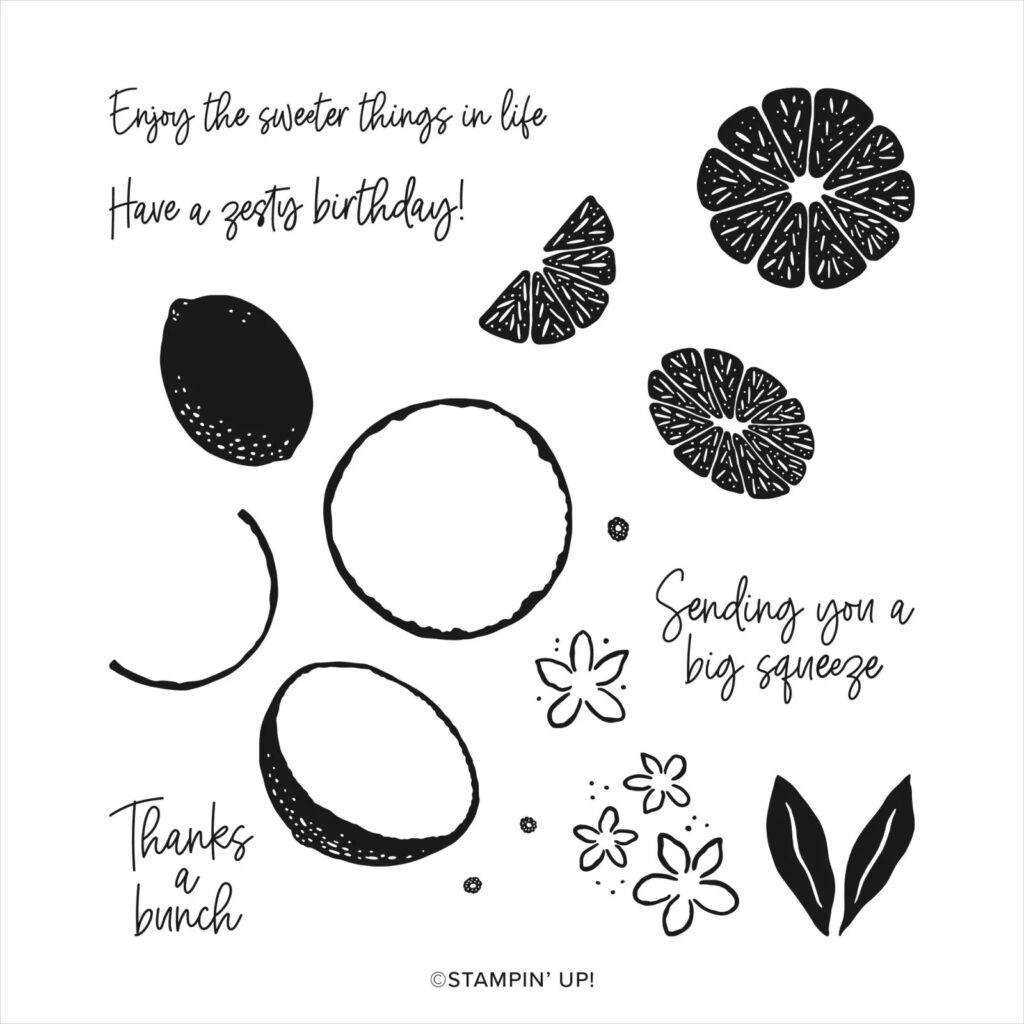
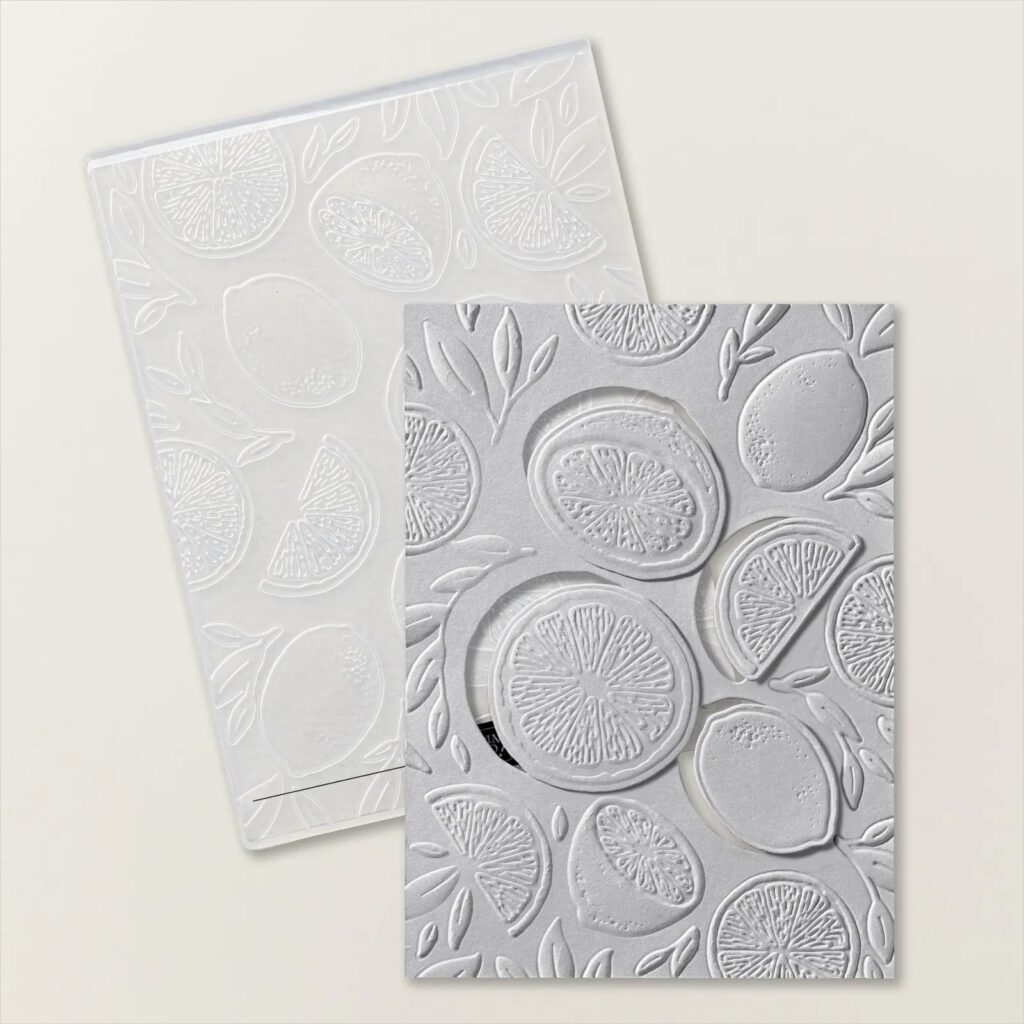
The Sweet Citrus Bundle is three products in one—a stamp set, a 3D embossing folder, and dies! You can use these items separately for a clean, modern look. Or use them together to create such dimensional images, you’d think you could smell the zest!

Measurements

Full list of supplies needed, listed below. A die cutting machine is needed for this card.

Night of NavyCardstock: 

  • 5 1/2″ w x 8 1/2″ h folded to 5 1/2″ w x 4 1/4″ h
  • 5 1/2″ w x 4 1/4″ h

Basic White Cardstock: 

  • Scrap for fruit, leaves and flowers.
  • 5 ¼” h x 4” w

Regency Park Designer Series Paper (DSP): 4 1/4″ h x 5 1/2″ w

Let’s Create

  1. Affix all stamps to Acrylic Blocks.
  2. Fold the Card Base in half using a Bone Folder to sharpen the crease.
  3. Attach the 4 1/4″ h x 5 1/2″ w Regency Park DSP with Stampin’ Seal. 
  4. Die cut a ~2” h x 3 ¼” w Deckled Rectangle from the center of the 5 1/2″ w x 4 1/4″ h Night of Navy.
  5. Use the 3 ½” h x 4 ¾” w and 2 ¾” h x 4” w Stitched Rectangle Dies to cut a frame from Night of Navy Cardstock.
  6. Create the Heat Embossed Sentiment
    1. Wipe the Deckled Rectangle with the Embossing Buddy.
    2. Stamp the sentiment in Versamark Ink in the upper left corner.
    3. Hold the panel over the Powder Pal and sprinkle White Embossing Powder over the stamped words.  
    4. Embossing Powder will stick to the stamped words. Flick the panel if needed to remove stray bits of powder.  
    5. Repeat c & d, as needed until the words are well covered with Embossing Powder. 
    6. Heat up your heat tool and then direct heat over the stamped words. Use a circular motion so as not to heat any spot up too much. Continue to heat the words up until you see the Embossing Powder melt into a bright white sheen.
  7. Use Stampin’ Seal to attach the Stitched Rectangle Frame and the Deckled Rectangle to the card. Position the Deckled Rectangle toward the top of the inside of the Stitched Rectangle Frame. We’ll cover the bottom with the fruit and hide the misalignment. 
  8. On scrap Basic White Cardstock, stamp:
    1. Three leaves in Granny Apple Green ink.
    2. Two clusters of flowers and two large flowers in Night of Navy Ink.
    3. The fruit outline in Granny Apple Green ink 
    4. The fruit fill in Parakeet Party ink
  9. Die cut the flowers and leaves.
  10. Insert the fruit die into the hybrid embossing folder – it clicks into place. Align the fruit up with the die and embossing folder. Pinch the layers together and carefully run through the Stampin’ Cut & Emboss machine. 
  11. Arrange the fruit, flowers and leaves on the front of the car and attach using Stampin’ Seal, Stampin’ Dimensionals and Mini Glue Dots.
  12. Sprinkle In-Color Matte Dots in the center of each flower.
  13. Fold a 12” piece of Tahitian Tide Baker’s Twine in half. Snip the folded end. Hold the two pieces together and tie a bow. Attach with a Mini Glue Dot.
  14. Stamp and decorate the remaining 5 1/4″ w x 4″ h for the inside and attach with Stampin’ Seal.
  15. Decorate your envelope. 
  16. How sweet! Now send it to someone who needs a pick me up.

Shopping List

Recommended Stamper’s Toolkit

Product List
Order online from the convenience of your own home or send me your order and I’ll take care of you. ❤ Either way, please use the host code ANTD9UHS. Order online AND, if your order is $50 or more using host code ANTD9UHS between now and the end of the month you’ll receive a free pack of embellishment as a THANK YOU gift from me. ❤ If your order is over $150, skip the host code, earn Stampin’ Rewards for free stuff yourself and I’ll still send you a free pack of embellishment as a THANK YOU gift from me. ❤

Have a Zesty Birthday Handmade Greeting Card

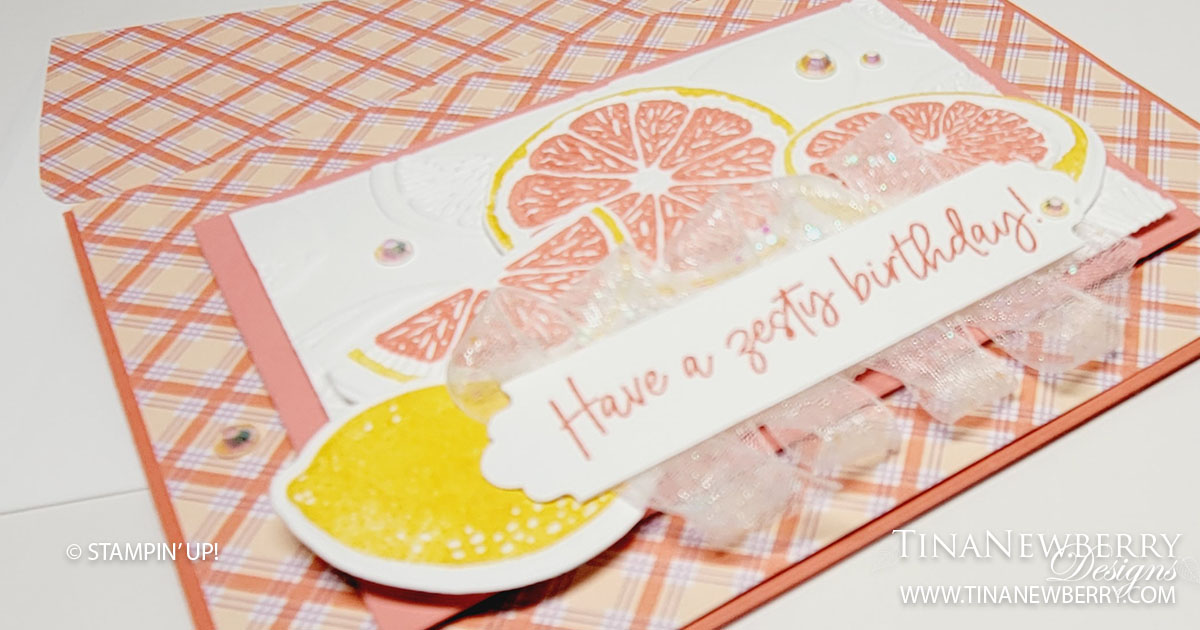
Have a Zesty Birthday LOL! Stamped, die cut and embossed pink grapefruit are the focus of this lighthearted card. I used a cute print from the free Dandy Designs patterned paper and added a fun sentiment tag. I love how the Iridescent Rhinestones pick up the surrounding colors to add a little bling here and there.

The Sweet Citrus Bundle is three products in one—a stamp set, a 3D embossing folder, and dies! You can use these items separately for a clean, modern look. Or use them together to create such dimensional images, you’d think you could smell the zest!

Measurements

Full list of supplies needed, listed below. A die cutting machine is needed for this card.
Calypso Coral Cardstock: 5 1/2″ h x 8 1/2″ w folded to 5 1/2″ h x 4 1/4″ w
Basic White Cardstock:

  • 5 1/4″ h x 4″ w
  • 3/4″ h x 3 1/4″ w
  • 2 3/4″ h x 4″ w
  • scrap for grapefuit and lemon

Dandy Designs Designer Series Paper: 5 1/4″ h x 4″ w
Flirty Flamingo Cardstock: 3″ h x 4 1/4″ w

Let’s Create

  1. Affix all stamps to Acrylic Blocks.
  2. Fold the Card Base in half using a Bone Folder to sharpen the crease.
  3. Attach the 5 1/4″ h x 4″ w Dandy Designs DSP with Stampin’ Seal.
  4. Run the 2 3/4″ h x 4″ w Basic White cardstock through the Stampin’ Cut & Emboss machine with the Sweet Citrus Hydbrid Embossing Folder then attach to the 3″ h x 4 1/4″ w Flirty Flamingo Cardstock with Stampin’ Seal+ or Tear & Tape – use stronger adhesive to ensure embossed surfaces stay adhered.
  5. On scrap basic white cardstock, stamp the fruit outline in Daffodil Delight ink. Then stamp the fruit fill in Flirty Flamingo ink – or change these colors up to create oranges, lemons or limes!
  6. Insert the fruit die into the embossing folder and align the stamped image up with the die. Firmly hold all layers together in the embossing folder and run through the Stampin’ Cut & Emboss machine.
  7. Arrange the grapefruit and lemon on the embossed Basic White panel and attach some with Stampin’ Seal and others with Stampin’ Dimensionals.
  8. Stamp sentiment in Flirty Flamingo ink on 3/4″ h x 3 1/4″ w Basic White tag and punch the ends with the Lovely Labels Pick a Punch.
  9. Attach Tear N’ Tape to the back of the sentiment and affix a zig zag of Glittered Organdy ribbon behind it. Attach sentiment with a lot of Dimensionals – use extra because the ribbon doesn’t stick well.
  10. Sprinkle on the Iridescent Rhinestones.
  11. Stamp and decorate the remaining 5 1/4″ h x 4″ w for the inside and attach with Stampin’ Seal.
  12. Decorate your envelope.
  13. So cute! Now send it to someone special.
Product List

Recommended Stamper’s Toolkit

Product List
Order online from the convenience of your own home or send me your order and I’ll take care of you. ❤ Either way, please use the host code ANTD9UHS. Order online AND, if your order is $50 or more using host code ANTD9UHS between now and the end of the month you’ll receive a free pack of embellishment as a THANK YOU gift from me. ❤ If your order is over $150, skip the host code, earn Stampin’ Rewards for free stuff yourself and I’ll still send you a free pack of embellishment as a THANK YOU gift from me. ❤

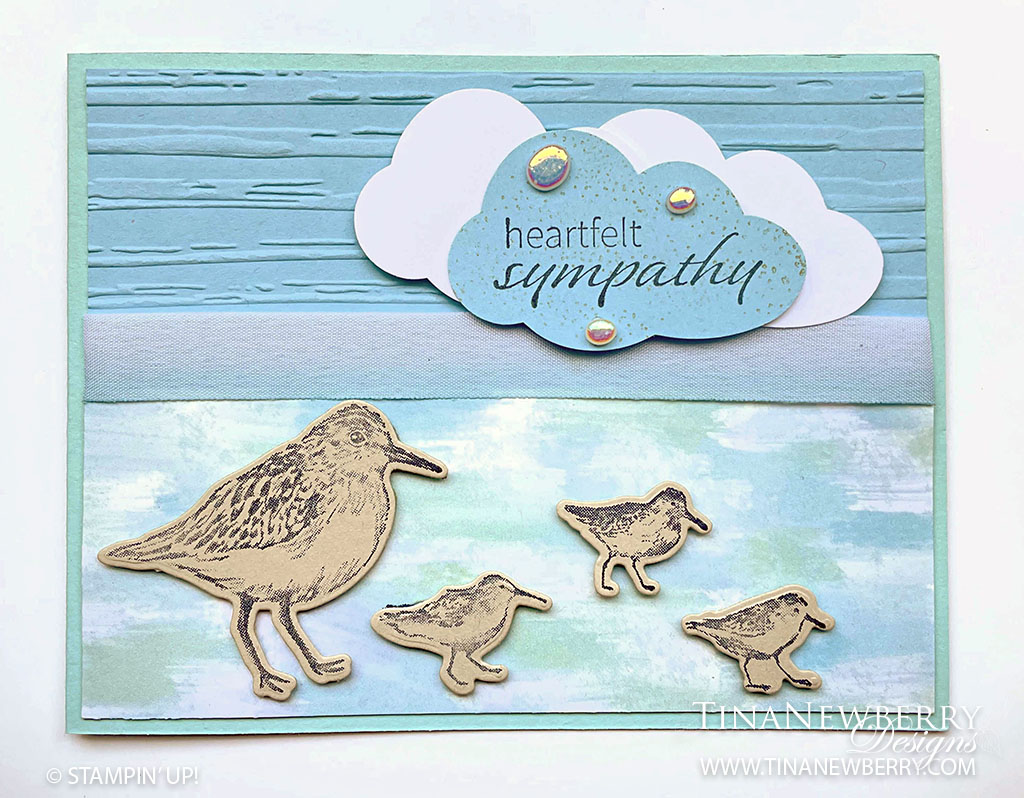
Heartfelt Sympathy Handmade Greeting Card

Thank you for your interest in this project. Some projects are exclusive to subscribers who will receive passwords by email.

Are you a subscriber? Awesome! Check your email for the password and enter it here to view this project.

Not yet subscribed?  We’d love for you to join us.  Subscribe to my email list and receive news, information and inspiration by email.

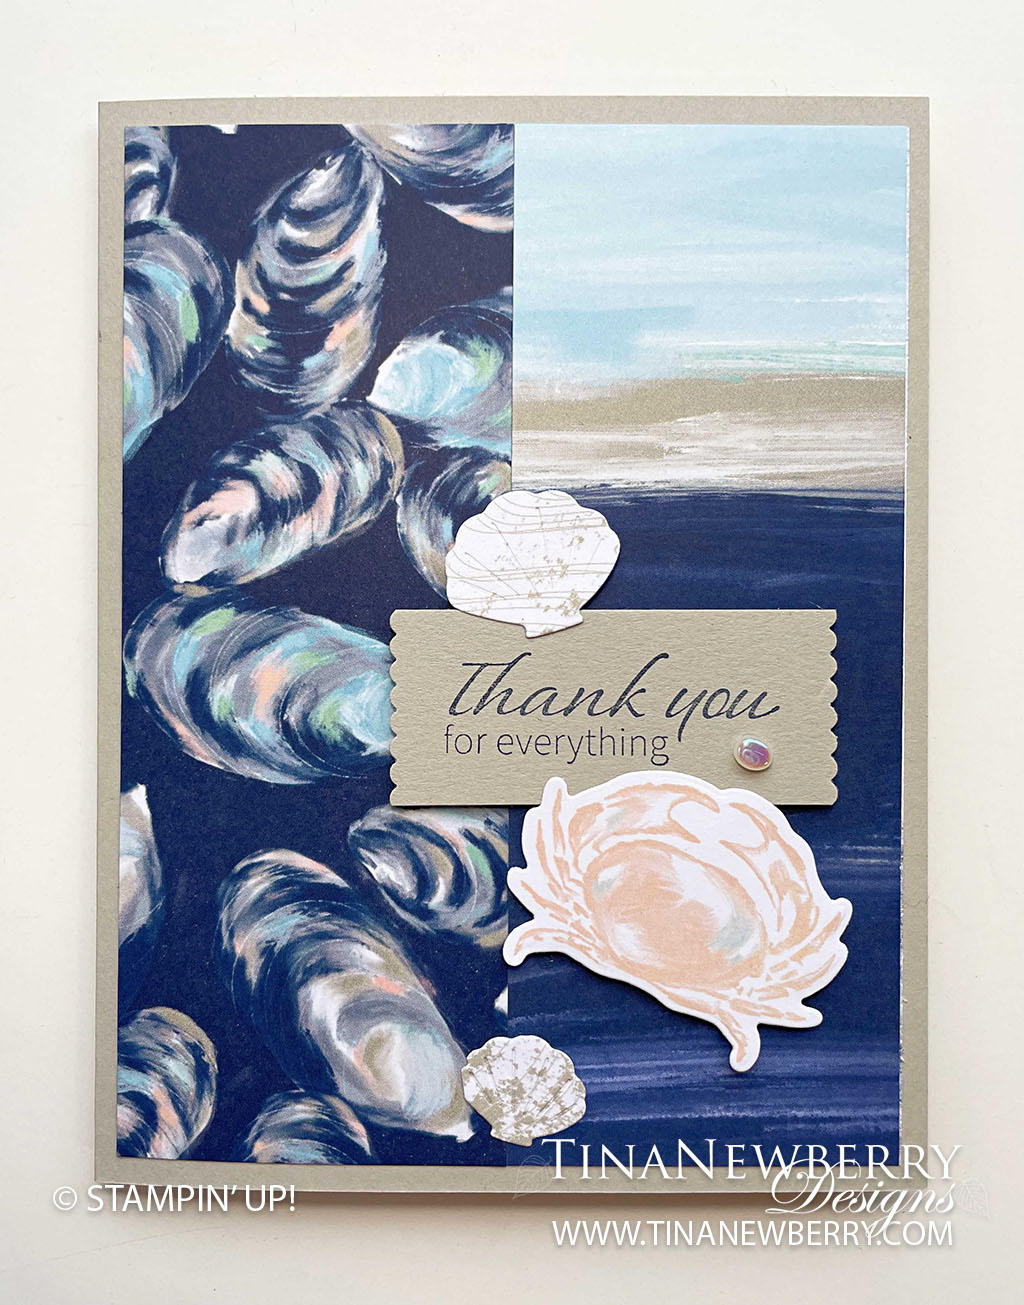
Bay Inspired Thank You Greeting Card

Capture the sun, sand and water with the By-The-Bay Designer Series patterned paper used on this greeting card project. The images, shapes and colors all coordinate for a heartfelt thank you card.

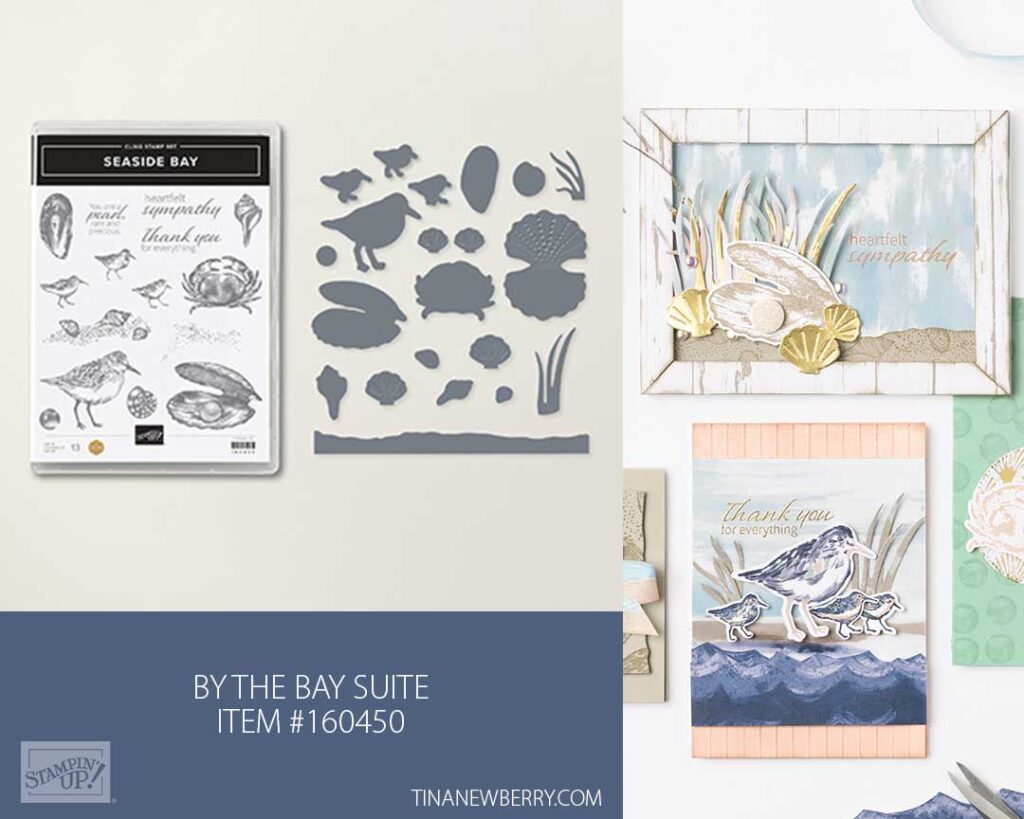
Enjoy soft, serene, and sophisticated designs in the By the Bay Suite. With tones of blues, greens, and pinks in a paintbrush style, this suite is perfect for stylish everyday projects from sending love and support to loved ones to celebrating summer getaways.

Measurements

Full list of supplies needed, listed below. A die cutting machine is needed for this card.

Sahara Sand cardstock:

  • 5 ½” h x 8 ½” w scored on the long-side at 4 1/4″ and folded to 5 ½” h x 4 ¼” w for Card Base
  • ¾” h x 2” w

Basic White Cardstock: 5 1/4″ w x 4″ h

By the Bay Specialty DSP, two prints: 5 ¼” h x 2″ w each and sheet with crabs for die cuts

Let’s Create

  1. Affix all stamps to Acrylic Blocks.
  2. Fold the Card Base in half using a Bone Folder to sharpen the crease.
  3. Find the By the Bay Specialty DSP sheet with the crabs and die cut around a crab.
  4. On the margins of that sheet also die cut 2 shells from the splatter design: 1 small and 1 large shell.
  5. Adhere the By the Bay Specialty DSP layers onto the card front with Stampin’ Seal.
  6. Stamp the sentiment with Night of Navy Stampin’ Pad onto the Sahara Sand ¾”h x 2”w layer.
  7. Now punch each end of the sentiment layer with the Happy Labels Pick a Punch.
  8. Adhere the sentiment onto the card front with Stampin’ Dimensionals.
  9. Adhere the crab and shells onto the card front with Stampin’ Dimensionals. 
  10. Place 1 pearl onto the sentiment label.
  11. Stamp the 5 1/4″ h x 4″ w Basic White Cardstock and attach to the inside with Stampin’ Seal.
  12. Stamp and decorate your envelope.
  13. Who will you send it to? Put it in the mail!

Shopping List

Recommended Stamper’s Toolkit

Product List
Order online from the convenience of your own home or send me your order and I’ll take care of you. ❤ Either way, please use the host code ANTD9UHS. Order online AND, if your order is $50 or more using host code ANTD9UHS between now and the end of the month you’ll receive a free pack of embellishment as a THANK YOU gift from me. ❤ If your order is over $150, skip the host code, earn Stampin’ Rewards for free stuff yourself and I’ll still send you a free pack of embellishment as a THANK YOU gift from me. ❤

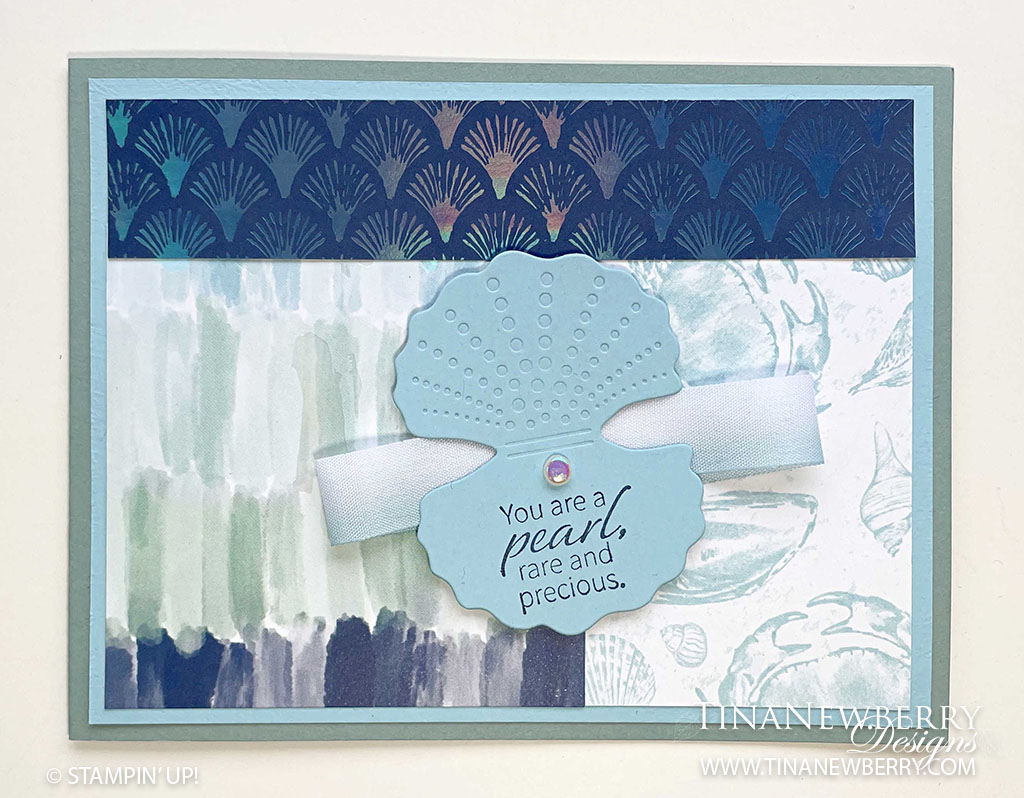
Jazz Up Your Card With A Shell Sentiment Tag

Accent beautiful patterned paper with a pretty shell sentiment tag on this sweet seaside themed card.

Enjoy soft, serene, and sophisticated designs in the By the Bay Suite. With tones of blues, greens, and pinks in a paintbrush style, this suite is perfect for stylish everyday projects from sending love and support to loved ones to celebrating summer getaways.

Measurements

Full list of supplies needed, listed below. A die cutting machine is needed for this card.

Soft Succulent Cardstock 4 ¼” h  x  11” w folded to 4 1/4″ h x 5 1/2″ w for Card Base

Balmy Blue Cardstock:  4″ h x 5 1/4″ w

Basic White Cardstock: 4″ h x 5 1/4″ w

By the Bay Designer Series Paper (DSP): 

  • print 1: 1”h x 5”w 
  • print 2: 3”h x 3”w
  • print 3: 3”h x 2”w 

Let’s Create

  1. Affix all stamps to Acrylic Blocks.
  2. Fold the Card Base in half using a Bone Folder to sharpen the crease.
  3. Die cut the oyster shell from the layer of the Balmy Blue card stock. This hole will be hidden under other layers.
  4. Use Night of Navy Stampin’ Pad to stamp the sentiment onto the oyster shell die cut.
  5. Use Stampin’ Seal to adhere the By the Bay Specialty DSP layers onto the Balmy Blue card stock layer.
  6. Use Stampin’ Seal to adhere the Balmy Blue layer onto the Soft Succulent card base. 
  7. Use Mini Glue Dots to adhere loops of ribbon onto the back side of the oyster.
  8. Use Dimensionals to adhere the beribboned oyster onto the card front.
  9. Embellish the oyster with 1 Flat Adhesive-backed Pearl.
  10. Stamp and decorate the 4″ h x 5 1/4″ w Basic White layer and attach to the inside with Stampin’ Seal.
  11. To decorate your envelope you can stamp or adhere a layer of the By the Bay Specialty DSP according to your preference.
  12. Pretty! Who will you send it to?

Shopping List

Recommended Stamper’s Toolkit

Product List
Order online from the convenience of your own home or send me your order and I’ll take care of you. ❤ Either way, please use the host code ANTD9UHS. Order online AND, if your order is $50 or more using host code ANTD9UHS between now and the end of the month you’ll receive a free pack of embellishment as a THANK YOU gift from me. ❤ If your order is over $150, skip the host code, earn Stampin’ Rewards for free stuff yourself and I’ll still send you a free pack of embellishment as a THANK YOU gift from me. ❤