When I put a handmade card in the mail to someone I care about, I always feel like I’m sending a little bit of sunshine. It makes me so happy to brighten someone’s day with a bit of unexpected sunshine mail. The Sunny Sentiments stamp set from Stampin’ Up! is the perfect set to use for my happy mail. It’s sure to brighten my loved ones day with the cheery fonts and uplifting words.

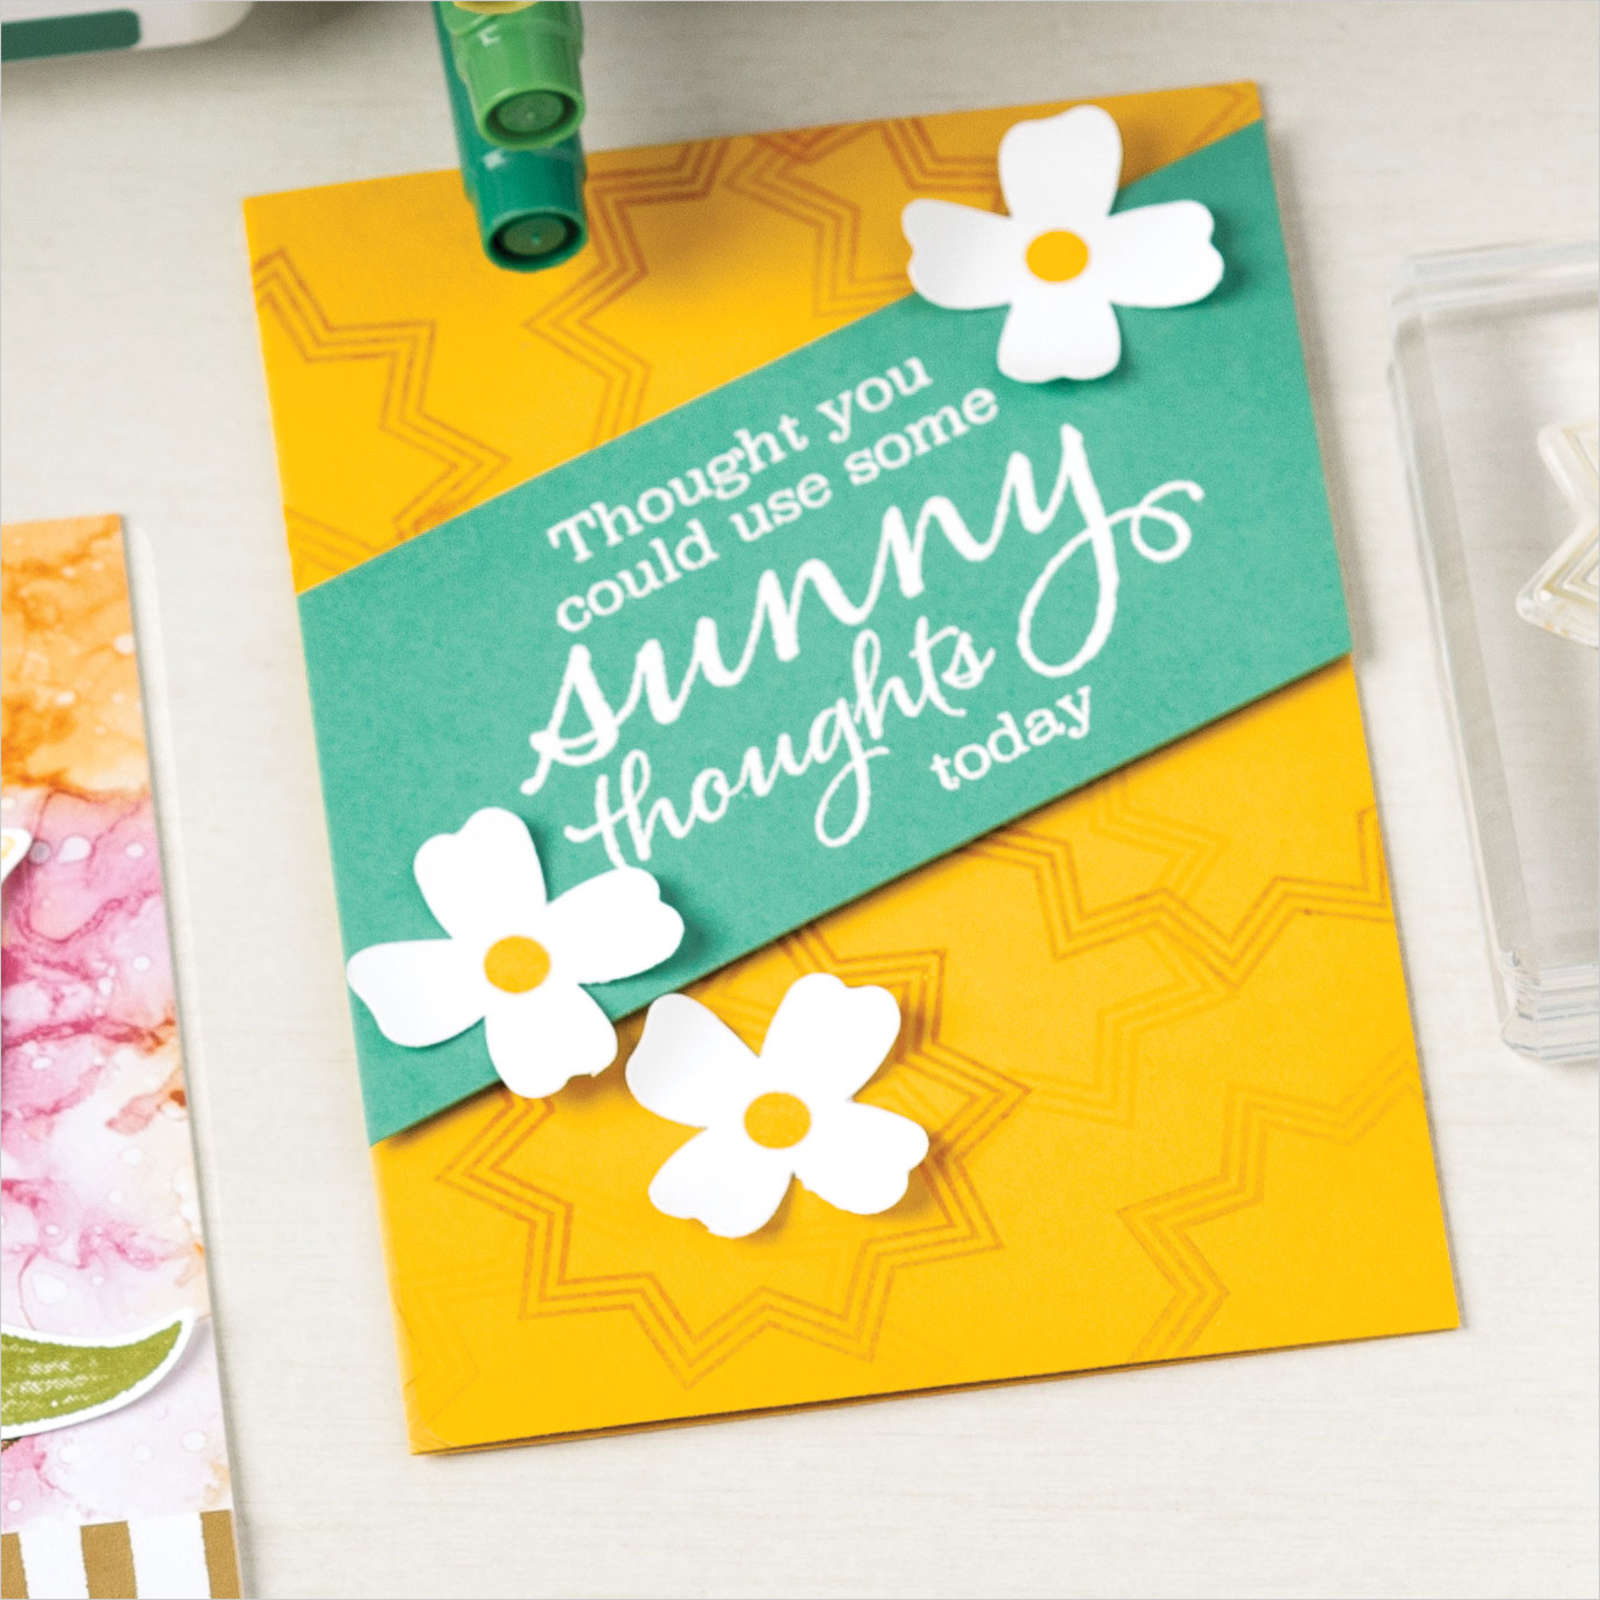
Take a closer look at the Sunny Sentiments Stamp Set.
Measurements
Full list of supplies needed, listed below.
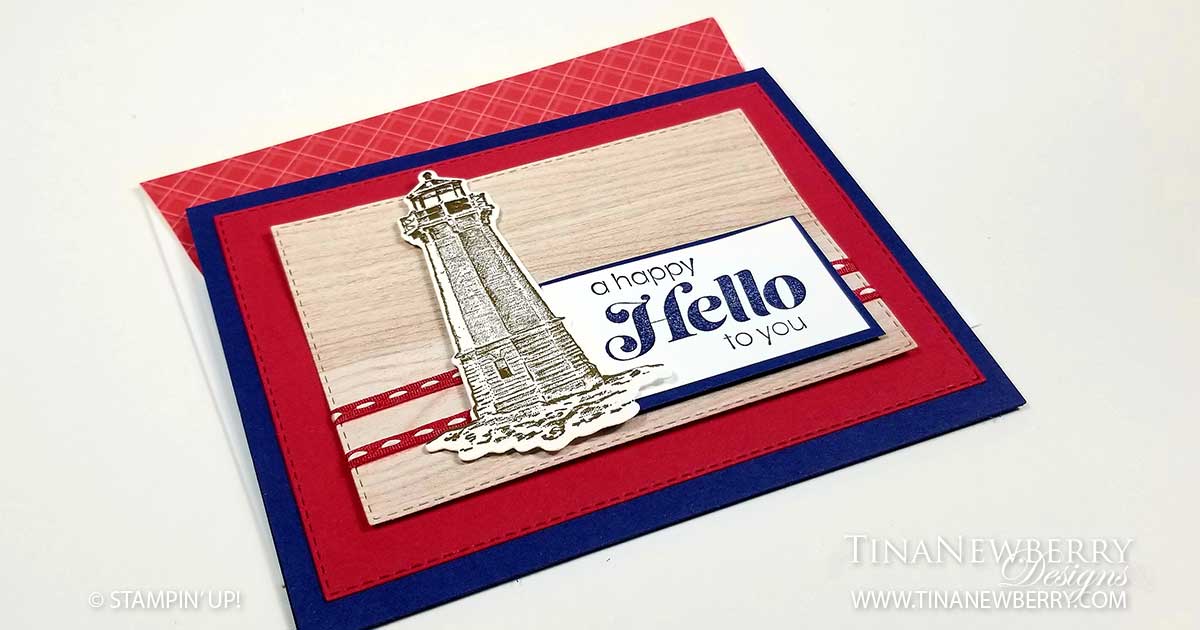
Card Base: Night of Navy Cardstock 8 1/2″ h x 5 1/2″ w folded to 4 1/4″ h x 5 1/2″ w
Background: Real Red Cardstock 3 3/4″ h x 5″ w with the Stitched Rectangles Die
DSP Background : In Good Taste Designer Series Paper 3″ h x 4 1/4″ w with the Stitched Rectangles Die
Sentiment Layer: Basic White Cardstock 1 1/4″ h x 2 1/4″ w
Sentiment Matte: Night of Navy Cardstock 1 1/2″ h x 2 1/2″ w
Inside Layer: Basic White Cardstock 4″ h x 5 1/4″ w
Let’s Create
- Affix all stamps to Acrylic Blocks.
- Fold the Card Base in half using a Bone Folder to sharpen the crease.
- Use Stampin’ Seal to attach the Real Red Background.
- Wrap the Good Taste Woodgrain DSP Background with Playful Pets Real Red Trim and secure ends in the back with Tear N Tape.
- Use Dimensionals to attach the In Good Taste Woodgrain DSP Background.
- On a scrap piece of Basic White Cardstock, stamp the Lighthouse from the Sailing Home Stamp Set in Crumb Cake ink and die cut out using the Smooth Sailing dies.
- Stamp the Sentiment in Night of Navy Ink on the Sentiment Layer and use Stampin’ Seal to attach to the Night of Navy Sentiment Matte.
- Attach the Lighthouse and Sentiment with Stampin’ Dimensionals.
- Stamp your inside sentiment and attach.
- Decorate your envelope.
- Ta da!! Now put it in the mail.
Shopping List
")


Stamper’s Toolkit
You will also need adhesive, acrylic blocks, scissors and other basic PaperCrafting items from the Stamper’s Toolkit


")


