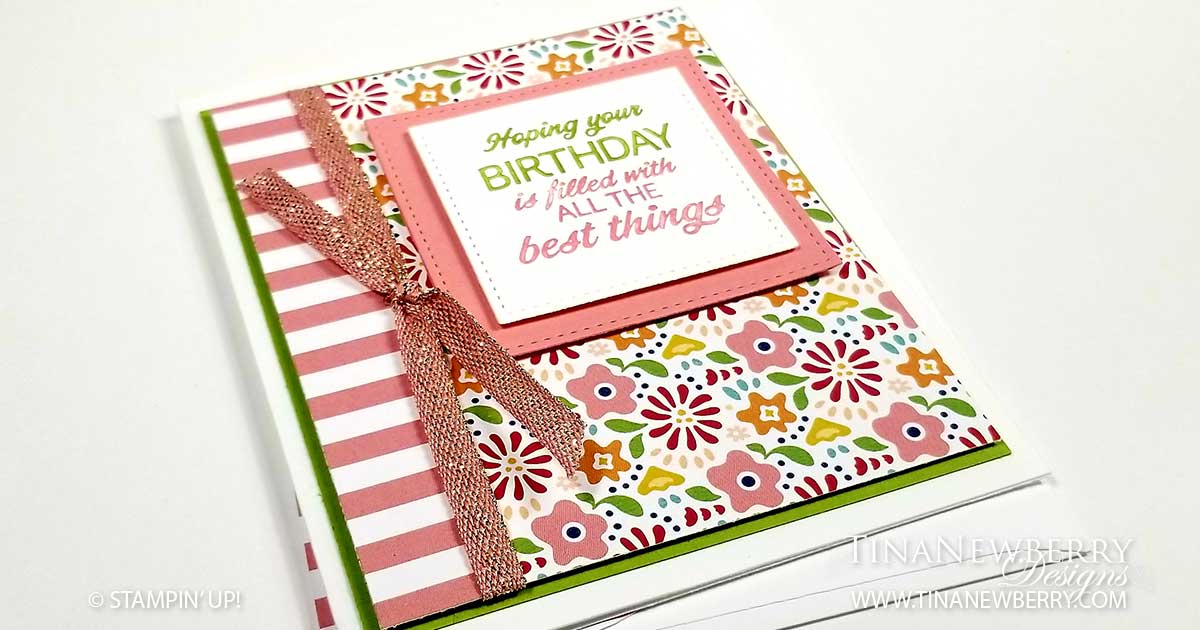
I’ve had my eye on this bright and bold flowered piece of paper from the Pattern Party Host-exclusive Designer Series Paper pack for a long time waiting for the perfect project to use it on. This is it! I love how happy this card looks with the mix of pink and green with pops of other colors. So pretty!
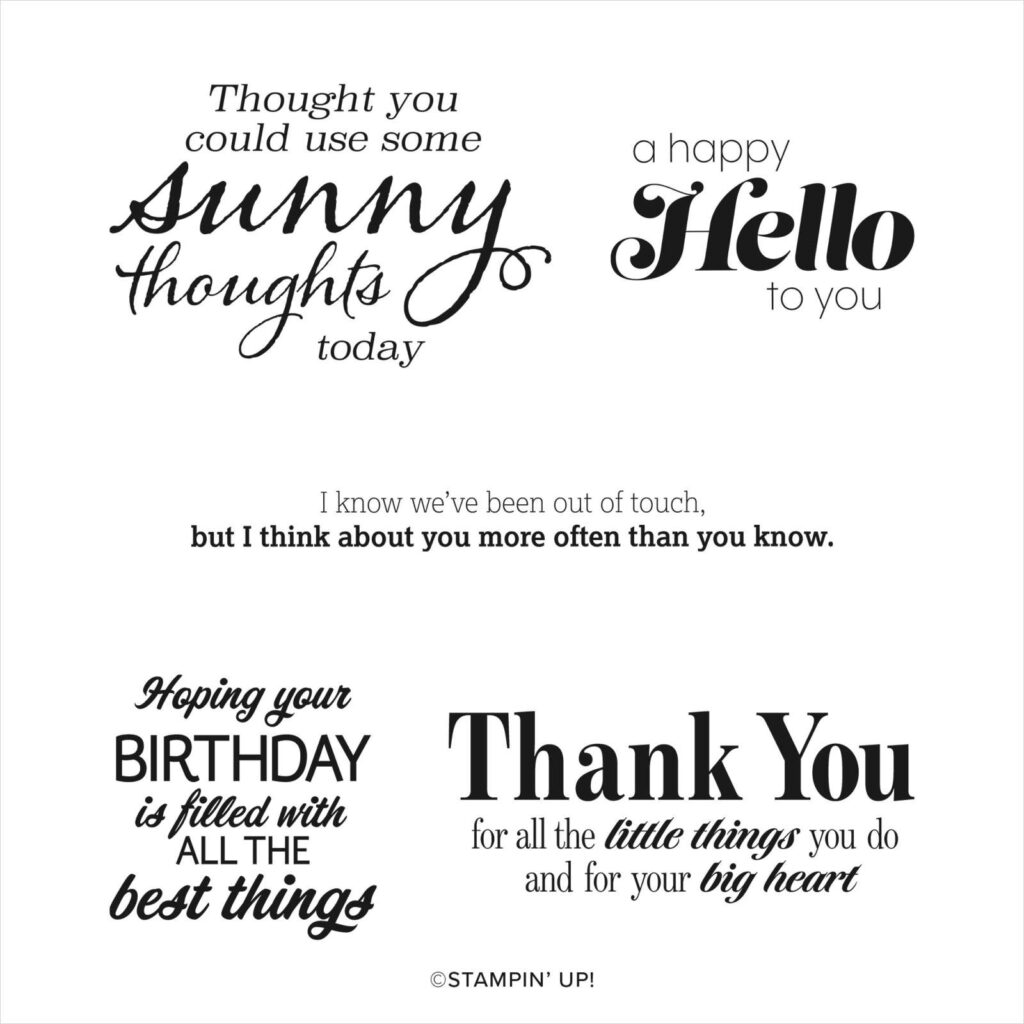
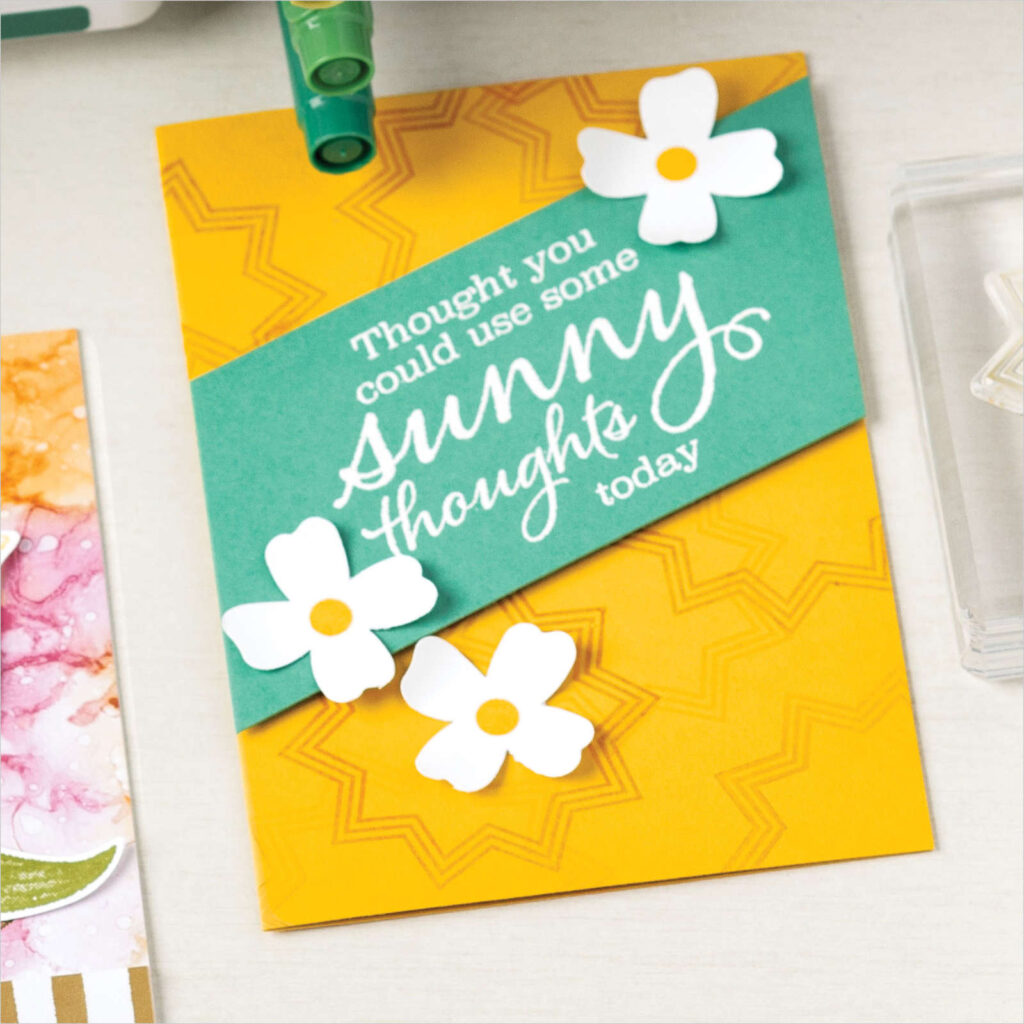
Take a closer look at the Sunny Sentiments Stamp Set.
Measurements
Full list of supplies needed, listed below. A die cutting machine is needed for this card.
Card Base: Basic White Thick Cardstock 5 1/2″ h x 8 1/2″ w folded to 5 1/2″ h x 4 1/4″ w
Background: Granny Apple Green Cardstock 5 1/4″ h x 4″ w
DSP Background: Pattern Party Designer Series Paper 5 1/8″ h x 3 7/8″ w
DSP Strip: Pattern Party Designer Series Paper 5 1/4″ h x 3/4″ w
Sentiment Layer: Basic White Cardstock with the Stitched Shapes Dies.
Sentiment Matte: Flirty Flamingo Cardstock with the Stitched Shapes Dies.
Inside Layer (Optional): Basic White Cardstock 5 1/2″ h x 4 1/4″ w
Let’s Create
- Affix all stamps to Acrylic Blocks.
- Fold the Card Base in half using a Bone Folder to sharpen the crease.
- Use Stampin’ Seal to attach the Granny Apple Green Background to the Card Base.
- Use Stampin’ Seal to attach the DSP Strip to the DSP Background.
- Wrap the Flirty Flamingo Metallic ribbon around the DSP Background and tie a knot. Use a Mini Glue dot to hold in place if needed.
- Use Stampin’ Dimensionals to attach the DSP Background.
- Use Flirty Flamingo and Granny Apple Green Stampin’ Write Markers to add ink to the Sentiment and stamp on the Basic White Sentiment Layer.
- Use Stampin’ Dimensionals to attach the Sentiment to the Flirty Flamingo Sentiment Matte and the Sentiment Matte to the DSP Background.
- Stamp the Inside Layer to your liking and attach with adhesive of your choice.
- Decorate your envelope
- Super Cute!!! Now go make someone’s day!
Shopping List
Stamper’s Toolkit
You will also need adhesive, acrylic blocks, scissors and other basic PaperCrafting items from the Stamper’s Toolkit


